Accessions
Accessions form an important first step in gaining physical and intellectual control over the resources held by an archival institution or other form of repository. “Accession” tends to be used as both a noun and a verb - here are some definitions adapted from the SAA Glossary:
- An accession is made up of materials physically and legally transferred to a repository as a unit, which will be processed by staff and added to the institutions’ holdings. In AtoM, an accession implies the first deposit of materials - accessions added to an existing fonds or collection are known as accruals.
- To accession something is to take legal and physical custody of a group of records or other materials and to formally document their receipt. This helps maintain the chain of custody over the records required to maintain their authenticity over time.
The accession record is the means by which the accessioning process is documented - an accession record is an administrative and descriptive document that summarizes standard information about the process of transferring materials to a repository, including information about the provenance, contents and legal and physical transfer of the records such as, rights and restrictions. It often precedes arrangement and description, and can be used as the basis for the creation of an archival description once the materials have been arranged.
Below are instructions for using the Accessions module in AtoM to:
- Add a new accession record
- Edit an existing accession record
- Add an accrual
- Add a legacy accession record
- Create an archival description from an accession record
- Delete an accession record
Note
You must have a user account with sufficient edit permissions to access the accessions module of AtoM, such as an administrator, editor, or contributor. For more information on types of users and edit permissions, see User roles
See also
Add a new accession record
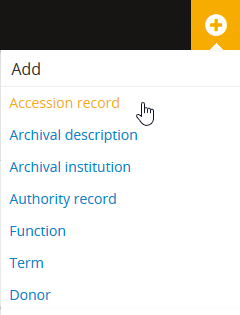
- In the main menu located in the header bar, click the
 “Add” menu and select “Accession records” from the
drop-down menu.
“Add” menu and select “Accession records” from the
drop-down menu.
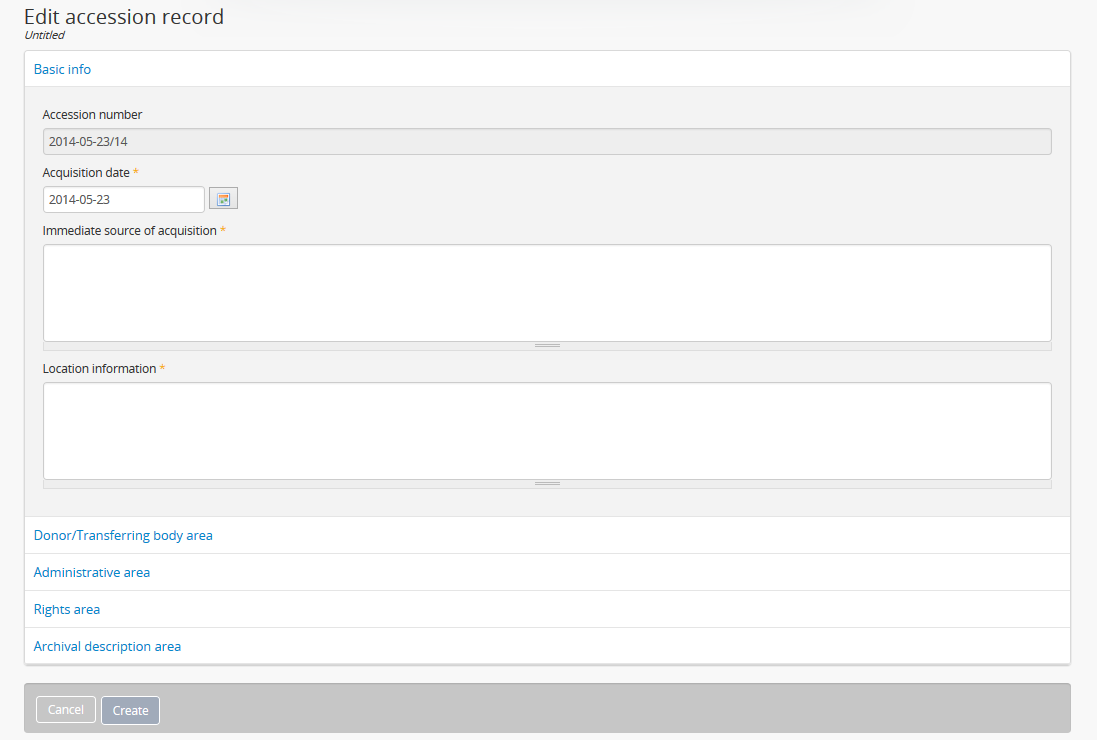
- AtoM takes you to an accession record edit page screen for data entry. The Accession number field is automatically assigned a Unique ID, this number cannot be altered.
Tip
Administrators can alter the default accession mask and counter (from which the accession number is generated) by navigating to Admin > Settings > Accession mask. For more information, see: Accession mask in Settings - see also the example provided in the section on altering the accessions mask for legacy accessions, below.
- The accession record edit template provides a variety of field types for data entry (e.g., calendar, free-text, pop-up dialogs and drop-downs). Remember to click on each information area to access the data entry fields grouped under it. Enter data as required (further information on filling out specific parts of the accession record is included below).
- Click the “Create” button in the button block to create and save the new accession record. If you do not want to keep the record you can click the “Cancel” button and remove the record.
Add a donor
In the Edit accession record screen, under the Donor/Transferring body area you can enter the names and contact information for related donors using the donor dialog.
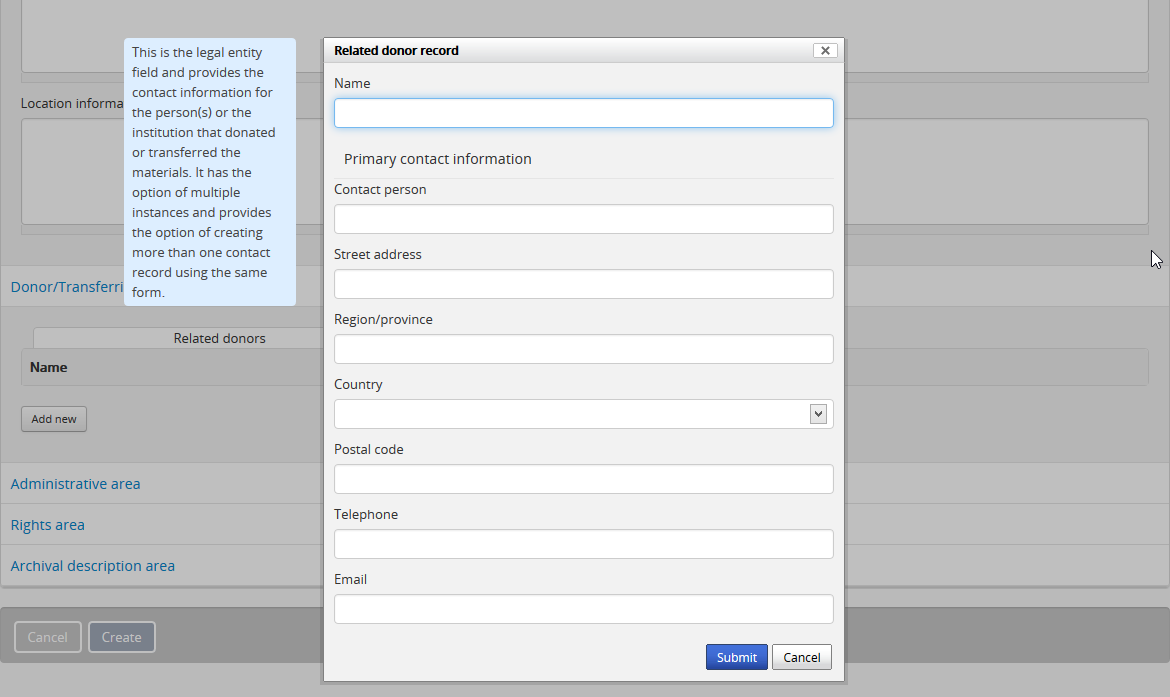
Fields available in the donor dialog include:
- Name
- Contact person
- Street address
- Region/province
- Country
- Postal code
- Telephone
When information is entered into the donor dialog, a new Donor record is created. Donor records can be accessed via the main menu by navigating to Manage > Donors.
Tip
Donor records can be created and managed separately from accession records. For a full explanation of donors, go to the Donor records page
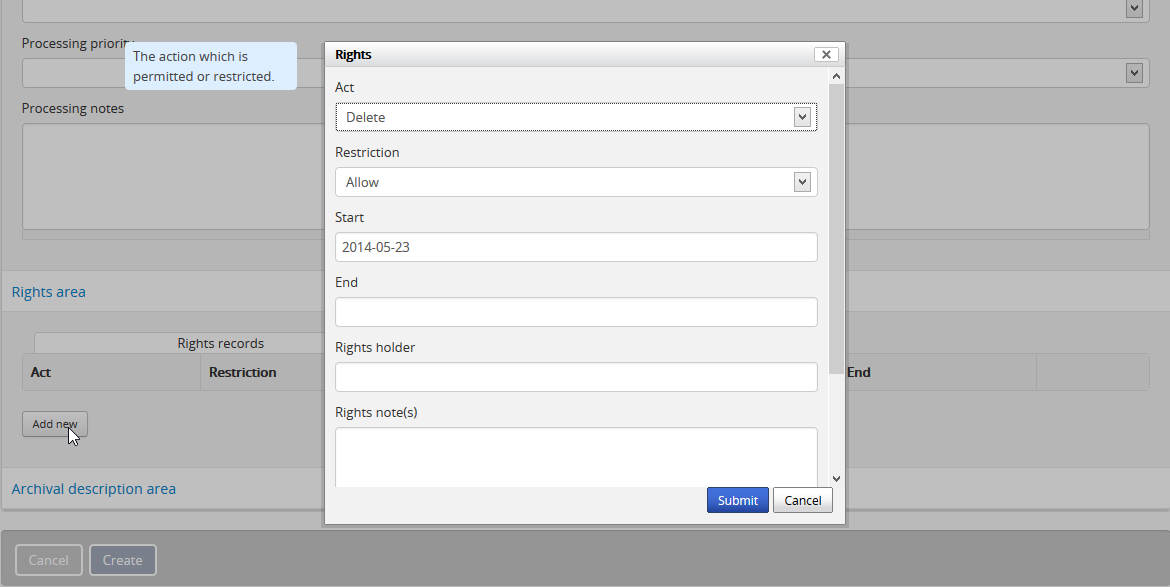
Add rights to an accession record
In the Edit accession record screen, under the Rights information area, you can enter one or more rights restrictions related to the accession using the rights record. For a full explanation of rights, go to the Rights page.
Link an accession record to an archival description
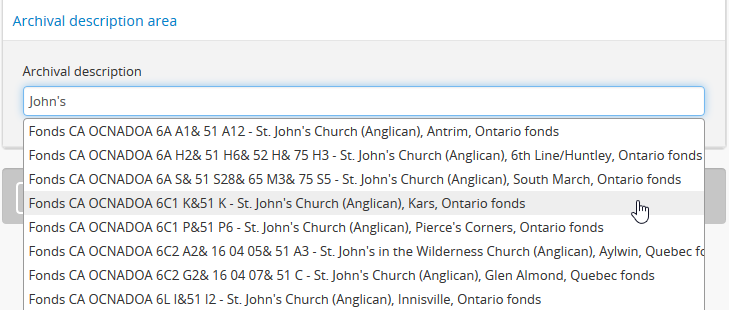
Users have the option of linking a new accession record with an existing archival description in the AtoM database. The Archival description information area is located at the bottom of the accession record edit page.
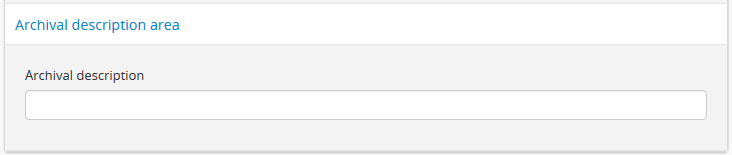
Placing the cursor in the data field will activate a drop-down list of all archival descriptions entered into the database. The User selects the appropriate archival description by moving through the list (a blue highlight will indicate which record you are selecting). Then Save the record by clicking “Save” in the button block at the bottom of the accession edit page.
Tip
Users can link an accession record to a fonds/collection level archival description or lower levels of description including sous- fonds, series, sub-series, and files.
View the accession record
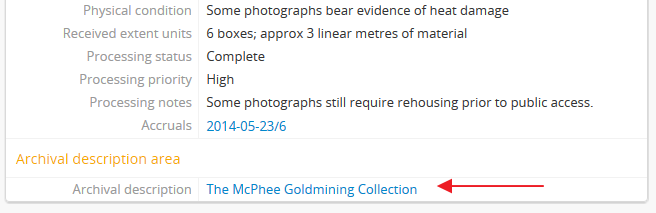
After creating an accession record, save your new data by clicking “Save” in the button block at the bottom of the accession record edit page (A user also has the option of clicking “Cancel”, but all data entered will be lost), you can review the data in the accession record view page.
Notice that the linked archival description is now presented as a hyperlink in the accession record.
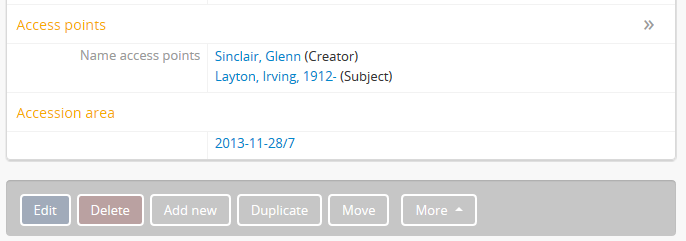
In the button block at the bottom of the screen you have the option(s) to:
- Edit the accession record
- Add an accrual to the accession
- Create an archival description from the accession
- Delete an accession record

Tip
You can always return to your accession record later via the main menu, by navigating to Manage > Acessions and selecting a record from the accessions browse page
Edit an existing accession record
Existing accession records can be upated at any time by a logged-in user with edit privileges.
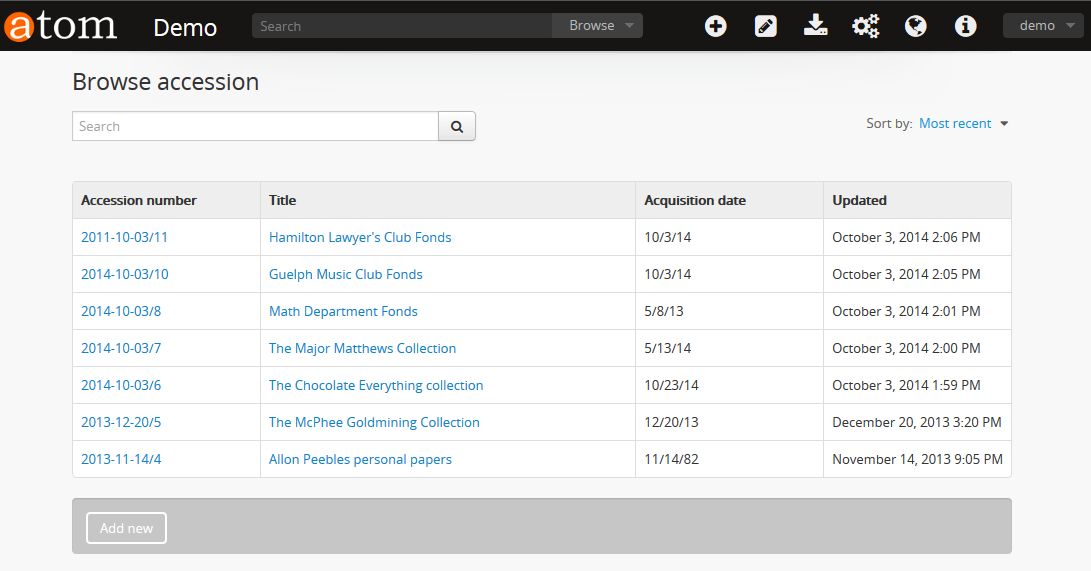
- Navigate to the record you want to edit. You can do this via the main menu in the AtoM header bar, by clicking on Manage > Accessions. For more information on navigation in AtoM, see: Access content
- AtoM will redirect you to the accession record browse page. Select the record you want by clicking on the hyperlink Identifier. You can also search for an accession record with the accession records search box located at the bottom of the browse page. For more information on searching for accession records in AtoM, see: Searching for accession records.
Tip
Archival descriptions that are created from an accession record will have a hyperlink to their related accession record. The hyperlink is located in the “Accession” information area at the bottom of the archival description view page.
Logged-in users with permissions can select the hyperlink accession record identifier and AtoM will take them to the related accession record view page. Unauthenticated users (i.e. those who are not logged in) will not be able to see the Accessions area; logged-in Users without permissions can see the hyperlink but cannot access the accession record.
- Once you have selected an accession record, you will be redirected to the selected record’s view page. To enter edit mode, you can either click the “Edit” button in the button block at the bottom of the view page, or click on any of the information area headings in the accession record. The accession record will reload in edit mode.
- On loading, the edit page displays the record with all information areas closed; click on an information area to access the fields grouped under it.
- Add or edit data as required
- To discard all changes, click the “Cancel” button in the button block; AtoM returns you to the view page, with no changes saved.
- To save your changes, click the “Save” button in the button block. AtoM will reload the page in view mode, with all changes saved, so you can review your work.
Add an accrual
An accrual is “an acquisition additional to a unit of description already held by a repository” (ISAD glossary). AtoM users with edit permissions can add an accrual to an existing accession record. To do so:
- Navigate to the accession record to which you would like to add an accrual. Instructions on how to do so are outlined above in Edit an existing accession record.
- When you have selected the accession record, scroll to the bottom of the view page and click the “Add accrual” button in the button block.
- You will be redirected to an accession record edit page, but but at the top of the edit template a message will read: “You are creating an accrual of the accession YYY-MM-DD/#.” (where YYYY-MM-DD/# represents the Accession number to which you are adding an accrual)

- The edit template provided for the accrual is the same as that of a new accession record. Add data as required. See Add a new accession record above for more information on working with the accession record template.
- After completing the new accrual information in the edit page, click on “Create” in the button block at the bottom of the page. Your new data will be saved, and you will be redirected to a view page where you can review your work.
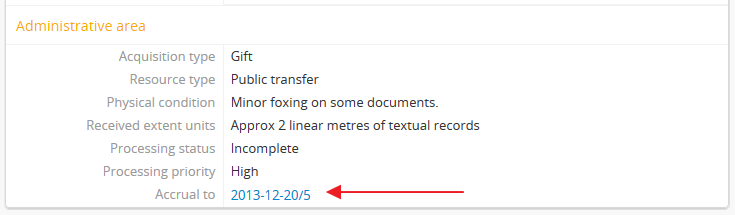
- When viewing the accession record for the accrual, you will notice that in the Administrative information area an “Accrual to” data field shows the related original accession record. The data is a hyperlink that can be clicked to navigate to the original accession record.
- Alternatively, if a User views the original accession record, in the Administrative area an “Accruals” data field shows the related accrual.

Note
An accrual cannot be added to an accrual - it must belong to the original accession record. Therefore, If a User views the accession record of an accrual, the “Add accrual” button is not available in the button block. If the accession record is an original however, the “Add accrual” button is available in the button block. There is no limit to how many accruals can be added to an original accession record.
Add a legacy accession record
Users who have recently migrated to AtoM, or are catching up on a backlog of accessions, may need to add new accession records that have older dates encoded in the accession number. There are two ways this can be done in AtoM - however, both require that a user have administrator access to the application.
Method 1: CSV Import
AtoM offers administrators the ability to import data in multiple formats including CSV (comma separated value) import. Accession records can be imported via CSV using the Accession record CSV template provided for users on the AtoM wiki; further instructions are included on the CSV import page. The accessions CSV import method has no restrictions on the accession number formatting - consequently, users can import multiple legacy accession records at once using this method.
- For more information on importing descriptions and terms via CSV in this manual, see: CSV import
Method 2: Altering the Accessions mask
Users interested in creating an accession record that has a legacy accession number associated with it via the AtoM user interface, can do so by first editing the Accessions mask in the Admin > Settings > Global area, and then creating a new accession record.
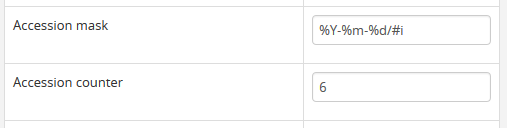
By default, AtoM creates the accession record identifier as a unique number compiled from [YEAR MONTH DAY Incremental#] - this is denoted in the Global settings “Accession mask” as %Y-%m-%d/#i. A fixed value can be entered for any of the date variables (year, month, day) used in the accession mask, to create a number of legacy accessions from the same year and month, for example.
EXAMPLE
To create a number of accessions from October 1998, an administrator could edit the Accession mask like so: 1998-10/#i
If the changes are saved in Admin > Settings > Global, then when a user next creates a new accession record, the accession number will read:
- 1998-10/1
And the following accession record’s identifier (accession number) will read:
- 1998-10/2
Warning
These changes will stay in effect until an administrator returns to the global settings menu via Admin > Settings > Global and returns the Accession mask to the default setting. Don’t forget to do this, or all your new accessions will appear to be legacy accessions!
Create an archival description from an accession record
After you create a new accession record, you can create an archival description by clicking on the button “Create Archival description” in the button block.
Archival descriptions can be generated from an accession record at any time; it does not have to be at the time of creation. To create an archival description from an existing accession record, follow the first steps outlined in Edit an existing accession record to browse existing accession records and select the one that you would like to use.
The accession record is not aimed at end-user description, but AtoM provides the option to create an archival description from an accession record to prevent uneccessary re-entry of existing data an improve a user’s workflow. The following archival description fields inherit the data entered into the accession record:
- Title
- Name of creator(s)
- Archival/custodial history
- Scope & content
- Physical condition
Name access points (drawn from creators) and Rights added to the accession record are also inherited into the archival description.
When you navigate to the accession record you want to work with:
- Scroll to the bottom of the accession record’s view page.
- Click the “Create archival description” button located in the button block.
- AtoM will generate an archival description using the fields listed above, and then will take you to the new description’s view page. You can see that the data you entered into the accession record fields: title, name of creator, archival/custodial history, scope & content and physical condition are all inherited into the archival description. If you added rights to the accession they are also inherited.
- The new archival description is saved as a draft record - the title of the new description is derived from the data entered into the title field of the originating accession record.
- The archival description can now be edited by clicking on the “Edit” button in the button block at the bottom of the description’s view page. For more information on editing an archival description, see: Edit an existing archival description.
- A link to the original accession record is maintained in the Accession information area in the archival description. Similarly, a link to the archival description is added to the related accession record. These are hyperlinks; clicking them in either record will take the user to the related record.
Note
Logged-in users with permissions can select the hyperlink accession record identifier and AtoM will take them to the related accession record view page. Unauthenticated users (i.e. those who are not logged in) will not be able to see the Accessions area in the archival description, and they will not be able to access the Accessions module; logged-in Users without permissions can see the hyperlink but cannot access the accession record.
Delete an accession record
To delete an accession record in AtoM:
- Navigate to the accession record you want to delete. You can locate all accessions in AtoM by clicking on “Manage” in the main menu (located in the AtoM header bar) and selecting “Accessions” from the drop-down menu. For more information on navigation in AtoM, see Access content. For more information on locating accession records in AtoM, see the Edit an existing accession record section above.
- Scroll to the bottom of the selected accession record’s view page, where the button block is located.
- If you click on the “Delete” button, AtoM will offer a warning. If the accession has accruals associated with it this will be noted in the warning message - accruals will not be deleted with an accession, and must be deleted separately
- If you choose to proceed and click “Confirm” the entire accession record will be permanently deleted. Clicking “Cancel” will return a user to the accession record view page.
Note
Instead of permanently deleting an accession record we recommend creating a deaccession record. This way all records created by the archival institution or repository can be preserved for future reference.
For more information on creating a deaccession record, see: Add a new deaccession record