Manage static pages
In AtoM, static pages are pages that are designed to look the same each time they are accessed; this is in contrast to dynamic pages, which can vary according to your network or institution and according to the content that is uploaded into AtoM. Examples of dynamic pages include: search results pages; view pages; and edit pages. By default, AtoM has two static pages: the Home page and the About page.
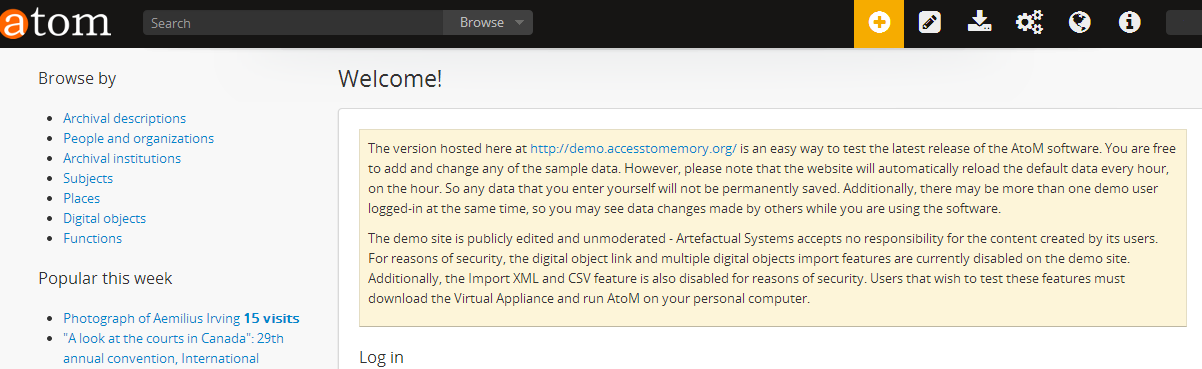
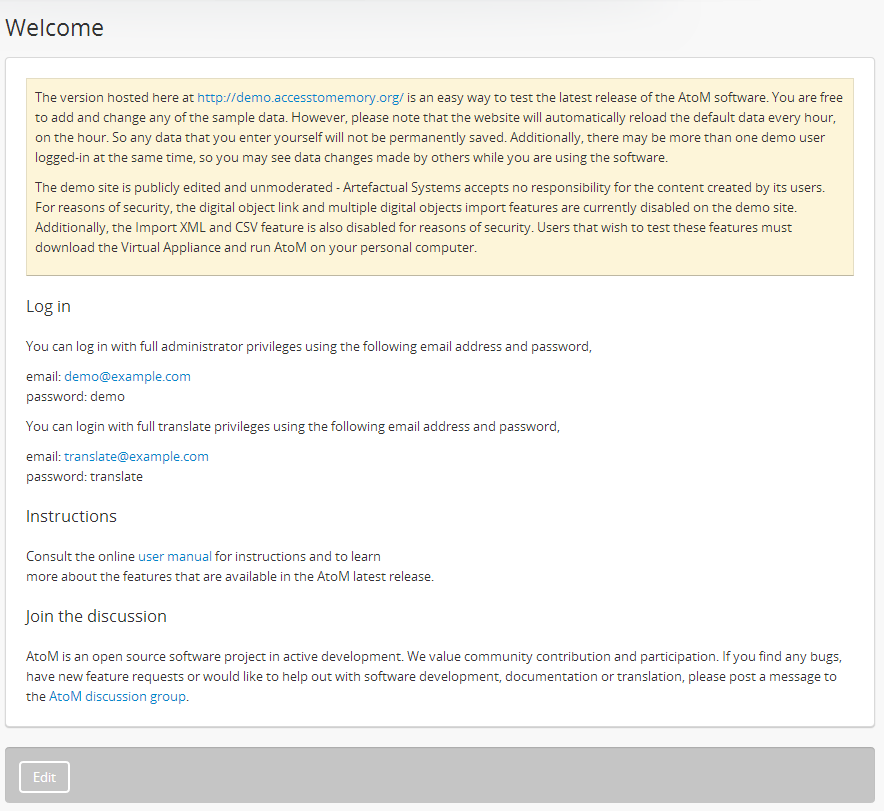
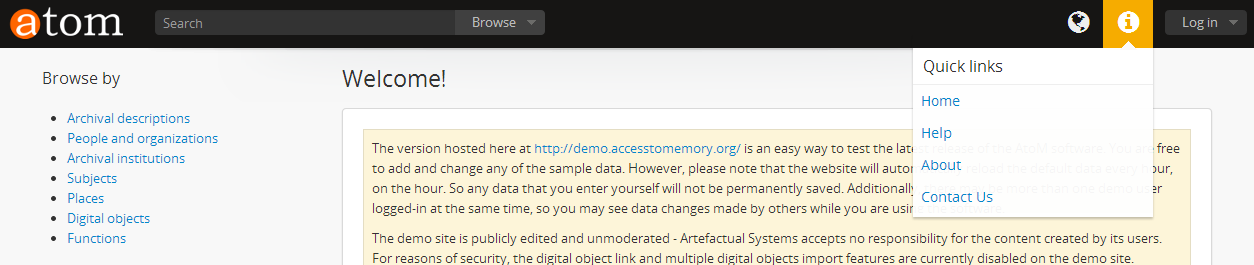
A default welcome message appears on the Home page when first logging into AtoM.
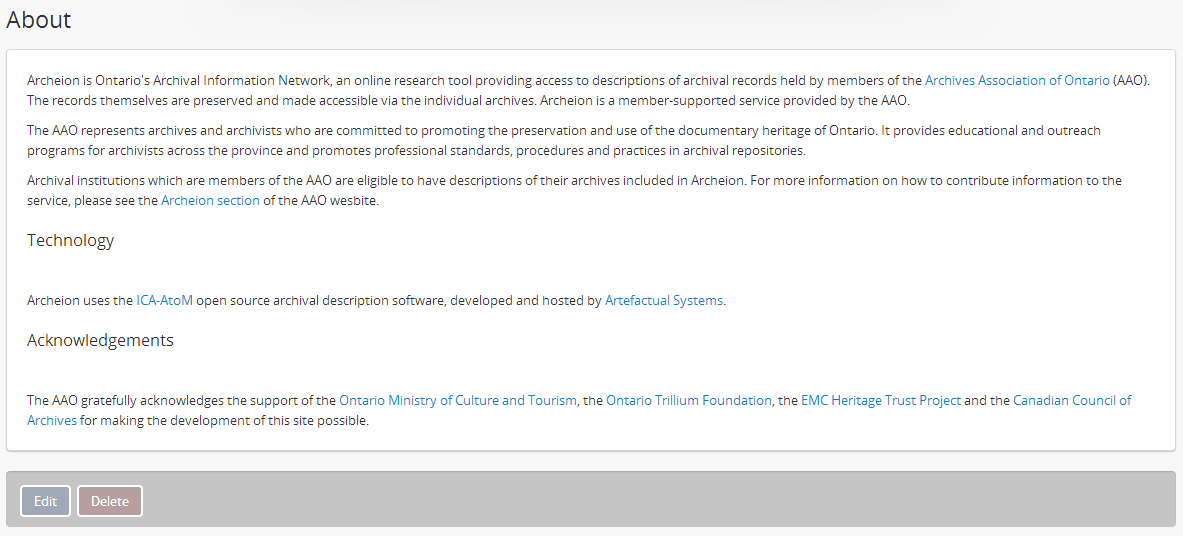
The About page provides additional information about the application and
the project. To access the About page, click on the  Quick
links menu in the main menu located in the
header bar and select “About”.
Quick
links menu in the main menu located in the
header bar and select “About”.
For more information on navigating in AtoM, see access content.
Below are instructions on how to edit and add static pages in AtoM:
- Edit and existing static page
- Add a new static page
- Add links to a new static page
- Styling static pages
Note
Static pages can only be edited and added by an authenticated (i.e. logged-in) administrator or editor. For more information on user permissions, see Edit permissions.
Edit an existing static page
In AtoM, static pages, that is both the Home page and the About page can be edited by authenticated (i.e. logged-in) aministrators or editors to reflect your own institution’s or network’s requirements.
This section contains instructions on how to edit static
pages in AtoM. There are two ways to edit static pages - doing so via the Quick links menu in the main menu and selecting either “Home” or
“About” from the drop-down menu is the easiest, but to accommodate
different workflows, these static pages can also
be edited by clicking the the  Admin and
selecting “Static pages” from the drop-down menu. This second option
will route you to a “List” page, where all static pages
in the application will be listed. Navigate to the static page you wish
to edit by clicking on the blue menu name. Below are instructions to edit to
the Home page and the About page.
Admin and
selecting “Static pages” from the drop-down menu. This second option
will route you to a “List” page, where all static pages
in the application will be listed. Navigate to the static page you wish
to edit by clicking on the blue menu name. Below are instructions to edit to
the Home page and the About page.
For more information on navigating in AtoM, see Navigation in AtoM.
Edit the “Home page”
To edit the “Home page” in AtoM:
Start by navigating to the Home page. Do this by either:
- Clicking on the AtoM site logo located in the top-left corner of the AtoM header bar;
- Clicking the Quick links menu in the
main menu of the header bar and selecting “Home” from the
drop-down menu; or
- Clicking the Admin of the
header bar and selecting “Static pages” from the
drop-down menu. Once you are directed to the “List page” for
static pages, click on the “Welcome” blue menu.
All three options will direct you to the Home page view page.
Note
Editing the “Title” field of the Home page will edit the blue menu that you will select in the static page “List page” (i.e. if you change “Welcome” to say “Bienvenue”, the blue menu in the “List page”, as well as the main header of the Home page will change to “Bienvenue”).
To switch from the main view page to edit mode, click on the edit button in the button block.
On loading, the edit page will display a “Title” field, a Slug field and a “Content” field.
Important
The Slug field is a page title referenced by AtoM code to manage URLs; it cannot be changed for the Home page or the About page. However, it can be edited in any static pages that you add yourself.
Add and/or revise data as required.
Tip
Users can include HTML and inline CSS code to the “Content” field to include any links and special styling. See below for information on how to style static pages.
You can quit the edit process at any time by clicking the “Cancel” button in the button block; any data already entered will not be saved. Note that simply navigating away from the page by any other means, without first clicking “Create” will also result in no edits being saved.
To save the changes made to the Home page, click the “Create” button located in the button block at the bottom of the record.
Edit from About page
To edit the About page in AtoM:
Navigating to the About page. You can do this by either:
- Clicking the Quick links menu in the
main menu of the header bar and selecting “About” from the
drop-down menu; or
- Clicking the Admin of the
header bar and selecting “Static pages” from the
drop-down menu. Once you are directed to the “List page” for
static pages, click on the “About” blue menu.
Both options will direct you to the About page view page.
Note
Editing the “Title” field of the About page will edit the blue menu that you will select in the static page “List page” (i.e. if you change “Welcome” to say “Bienvenue”, the blue menu in the “List page”, as well as the main header of the About page will change to “Bienvenue”).
- Clicking the
To switch from the main view page to edit mode, click on the edit button in the button block.
On loading, the edit page will display a “Title” field, a Slug field and a “Content” field.
Important
The “Slug” field is a page title referenced by AtoM code to manage URLs; it cannot be changed for the Home page or the About page. However, it can be edited in any static pages that you add yourself.
Add and/or revise data as required.
Tip
Users can include HTML and inline CSS code to the “Content” field to include any links and special styling. See below for information on how to style static pages.
You can quit the edit process at any time by clicking the “Cancel” button in the button block; any data already entered will not be saved. Note that simply navigating away from the page by any other means, without first clicking “Create” will also result in no edits being saved.
To save the changes made to the Home page, click the “Create” button located in the button block at the bottom of the record.
Add a new static page
In AtoM, new static pages can be added at any time by any authenticated (i.e. logged-in) administrator. Similar to both the Home page and the About page, you may wish to add a new static page in order to include permanent, or “timeless” content to your webpage. Static pages may be customized to offers users instructions or help in navigating the site (i.e. a “Help” page), provide contact information (i.e. a “Contact Us” page), or feature website content, categories, and/or contributors.
To add a new static page in AtoM:
Click the the
Admin in the
header bar and select “Static pages” from the drop-down menu.You will be directed to a “List pages” page, where all static pages, including the Home page and the About page will be listed.
Click on the Add new button in the button block to be directed to the edit page for your new static page.
On loading, the edit page will display blank “Title”, Slug and “Content” fields. Add data as required.
Tip
The slug indicates the word, or sequence of words that will be visible to users in the URL link when they are navigating on a specific static page (e.g.: the slug in the URL www.artefactual.com/help is /help). The slug should be indicative of the content of that specific static page.
When creating a new static page, the slug field can either be customized or left blank. If you choose to customize the slug, make the slug all lowercase, keep it short, and avoid accented characters (e.g.: “é”; “ñ”; “û”) and punctuation (e.g.: “!”; “;”; “…”). If you leave the field blank, AtoM will automatically generate a slug based on the “Title” you have indicated for your page (e.g.: If your “Title” is About Us, the slug for that static page will automatically be generated as …/about-us). Note that AtoM will automatically replace all accented characters with letters from the English alphabet and punctuation will either be removed or replaced by a dash “-” or percent-encoding (e.g.: If your “Title” is Instructions & More, the slug for that static page will automatically be generated as …/instructions%26more or …/instructions-more, unless otherwise indicated). The slug will also appear in the once blank “Slug” field and can be viewed when switching from the view page to the edit page of that static page.
Warning
A slug cannot be duplicated once it has been generated in AtoM. If you duplicate a slug, AtoM will automatically generate a “-2 (or the next subsequent number) at the end of the slug to distinguish it from the other one in the same name (e.g.: Two slugs titled information will result in the second of the two becoming information-2). If you remove an AtoM automatically generated slug from the slug field of a static page you’ve created, AtoM will not re-generate the original slug, regardless of whether or not the “Title” of your page has changed; rather, it will generate a new slug in the form of a series of letters and numbers. This should be avoided, as it creates confusion because it does not accurately indicate the content of that static page. To avoid this, simply enter a custom slug.
You can quit the creation process at any time by clicking the “Cancel” button in the button block; any changes made will not be saved. Note that simply navigating away from the page by any other means, without first clicking “Save” will also result in no new static page being created.
When you are finished creating your new static page, click the “Save” button in the button block.
You will be directed to the view page of the new static page where you can view your changes. The page can be edited again at any time.
Add links to a new static page
Once a new static page has been created, a new link must also be created in order to allow users to navigate to the new static page. You can do this by either creating a link within one of the default static pages or by clicking Admin > Menus and clicking the Add new button in the button block or by linking the new static page to an existing menu.
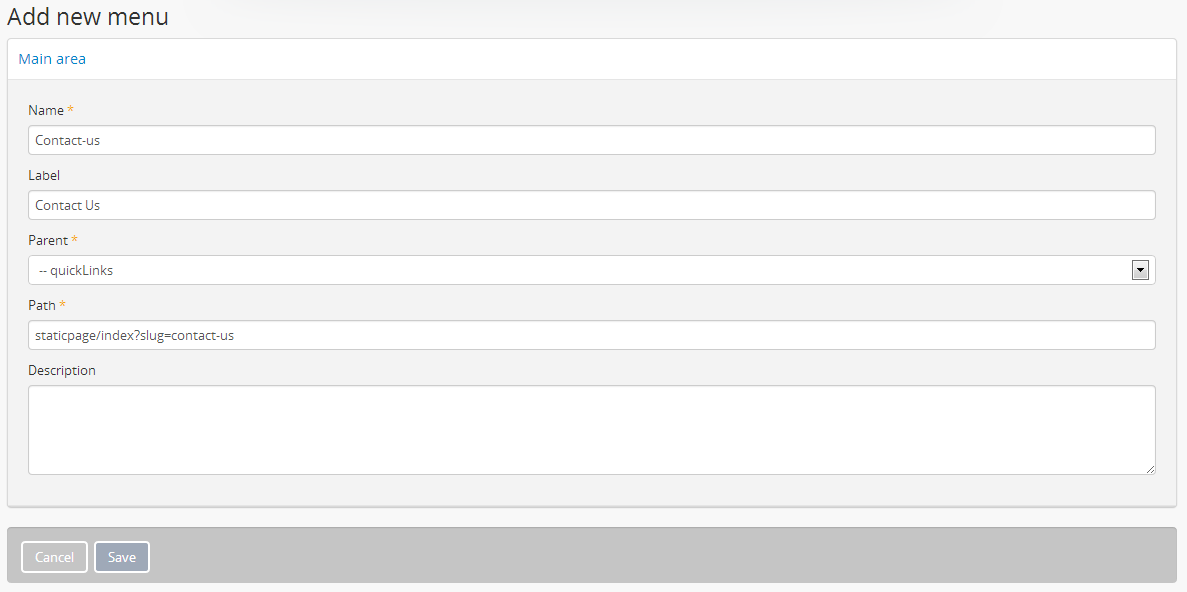
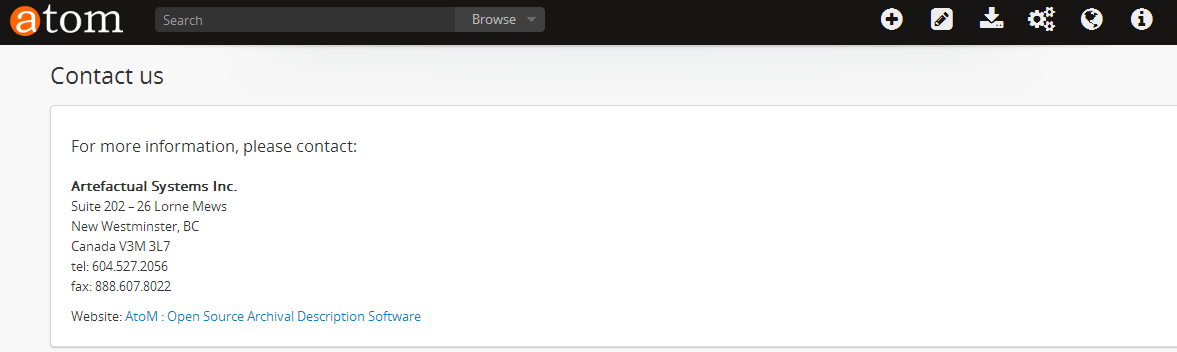
This example shows a newly created “Contact Us” static page that has
been added as a menu under the Quick links
parent menu:
Here is the result of the above:
The information which will be needed when linking a new static page:
- Name: an internal name which is not visible to users.
- Label: how you wish the name of the page to appear in the menu.
- Parent: which menu you wish the page to be linked from.
- Path: in the format
staticpage/index?slug=yourSlug. yourSlug is the slug you either created or had AtoM generate automatically for you when the page was created. - Description: an optional area to describe the purpose of the page.
For more information on managing menus in AtoM, see: Manage Menus.
Styling static pages
Basic styling of static pages can be achieved by including HTML and inline CSS code to the “Content” field. There are plenty of online tutorials and resources out there for instruction on HTML and inline CSS use, but a few basic examples commonly employed by AtoM users have been included here as an example.
See below for instructions on how to create and edit:
Headers and subtitles
To increase the size of a heading or subtitle, wrap the relevant text in
<h3> </h3> tags, like so:
<h3>For more information, please contact</h3>.
This will produce the following results:

For larger headings, use smaller numbers, such as <h2> or <h1>. Similarly, for
smaller headers, use <h4> or <h5>. To bold, italicize or underline
headers and subtitles, simply wrap the relevant text in
<b></b> for bold, <i> </i> for italics, or <u> </u> for
underline. Typing <b>Artefactual Systems Inc.</b> will produce the following
results:

Hyperlinks
To create external links on an AtoM static page, wrap the text you would like to
act as a link in a hyperlink <a> </a> tag, and include the web
address to which you would like the link to point, using the href=" "
attribute - the http address would go in the quotations. Remember to close the
element after the text you want to link.
For example, to include a link in the “Contact Us” page, the code would appear as such:
Website: <a href="https://www.accesstomemory.org/en/">AtoM : Open Source
Archival Description Software</a>
The above code would appear like this on the static page:
Images
If you have access to the server on which your AtoM instance is located (i.e.,
if you are hosting it yourself, or can ask the host provider to include a file
for you), you can place images in a directory on the host server, and use a
local URL to point to them. Images can then be used via the HTML <img>
image element, where the src=" " attribute points to the
path of the image, similar to how the hyperlinks are used above. For example, if
you wanted an image of email, named “contact-image.jpg” included on your static
“Contact Us” page, the code might look like this:
``<img src=".../path/to/contact-image.jpg">``, where "/path/to" represents
the internal URL path to the location of contact-image.jpg on your host
server.
To center the image, you can wrap the <img> image element in <center>
tags, like this:
<center><img src=".../path/to/contact-image.jpg"></center>
Boxes and dividers
You can add styled boxes around text by wrapping content in the HTML <div>
element, and then using inline CSS to modify the
appearance of the box. For colors, use the HTML or RGB values for the color you
would like to use, rather than generic names such as “red,” “blue,” etc. - most
browsers support a limited pallette of colors using names such as this, and the
results may be inconsistent across browsers. There are many free HTML color
wheels available that allow you to choose a color and copy its HTML# or RGB
values; for example: http://www.colorpicker.com/
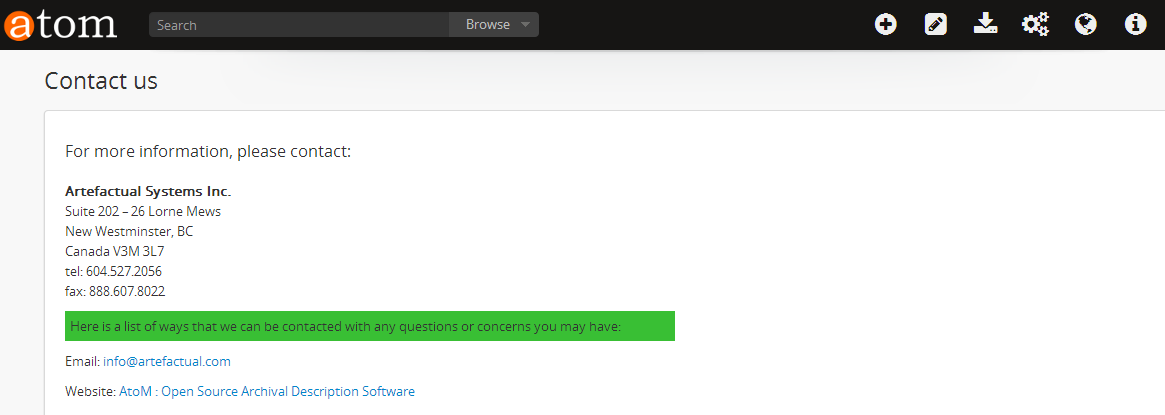
For a small centered box with a green color, you might use code such as this:
<div style="width:600px; margin-left:right; margin-right:right; padding: 5px;
background-color:#39BF34; border:none;">Here is a list of ways that we can be
contacted with any questions or concerns you may have:</div>
This is how the box will appear:
Another example of this is the light yellow box that appears on AtoM’s “Welcome” static page warning users that the data will reset every hour.
<div style="padding: 8px; border-style: solid; border-width: 1px; background-
color: #fdf5d9; border-color: #eedc94 #eedc94 #e4c652; border-color: rgba(0,
0, 0, 0.1) rgba(0, 0, 0, 0.1) rgba(0, 0, 0, 0.25);">Welcome message appears
here</div>
And here is the result: