Browse
The Browse menus in AtoM allow users to browse complete lists of archival descriptions, as well as digital objects, authority records (for people and organizations), places, subjects and functions. In multi-repository installations, users can also browse archival institutions.
Most browse functions are available for all users, authenticated (logged-in) or not. Browsing options available only to authenticated users, including donors and accession records, are outlined below.
Browsing for all users
From any page in AtoM in the default theme, the Dominion theme, the following browse options are available from the drop-down browse menu beside the search box in the header bar. There are also browse links included on the home page - see Home page for more information.

The browse options listed below are in their default order, however, adminstrative users can change the order, or remove browse options, through the Admin-Menus menu (see: Manage menus).
Jump to:
- Browse archival descriptions
- Browse people, families and organizations
- Browse archival institutions
- Browse subjects and places
- Browse digital objects
- Browse functions
Or, jump to Browsing for authenticated users
 Browse archival descriptions
Click the Browse menu, then click on Archival descriptions.
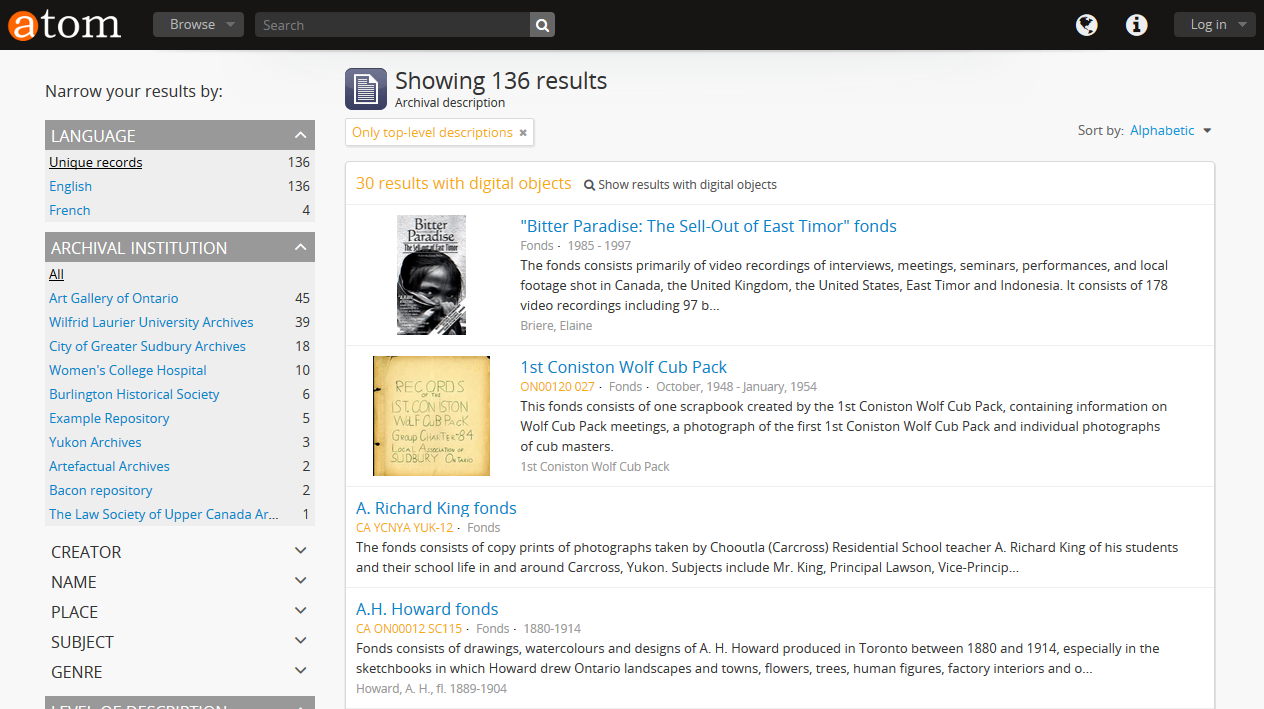
When arriving on the archival description browse page, a top-level description filter is engaged by default, meaning that all results shown are parents with or without children, but without any higher levels of description above them in the hierarchy. Users can disengage this filter by either clicking the X on the “Only top-level descriptions” filter tag at the top of the results, or by changing the radio button settings on the top-level description filter in the left-hand facet filter sidebar, above the levels of description facet.
The automatic sort is alphabetic by default for public users, but users can also change the sort to most recently updated, or by reference code, using the sort button located at the top-right of the page above the results.
Tip
Administrators can change the default sort order on search/browse pages for both public and authenticated (i.e. logged in) users, in Admin > Settings > Global. For more information, see: Sort browser (users) and Sort browser (anonymous).
Users can narrow the results list using the available facet filters on the left-hand side of the screen. For more information on using the facet filters in AtoM, see: Facet filters; especially Using facet filters in AtoM.
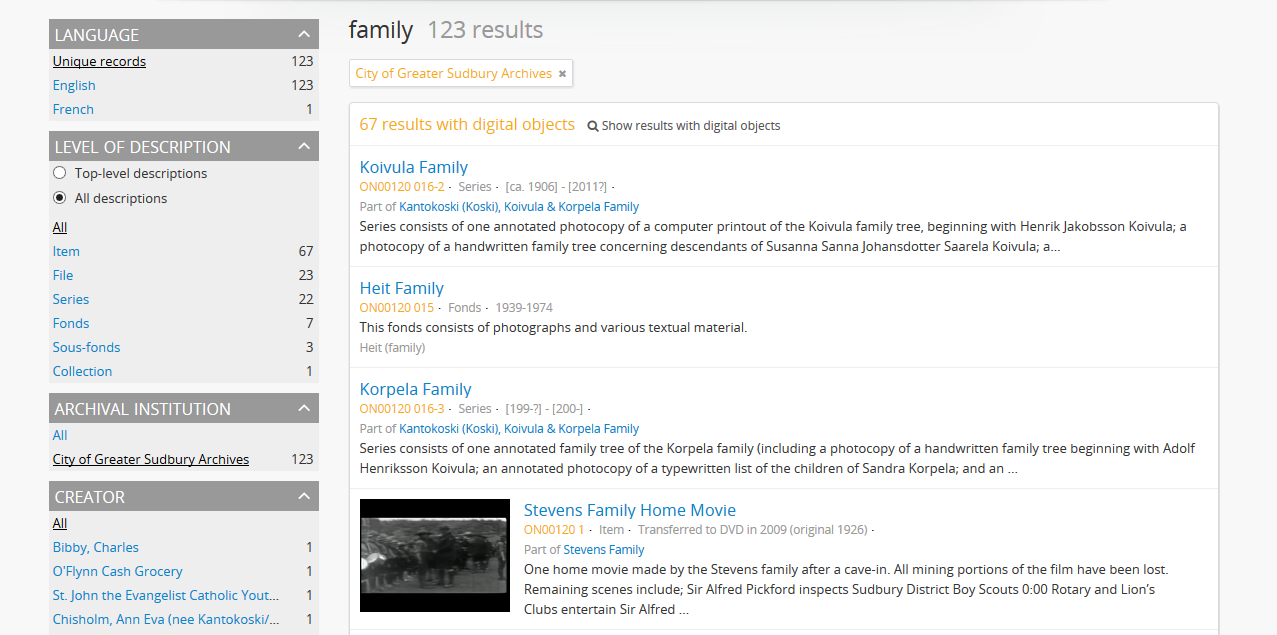
At the top of the archival description browse page’s list of results, the number of descriptions with digital objects is available and the user can click to see only results with digital objects.
By default, AtoM will display 10 results per page; if there are more than 10 descriptions, a pager will be provided at the bottom of the results.
Tip
Administrators can change the default number of results returned per page in Admin > Settings > Global. For more information, see: Results per page.
Results appear in the main column of the page - click on a result and AtoM will take you to a view page for the related archival description. Additionally, the results include helpful contextual information, including:

- Level of description - i.e. fonds, series, file, item, etc. The level of description will be diplayed next to the orange identifier, below the title of the record.
- Publication status - if a description’s publication status is “draft” (i.e. it is not visible to public users), the draft status will be indicated in the stub record.
- Description - if a scope and content note has been included in the archival description, its first 2-3 lines will be visible here for greater context.
- Identifier - if a reference code or other identifier has been added to the record, the results will display this in orange, beneath the title.
- Creation dates - if dates of creation have been added to the record, these will display on the same line as the identifier and level of description.
- Part of - if the record is the child of a hierarchical archival unit (e.g. a file in a fonds, etc), the title of the parent record will be displayed as a hyperlink beneath the identifier, level of description, and creation dates.
- Creator name - if a creator’s authority record has been linked to an archival description, the results stub will display the creator name below the scope and content summary.
 Browse people, families and organizations
In AtoM, people, families and organizations (also referred to as corporate bodies) are entities which are controlled by authority records.
Any of these entities can be browsed in the Browse menu. Click the Browse menu, then click on People and organizations.
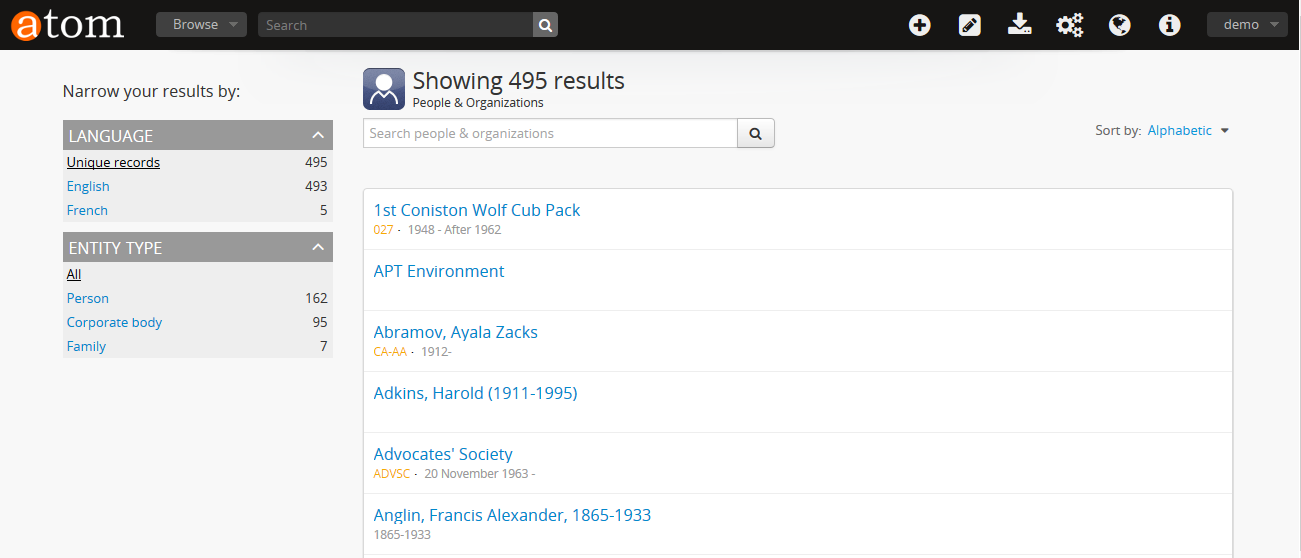
The automatic sort is alphabetic for unauthenticated (e.g. not logged in) users, which can be changed by the user to Most recent or identifier via the Sort button at the top right of the page.
Tip
Administrators can change the default sort order on search/browse pages for both public and authenticated (i.e. logged in) users, in Admin > Settings > Global. For more information, see: Sort browser (users) and Sort browser (anonymous).
Users can narrow the results list using the available facet filters on the left-hand side of the screen, which for authority records includes language and entity type (Person, Family or Corporate body).
The authority record browse page also includes a dedicated search box - for more information on searching for authority records in AtoM, see: Authority record search. For general information on working with authority records, see: Authority records.
 Browse archival institutions
In multi-repository installations users can browse a list of archival institutions represented in the database.
Click the Browse menu, then click Archival Institutions.
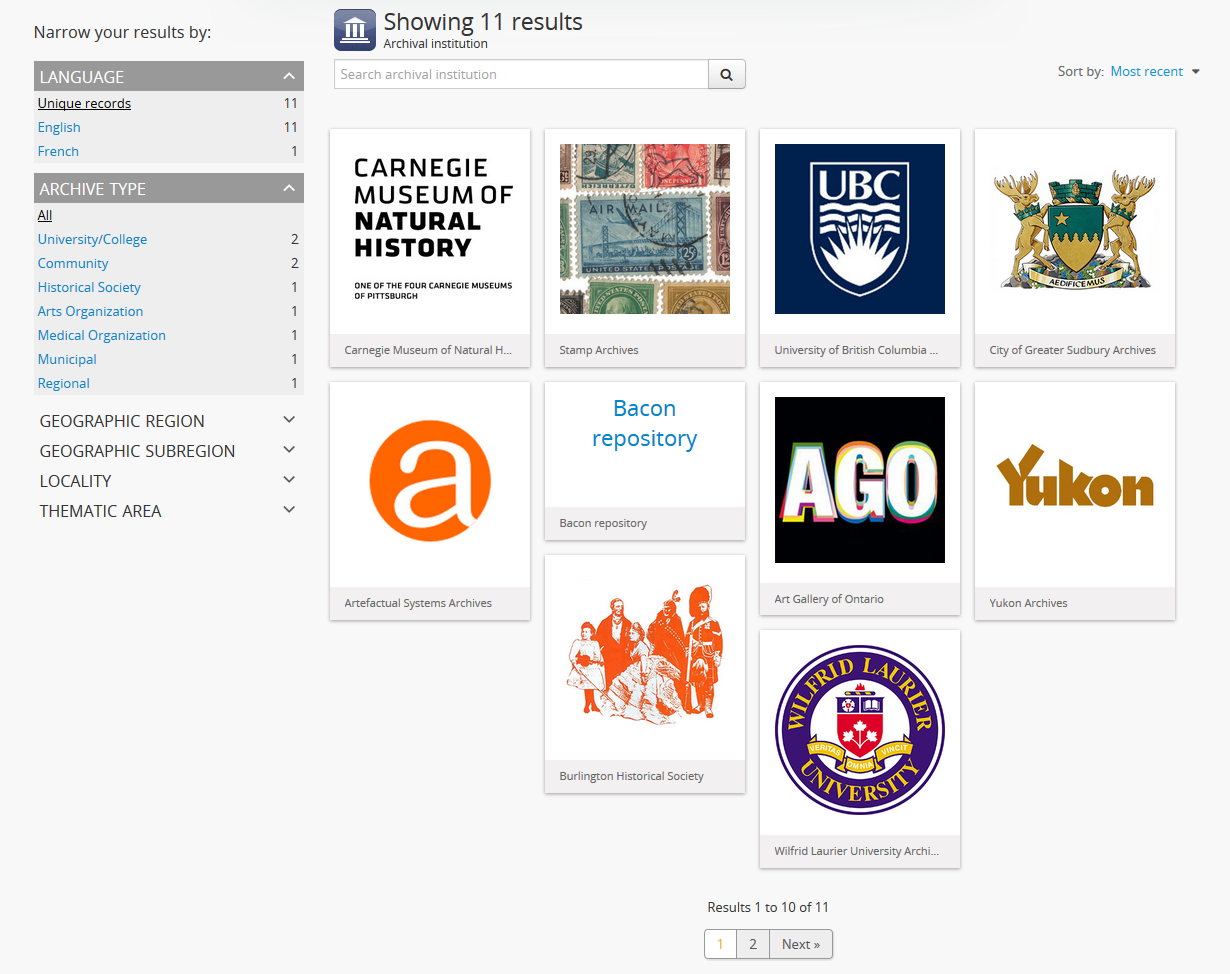
If the institution has uploaded a logo as part of their institution record, the logo will be displayed in the browse display (see: Add/edit a logo to an existing archival institution. If not, text will be displayed instead.
The automatic sort is alphabetic for unauthenticated (e.g. not logged in) users, which can be changed by the user to Most recent or identifier via the Sort button at the top right of the page.
Tip
Administrators can change the default sort order on search/browse pages for both public and authenticated (i.e. logged in) users, in Admin > Settings > Global. For more information, see: Sort browser (users) and Sort browser (anonymous).
Users can narrow the results list using the available facet filters on the left-hand side of the screen. For more information on using the facet filters in AtoM, see: Facet filters; especially Using facet filters in AtoM.
The archival institution browse page also includes a dedicated search box. For more information on searching for archival institutions in AtoM, see: Archival institution search. For general information on working with archival institution records, see: Archival Institutions.
Browse the holdings of an institution
When a user clicks on a result in the archival institution browse page, they are taken to the view page for the selected repository.
This view page includes a list of holdings - archival descriptions that have been linked to the current repository. For more information on linking a description to an archival institution, see: Link an archival description to an archival institution.
Tip
When linking a repository to an archival description, link only at the top level of description - AtoM will automatically inherit the repository to lower levels of description (e.g. children). If you link at all levels, it can not only impact performance, but it will also mean that each lower-level description will appear in the holdings list, instead of just the parent description.
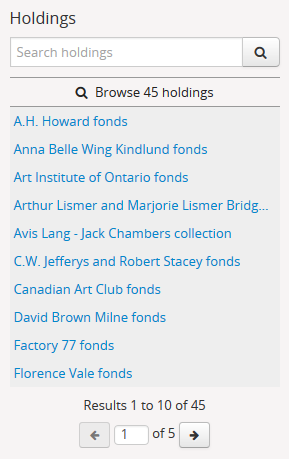
The holdings list can be used to browse the holdings of a particular archival institution, which can be especially useful in a multi-repository AtoM instance, such as a union catalogue, portal site, or network. It appears in the left-hand context menu of the view page for an archival institution, beneath the logo.
The search box on the holdings list will search all indexed fields in all descriptions related to the archival institution. When used, it will take the user to a full search results page, limited to the current institution (as indicated by the filter tag at the top of the search results).
See Search for archival descriptions for more information on using the search results page.
Below the search box, is a holdings browse link, that lists the total number of holdings (e.g. top-level descriptions linked to the repository). Clicking on this link will take a user to a browse page limited to the current repository, and filtered to display only top-level descriptions. Users can remove these filters by clicking the X next to the filter tag to broaden the results. See Browse archival descriptions above for more information on browsing archival descriptions in AtoM.
Below the search box and holdings browse link, an alphabetized holdings list appears. The list consists of hyperlinks - clicking on one will take the user to the related description. The number of results in this list per page is controlled by the “results per page” setting found in Admin > Settings > Global. See: Results per page for information on changing this value. The default value in AtoM is 10 results per page.
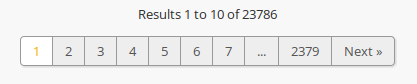
A holdings count appears under the holdings list, which includes the number of results per page, and the total - e.g. Results 1 to 10 of 45, etc.
If there are more holdings than the number of results per page, a pager will be included below. Click the <- back and forward -> arrows to move through the pages. The current page number is listed between the navigation arrows. For large results sets, you can also manually enter a number into the current page number box - the holdings list will jump to the appropriate page. Any invalid numbers (e.g. entering 1000 when there are only 10 pages) will be ignored, and after a moment, AtoM will replace the value with the current page number.
See also
 Browse subjects and places
Subjects and Places are two different kinds of terms, which are managed via taxonomies. Subjects and Places, however, can also be used as access points associated with archival descriptions, and public users can browse terms and view published descriptions associated with those terms as access points.
To do so, click the Browse menu, then click either Subjects or Places. The following images and instructions will use examples from the Place browse page - however, the page types are exactly the same for the Subjects browse. Once clicked, a user will be redirected to a browse page.
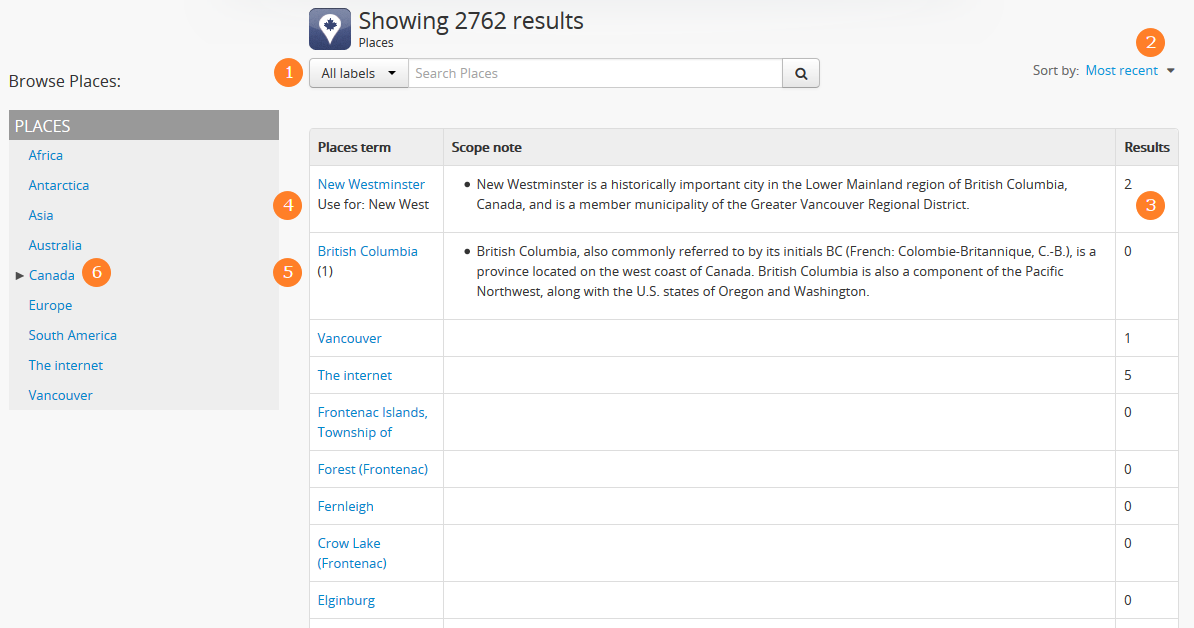
The above image, from the Places browse page, has been annotated with with an orange and white number corresponding to each of the major features of the Places browse page. Each is described below.
- A dedicated search box for terms has been included on the browse page. The drop-down menu on the left side of the dedicated search box can be used to limit the search to the authorized form of name, the ‘use for’ label(s) (e.g. the alternate, non-preferred forms of name), or both. For more information, see: Terms.
- The sort button will allow users to sort the place or subject terms either alphabetically by title, or by most recently updated (e.g. added or edited). For more information, see: Sort button. An administrator can also configure application-wide defaults for public and authenticated users via Admin > Settings - for more information, see: Sort browser (users) and Sort browser (anonymous).
- The number of descriptions associated with a particular term as an access point is listed in the “Results” column.
- If alternate, non-preferred names have been added to the term’s “Use for” field, they will be displayed under the authorized form of name.
- If a term listed in the browse page has children (e.g. terms nested beneath it, to which it is the parent), a count of the direct children will be included in parentheses after the authorized form of name.
- A treeview is provided for browsing terms in the context of their hierarchical relationships. When first arriving on the browse page, top-level terms are displayed in the treeview. If a term has children, a caret (triangle icon) will appear next to the term - click the caret to view lower-level child terms. For more information on using the treeview in AtoM, see: Treeview and Terms treeview.
A count of total terms is provided at the top of the browse page. Terms appearing in the first column of the browse page’s table are hyperlinks - click on a term to see further information about the term and related descriptions. AtoM will redirect you to a new browse page, described below.
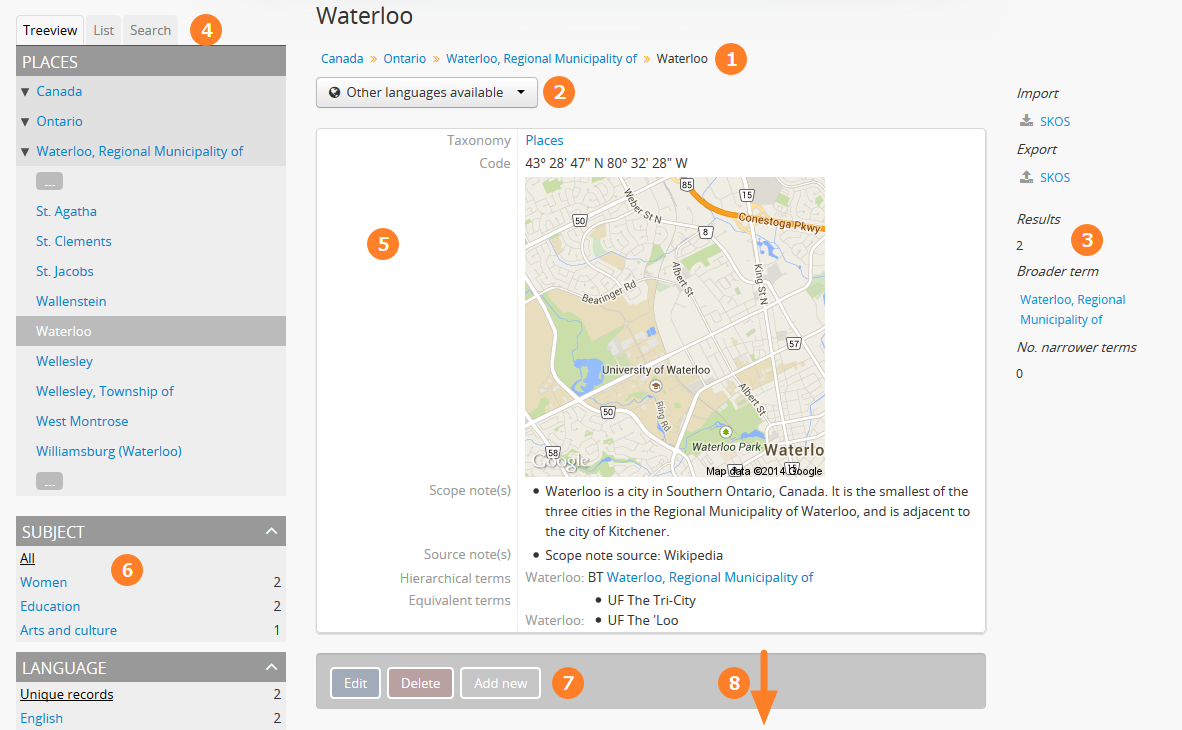
- A breadcrumb trail is included to indicate the hierarchical relationships associated with a term - e.g. if it is the child of any other broader terms. Each breadcrumb is a hyperlink - a user can click one to navigate to the broader term’s browse page. For more information on breadcrumbs in AtoM, see: Breadcrumb trail.
- If the term description has been translated into other languages, a language drop-down will appear at the top of the term description. Opening the drop-down and selecting another language will flip the AtoM user interface to the selected culture and display any translated fields. For more information on multilingual use and design in AtoM, see: Translate.
- Additional contextual information is included in the context menu. For more detailed information on the elements of the context menu in this page, see the Subject and Place browse pages entry on the Context menu page.
- A treeview for navigating hierarchically organized terms is included in the left-hand context menu. Details on its features and uses are described here: Terms treeview.
- Information about the current term is displayed in the top portion of the page’s main column. This information is stored with the term in its taxonomy, and can be edited by authenticated (i.e. logged in) users with edit rights. For more information on the fields available and their uses, see: Term data entry.
- Below the treeview, addtional facet filters that can be applied to the browse results are listed. For more information on using facet filters in AtoM, see: Facet filters.
- If a user is authenticated (i.e. logged in) and has edit permissions, a button block will be visible on the page, allowing the user to edit, delete, or add new terms. For more general information on working with terms in AtoM, see: Terms, and especially Term data entry. Public users who are not logged in will not see the button block.
- Below the term information, archival descriptions that are linked to the current term as access points are displayed as results. Clicking on a description result will redirect the user to the view page for that result.
Hierarchical terms and browse results
When terms are organized hierarchically in a taxonomy (e.g. nested within broader terms, with a parent to child relationship), and a child term is added as an access point to an archival description, AtoM includes the parent terms as well for context. This is expressed as a breadcrumb trail on archival descriptions in the Access points information area, as shown in the Places example below:

In the above example, the user has added the term “Waterloo” to the description - but the term is organized hierarchically in the Places taxonomy, and its parent terms are inherited. Because of this, when browsing results for the parent term “Waterloo, Regional Municipality of”, the example description will appear, even though the term was not directly added.
For users who would only like to see results where the current term has been directly added, a link is provided at the top of the results, with a count of directly related results:
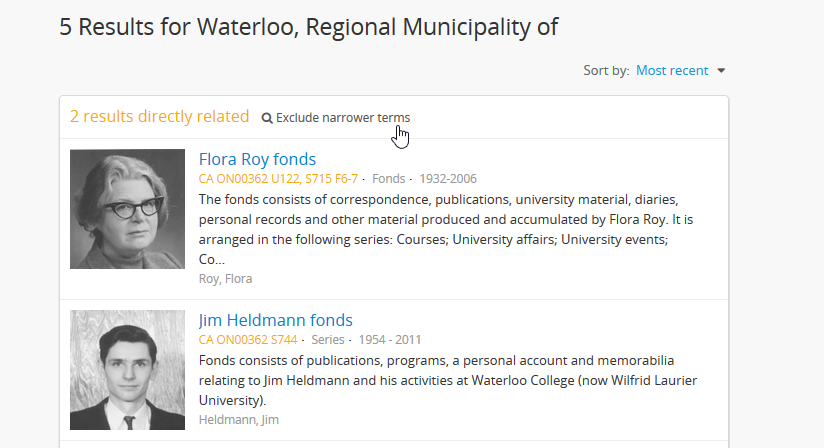
Click the “Exclude narrower terms” button at the top of the results, and AtoM will reload the page, displaying only archival description results where the term has been directly added (and not inherited from a narrower term).
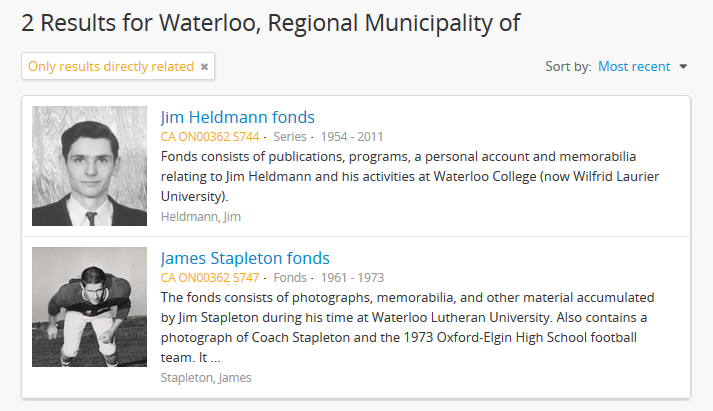
A filter tag appears at the top of the narrowed search results indicating that only directly-related results are being displayed. To return to the previous view of all results, click the X on the filter tag - AtoM will reload the page and return to displaying all related results.
 Browse digital objects
Click the Browse menu, then click Digital Objects.
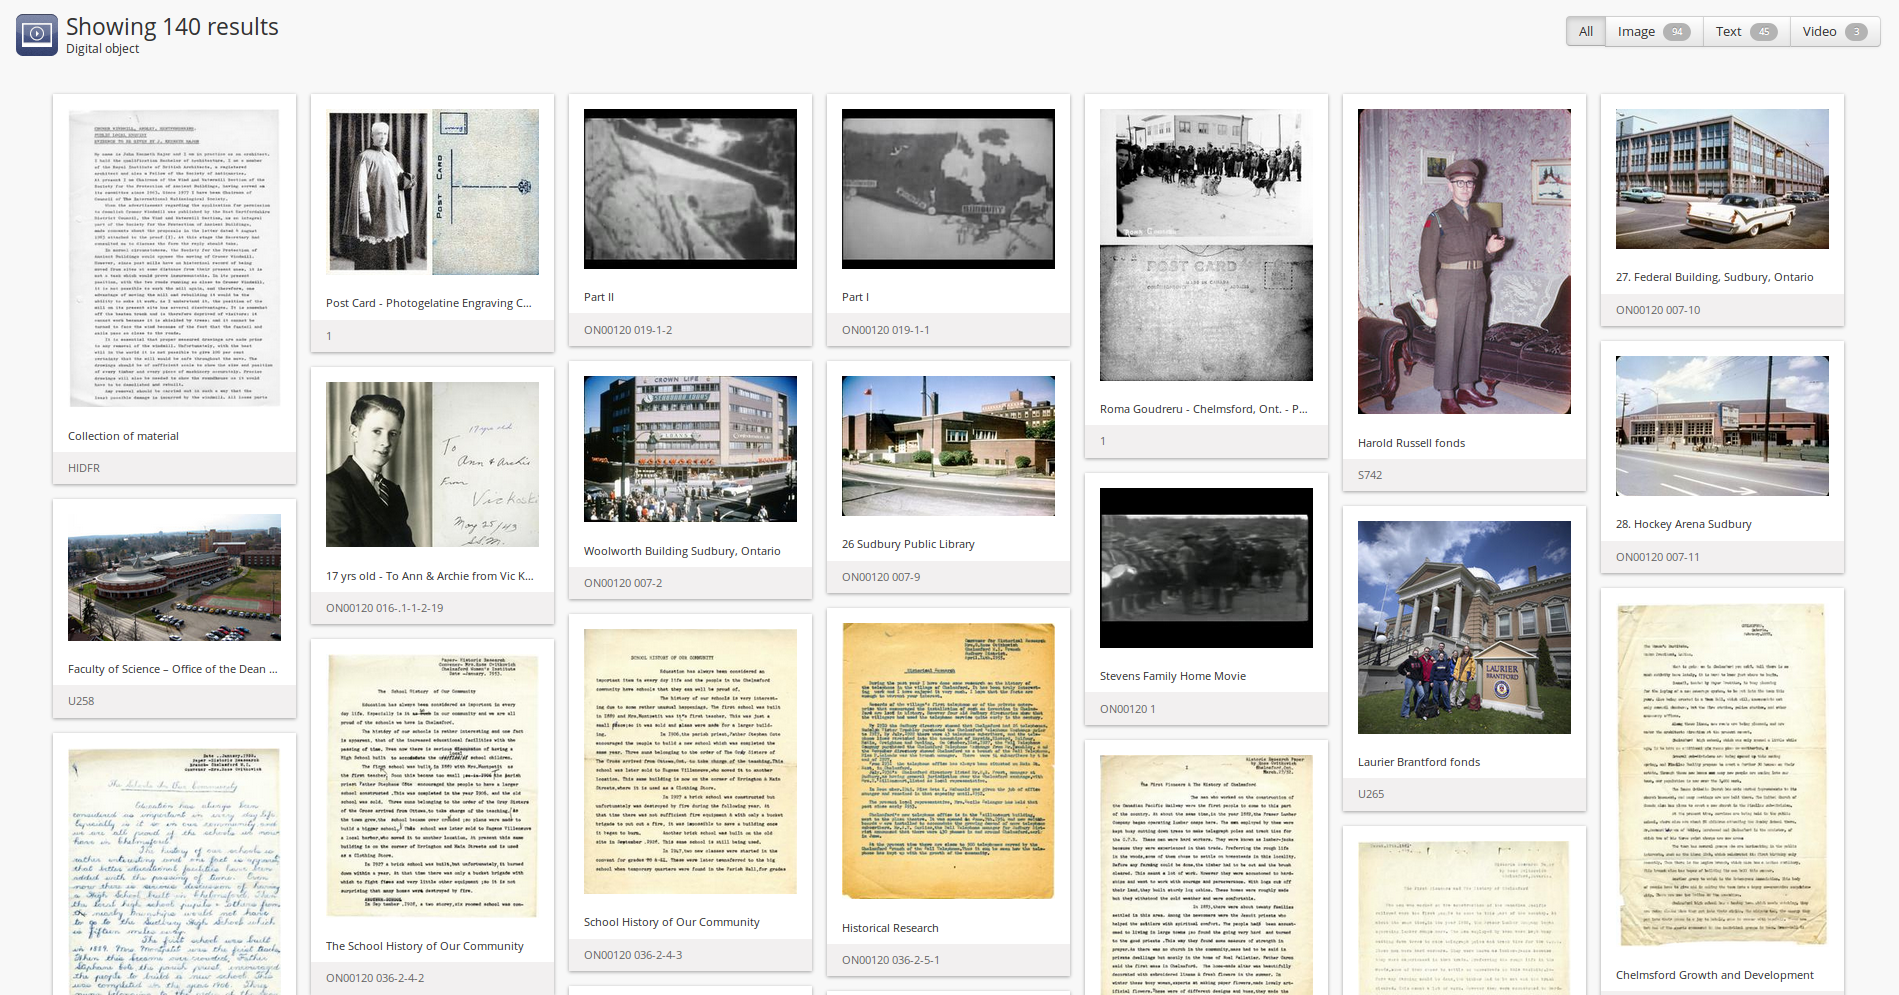
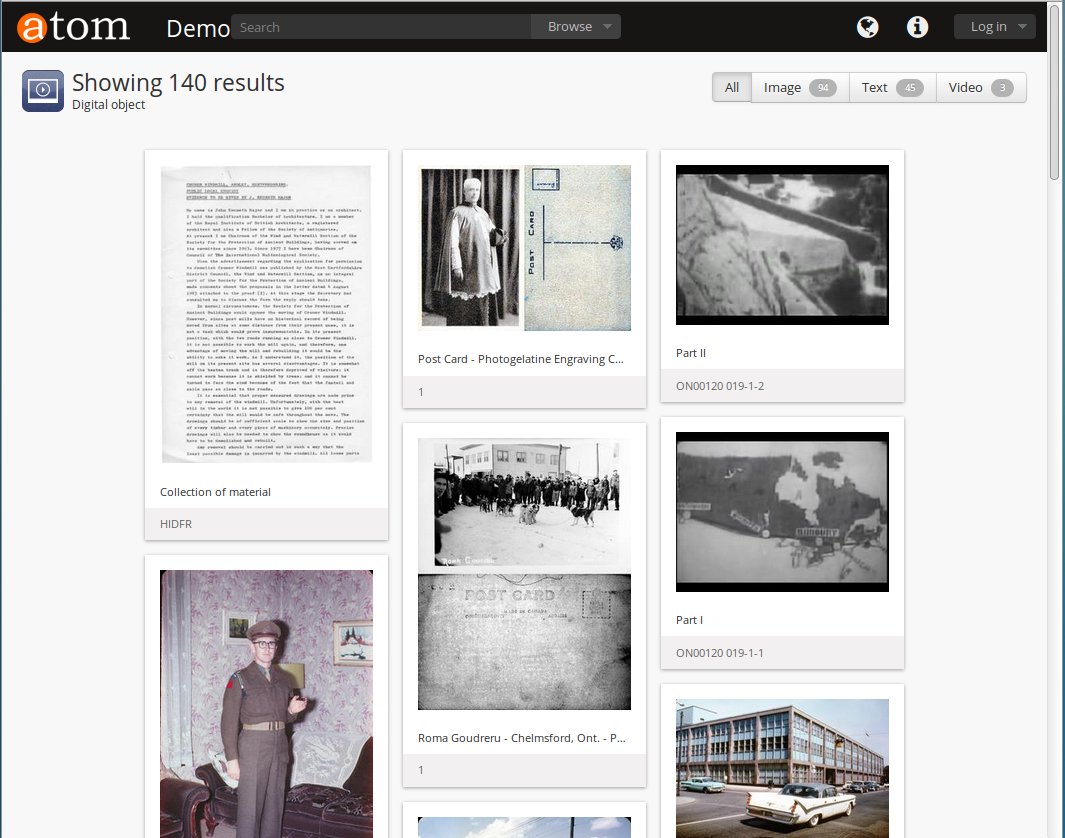
AtoM will display all of the digital objects in the database. The layout will change according to the screen size, as shown in the screenshot of the same digital object browse as above, but in a smaller screen:
By default, AtoM will display 30 results per page; if there are more than 30 digital objects, a pager will be provided at the bottom of the results.
Tip
Administrators can change the default number of results returned per page in Admin > Settings > Global. For more information, see: Results per page.
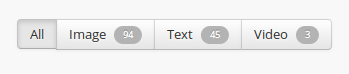
Users can filter the results by media type by clicking the facet filter buttons at the top of the search results.
The automatic sort is alphabetic (title) for unauthenticated (e.g. not logged in) users, which can be changed by the user to Most recent or alphabetic (identifier) via the Sort button at the top right of the page.
Tip
Administrators can change the default sort order on search/browse pages for both public and authenticated (i.e. logged in) users, in Admin > Settings > Global. For more information, see: Sort browser (users) and Sort browser (anonymous).
See also
 Browse functions
Click the Browse menu, then click Functions.
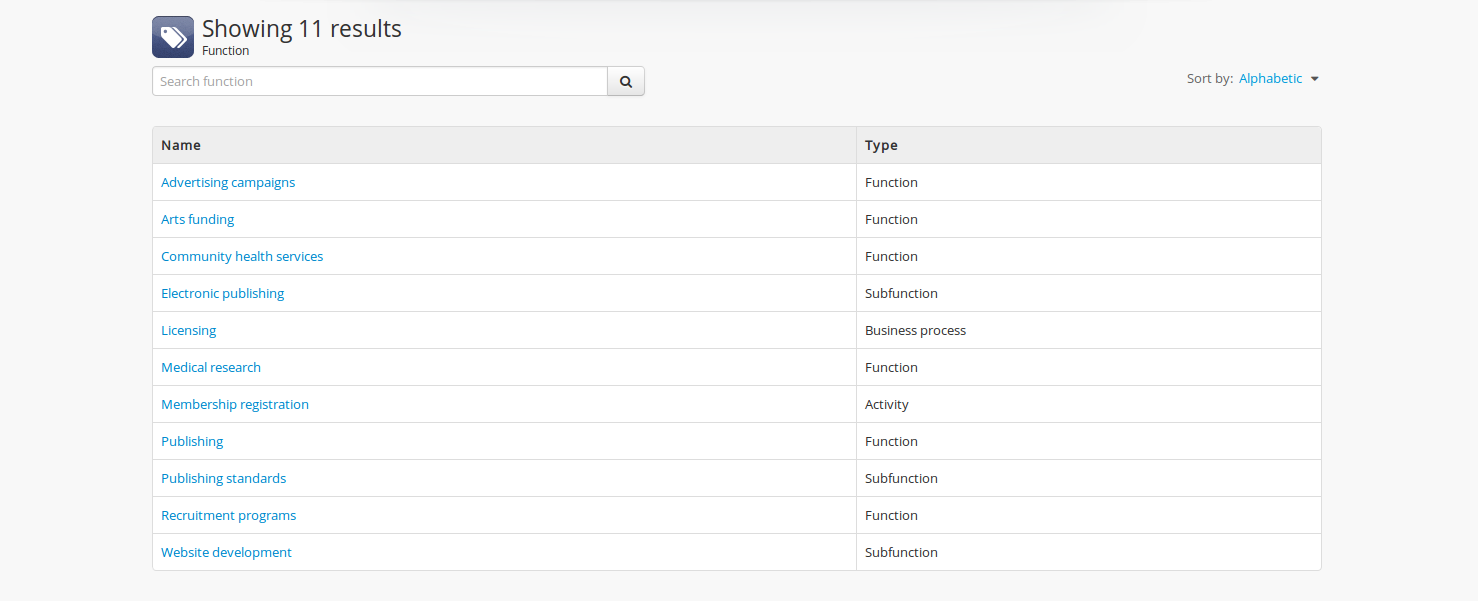
AtoM will display a list of the functions used in the database with the function types.
Tip
Administrators can manage and edit the types of functions in Manage > Taxonomies > ISDF Function Types. See Functions and Terms for more information.
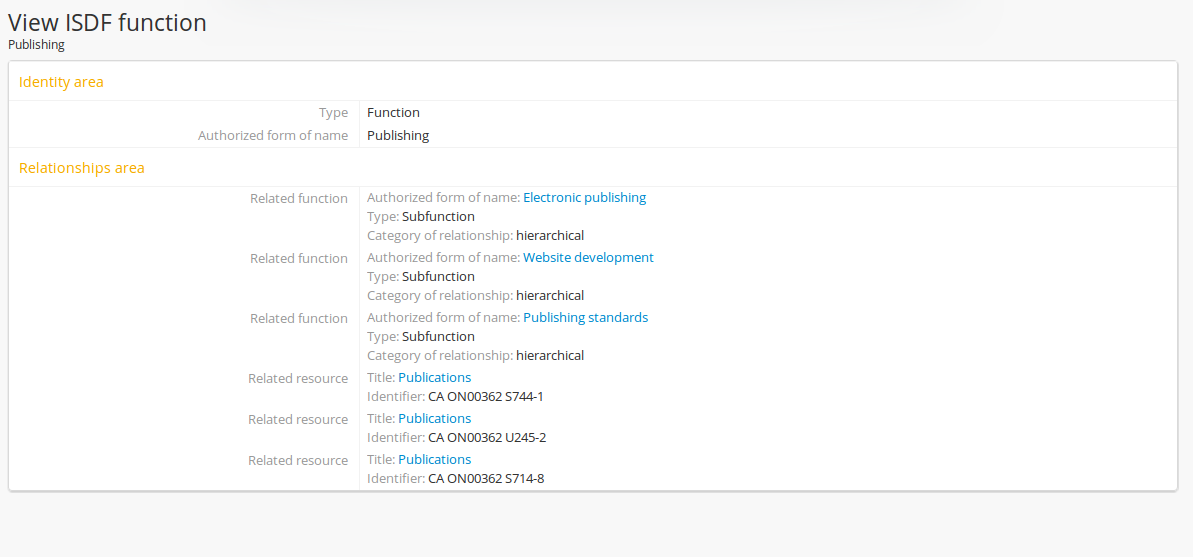
When a user clicks on a function, the record for that function will display, including related functions and related resources.
The functions browse page also includes a dedicated search box to help you locate records. For more information on its use, see: Functions.
See also
Browsing for authenticated users
Authenticated (logged-in) users have access to browsing lists of accession records, donors, rights holders, and physical storage locations.
For information on physical storage, see: Browse physical storage.
Jump to:
Browse accession records
Click on the  Manage menu, then on Accessions.
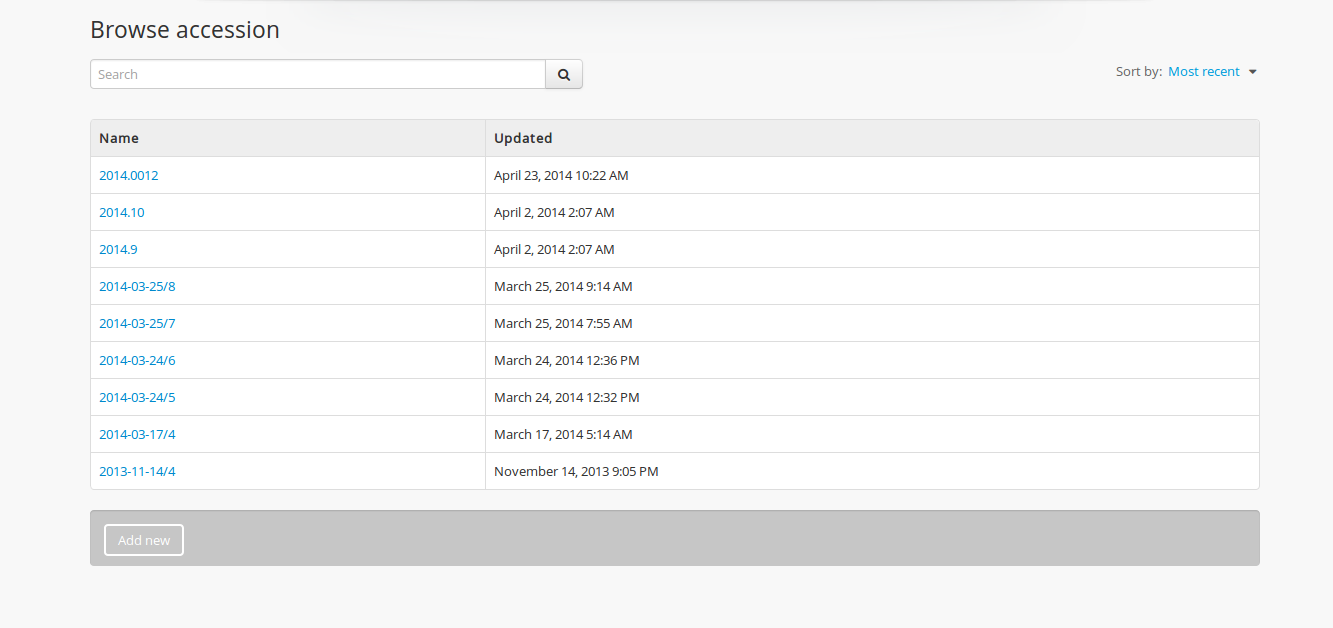
AtoM will display a list of all accessions by accession number as well as when the accession record was updated.
Tip
From this screen, users can also search accession records by name in the search box at the top of the results list. For more information on accession functionality, see Accessions. For information on using the Accessions search box, see: Accession records
When an accession record is clicked, the full record is displayed.
Browse donors
Click on the Manage menu, then on Donors.
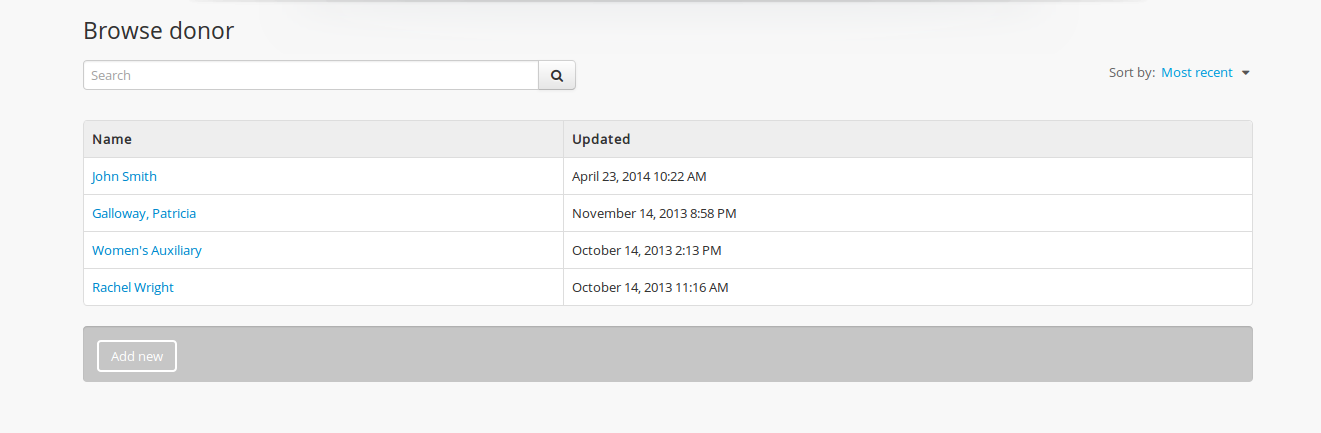
AtoM will display a list of all donors by name as well as when the donor record was updated.
Tip
From this screen, users can also search donors by name in the search box at the top of the results list. For more information on donor record functionality, see Donors. For information on searching for Donor records in AtoM, see: Donor search.
When an donor record is clicked, the full record is displayed, including any related accessions and resources.
Browse Rights holders
Click on the Manage menu, then on Rights holders.

AtoM will display a list of all rights holders by name as well as when the rights holders record was updated.
Tip
From this screen, users can also search rights holders by name in the search box at the top of the results list. For more information on rights holders record functionality, see Rights. For more information on using the rights holder search box, see: Rights holder search.
When a rights holders record is clicked, the full record is displayed.