Manage static pages
In AtoM, static pages are pages that are designed to look the same each time they are accessed; this is in contrast to dynamic pages, which can vary according to your network or institution and according to the content that is uploaded into AtoM. Examples of dynamic pages include: search results pages; view pages; and edit pages. By default, AtoM has three static pages at installation: the Home page, the About page, and a Privacy Policy page.
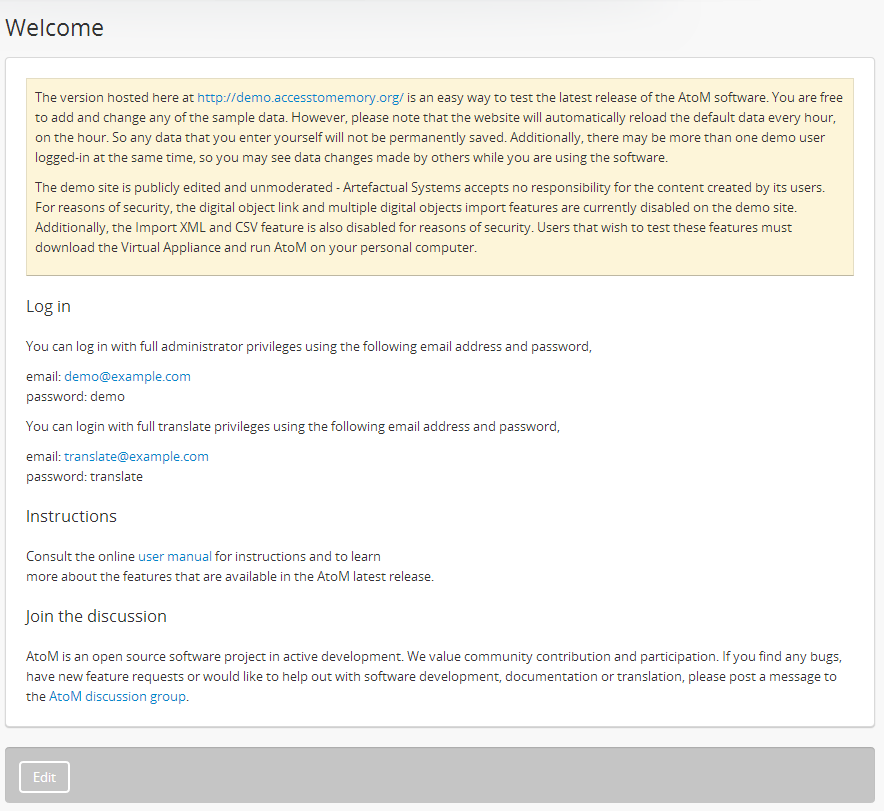
A default welcome message appears on the Home page when first logging into AtoM.
See also
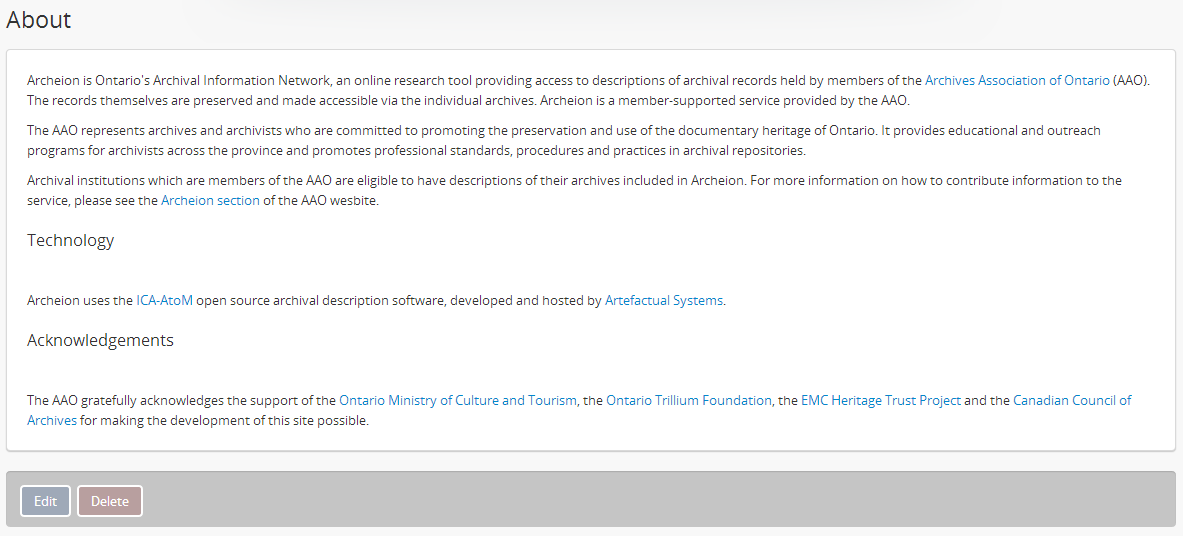
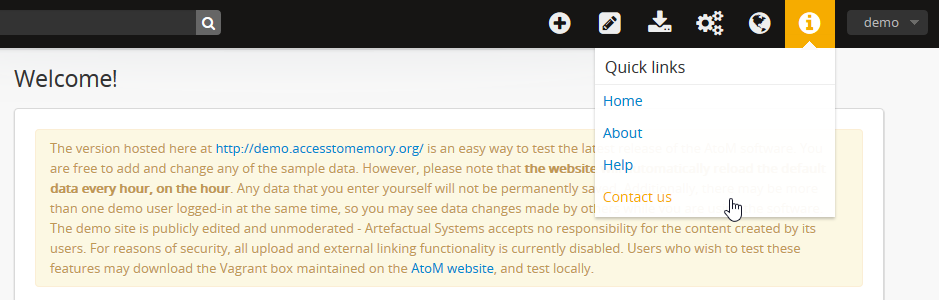
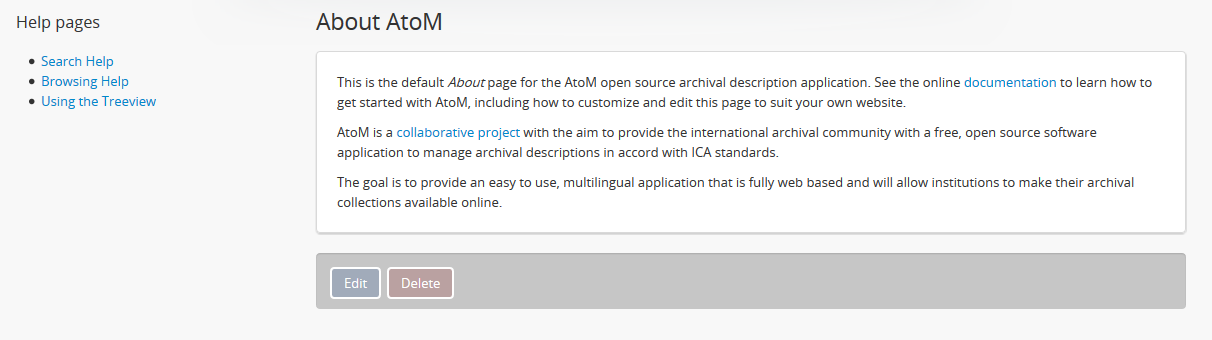
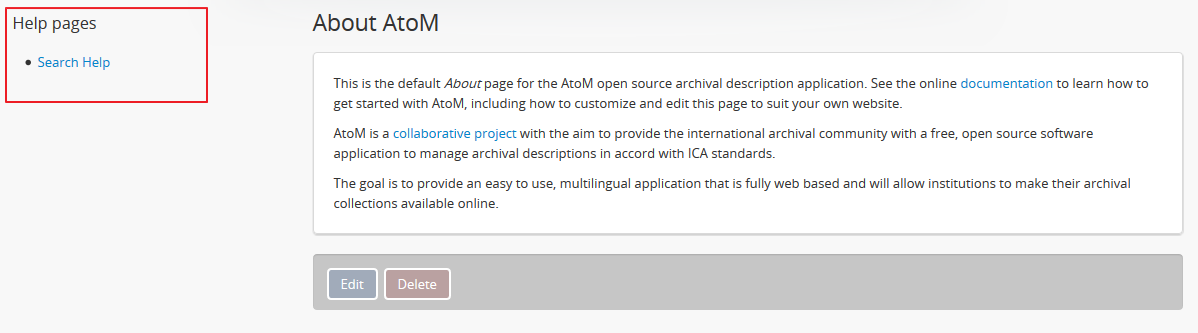
The About page provides additional information about the application and
the project. To access the About page, click on the  Quick
links menu in the main menu located in the
header bar and select “About”.
Quick
links menu in the main menu located in the
header bar and select “About”.
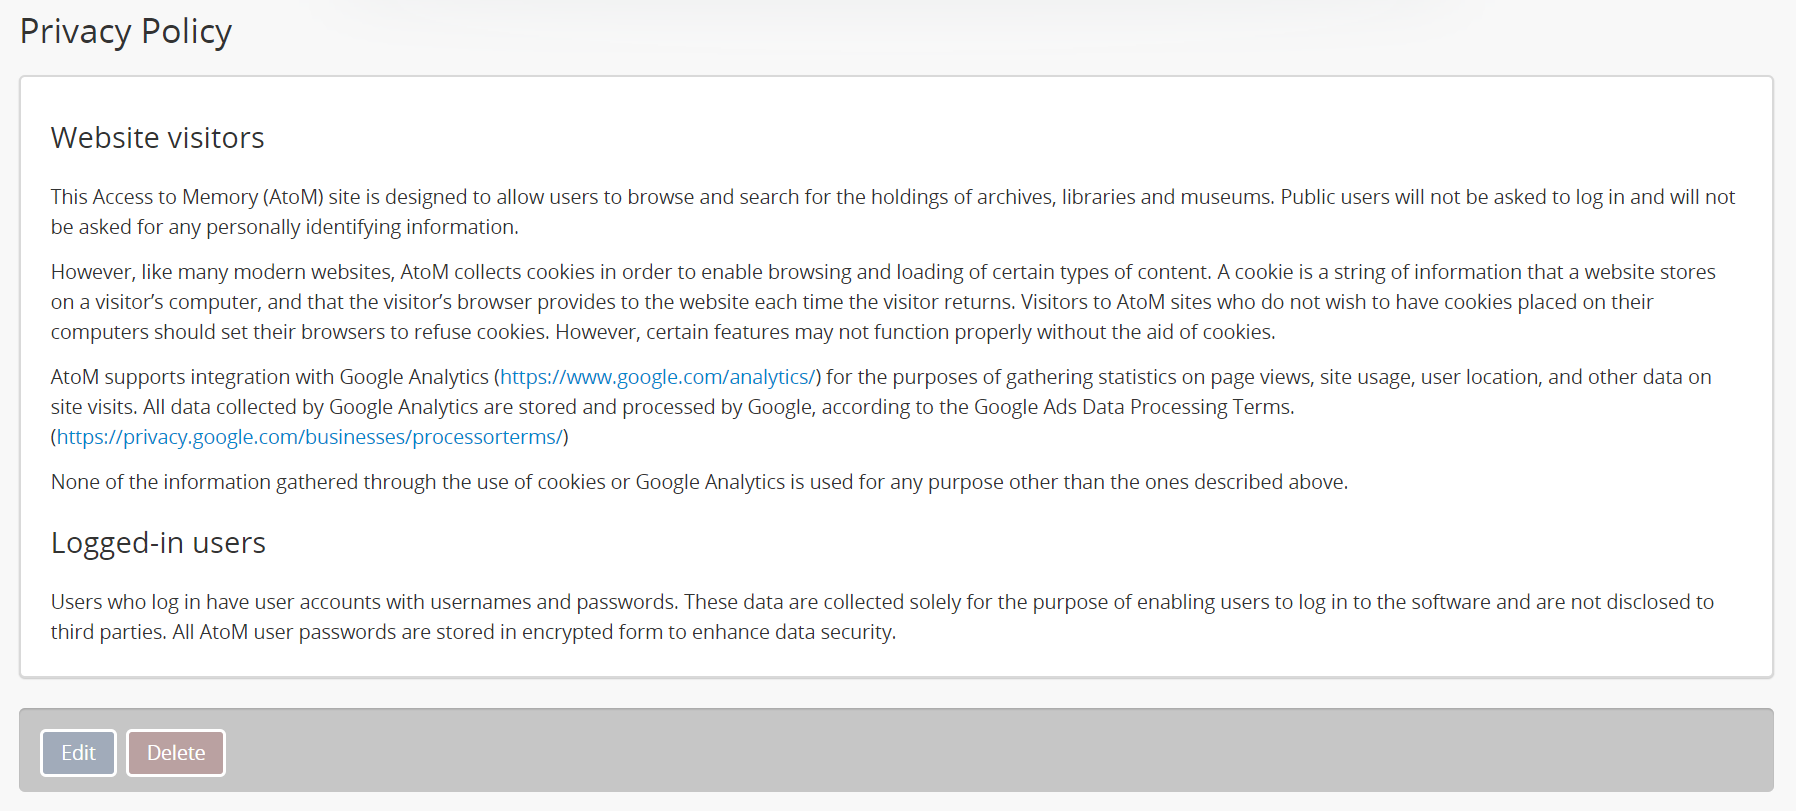
The Privacy Policy page (also accessible via the
Quick links menu) was designed to assist site
administrators in complying with proactive privacy
policy disclosure regulations such as the European Union’s General Data
Protection Regulation (GDPR), which requires that any information collected
about a user through the use of a website must be disclosed to the user in
advance, with the option to opt out and/or leave the site. It includes basic
information on AtoM’s data collection abilities and intents, and can be used
in conjunction with AtoM’s customizable Privacy notification banner - for more
information, see:
For more information on navigating in AtoM, see Access content.
All static pages in AtoM, including the three default static pages described above, can be customized by logged-in administrators via the user interface. New static pages can also be created, and all static pages (except the home page) can be deleted from the application.
Below are instructions on how to edit and add static pages in AtoM:
- Static pages and security configuration
- Edit an existing static page
- Add a new static page
- Add links to a new static page
- Add a custom sidebar menu with links to your static pages
- Styling static pages
Note
Static pages can only be edited and added by an authenticated (i.e. logged-in) administrator. For more information on user permissions, see Edit permissions.
Static pages and security configuration
As of version 2.2, AtoM now has advanced configuration settings that will allow a system administrator to enable htmlpurifier on static pages. htmlpurifier is:
…a standards-compliant HTML filter library written in PHP. HTML Purifier will not only remove all malicious code (better known as XSS) with a thoroughly audited, secure yet permissive whitelist, it will also make sure your documents are standards compliant, something only achievable with a comprehensive knowledge of W3C’s specifications.
By default, htmlpurifier is not turned on in AtoM, to allow a broad use of
HTML and inline CSS on static pages. System administrators interested in enabling
all possible security settings and mitigating the risk of XSS-based attack vectors
can enable the library by altering the config/app.yml file. For more
information, see:
When the configuration is set to true, htmlpurifier will limit the available
html elements to the following:
Tags allowed
'div', 'span', 'p',
'h1', 'h2', 'h3', 'h4', 'h5', 'h6',
'strong', 'em',
'abbr[title]', 'acronym', 'address',
'blockquote', 'cite', 'code',
'pre', 'br',
'a[href]', 'img[src]',
'ul', 'ol', 'li',
'dl', 'dt', 'dd',
'table', 'tr', 'td', 'th',
'tbody', 'thead', 'tfoot',
'col', 'colgroup', 'caption',
'b', 'i', 'tt',
'sub', 'sup', 'big', 'small', 'hr'
Attributes allowed
'class', 'title', 'src', 'href'
Important
Any elements used that do not match these parameters when htmlpurifier is engaged will not render in the browser, meaning they will not be visible in your static page. Make sure you review the content you have added to your static pages before engaging this security setting!
Edit an existing static page
In AtoM, static pages can be edited by authenticated (i.e. logged-in) administrators to reflect your own institution’s or network’s requirements.
This section contains instructions on how to edit static
pages in AtoM. There are potentially two ways to edit
static pages. The primary method is by clicking the the  Admin and selecting “Static pages” from the
drop-down menu. This option will route you to a “List” page, where all
static pages in the application will be listed. Navigate
to the static page you wish to edit by clicking on the blue menu name.
Admin and selecting “Static pages” from the
drop-down menu. This option will route you to a “List” page, where all
static pages in the application will be listed. Navigate
to the static page you wish to edit by clicking on the blue menu name.
Additionally, if to the target static page has been added to the
Quick links menu in the main menu, you can use
the Quick links menu to navigate to the static page you would like to modify -
an “Edit” button will appear at the bottom of the static page.
Below are instructions to edit to the Home page and other static pages in AtoM. For more information on navigating in AtoM, see Navigation in AtoM.
Edit the “Home page”
To edit the “Home page” in AtoM:
Start by navigating to the Home page. Do this by either:
- Clicking on the AtoM site logo located in the top-left corner of the AtoM header bar;
- Clicking the Quick links menu in the
main menu of the header bar and selecting “Home” from the
drop-down menu; or
- Clicking the Admin menu in the
header bar and selecting “Static pages” from the
drop-down menu. Once you are directed to the “List page” for
static pages, click on the “Welcome” blue menu.
All three options will direct you to the Home page view page.
To switch from the main view page to edit mode, click on the edit button in the button block. AtoM will redirect you to the edit page of the Home page.
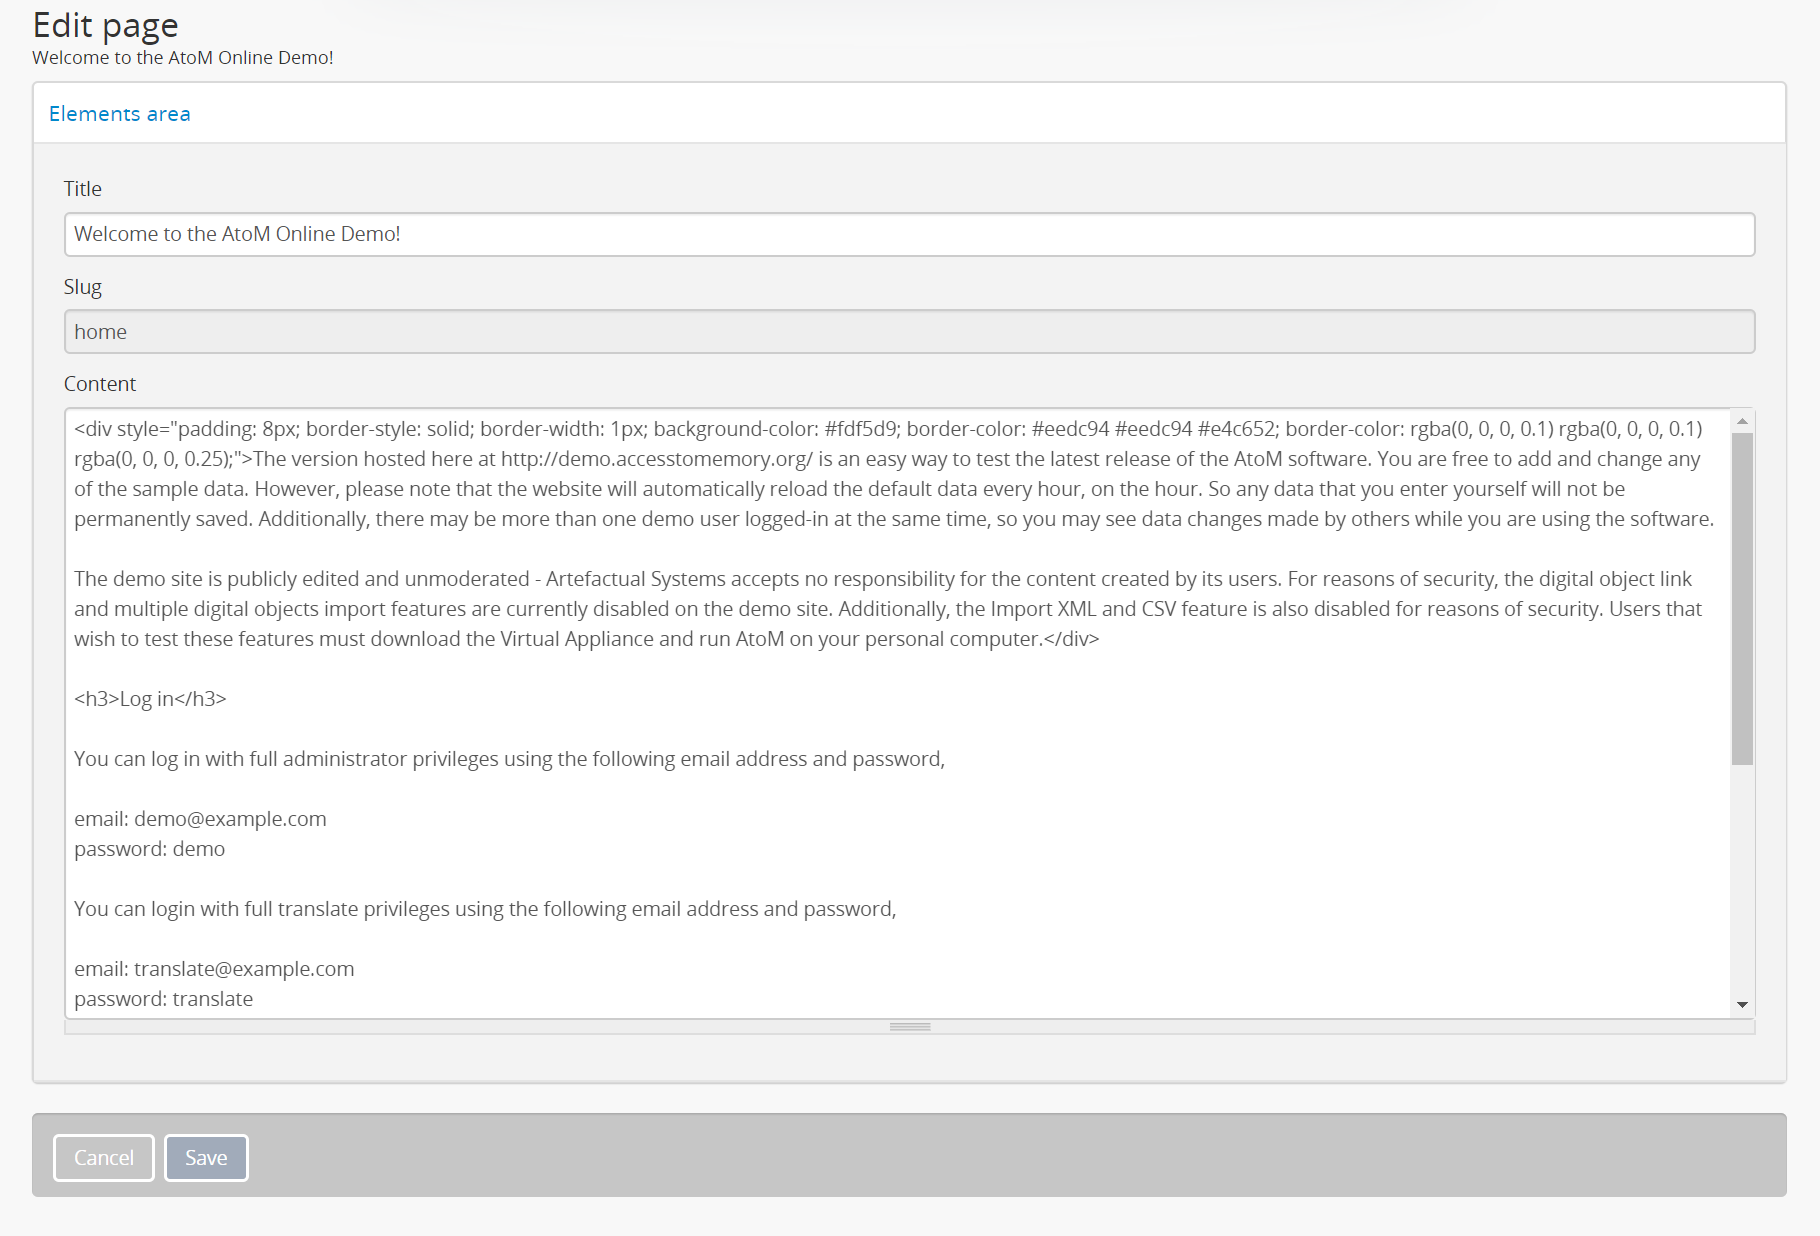
On loading, the edit page will display a “Title” field, a Slug field and a “Content” field.
Important
The Slug field is a page title referenced by AtoM code to manage URLs; it cannot be changed for the Home page or the About page. However, it can be edited in any static pages that you add yourself.
Add and/or revise data as required. Editing the “Title” field of the Home page will edit the static page’s title, and will also affect the blue menu links shown in
Manage > Static pages. For example, if
you change “Welcome” to say “Hello!”, the page title in Manage static pages
will also change to “Hello!”, as will the heading on the page.The main body content of the home page can be edited by changing the data in the “Content” section of the edit page.
Tip
Users can use Markdown, and/or HTML and inline CSS code to the “Content” field to format content, add hyperlinks, or further style the page contents. See below for information on how to style static pages. See also: Formatting.
You can quit the edit process at any time by clicking the “Cancel” button in the button block; any data already entered will not be saved. Note that simply navigating away from the page by any other means, without first clicking “Save” will also result in no edits being saved.
To save the changes made to the Home page, click the Save button located in the button block at the bottom of the edit page. AtoM will reload the home page in view mode so you can review the results of your edits.
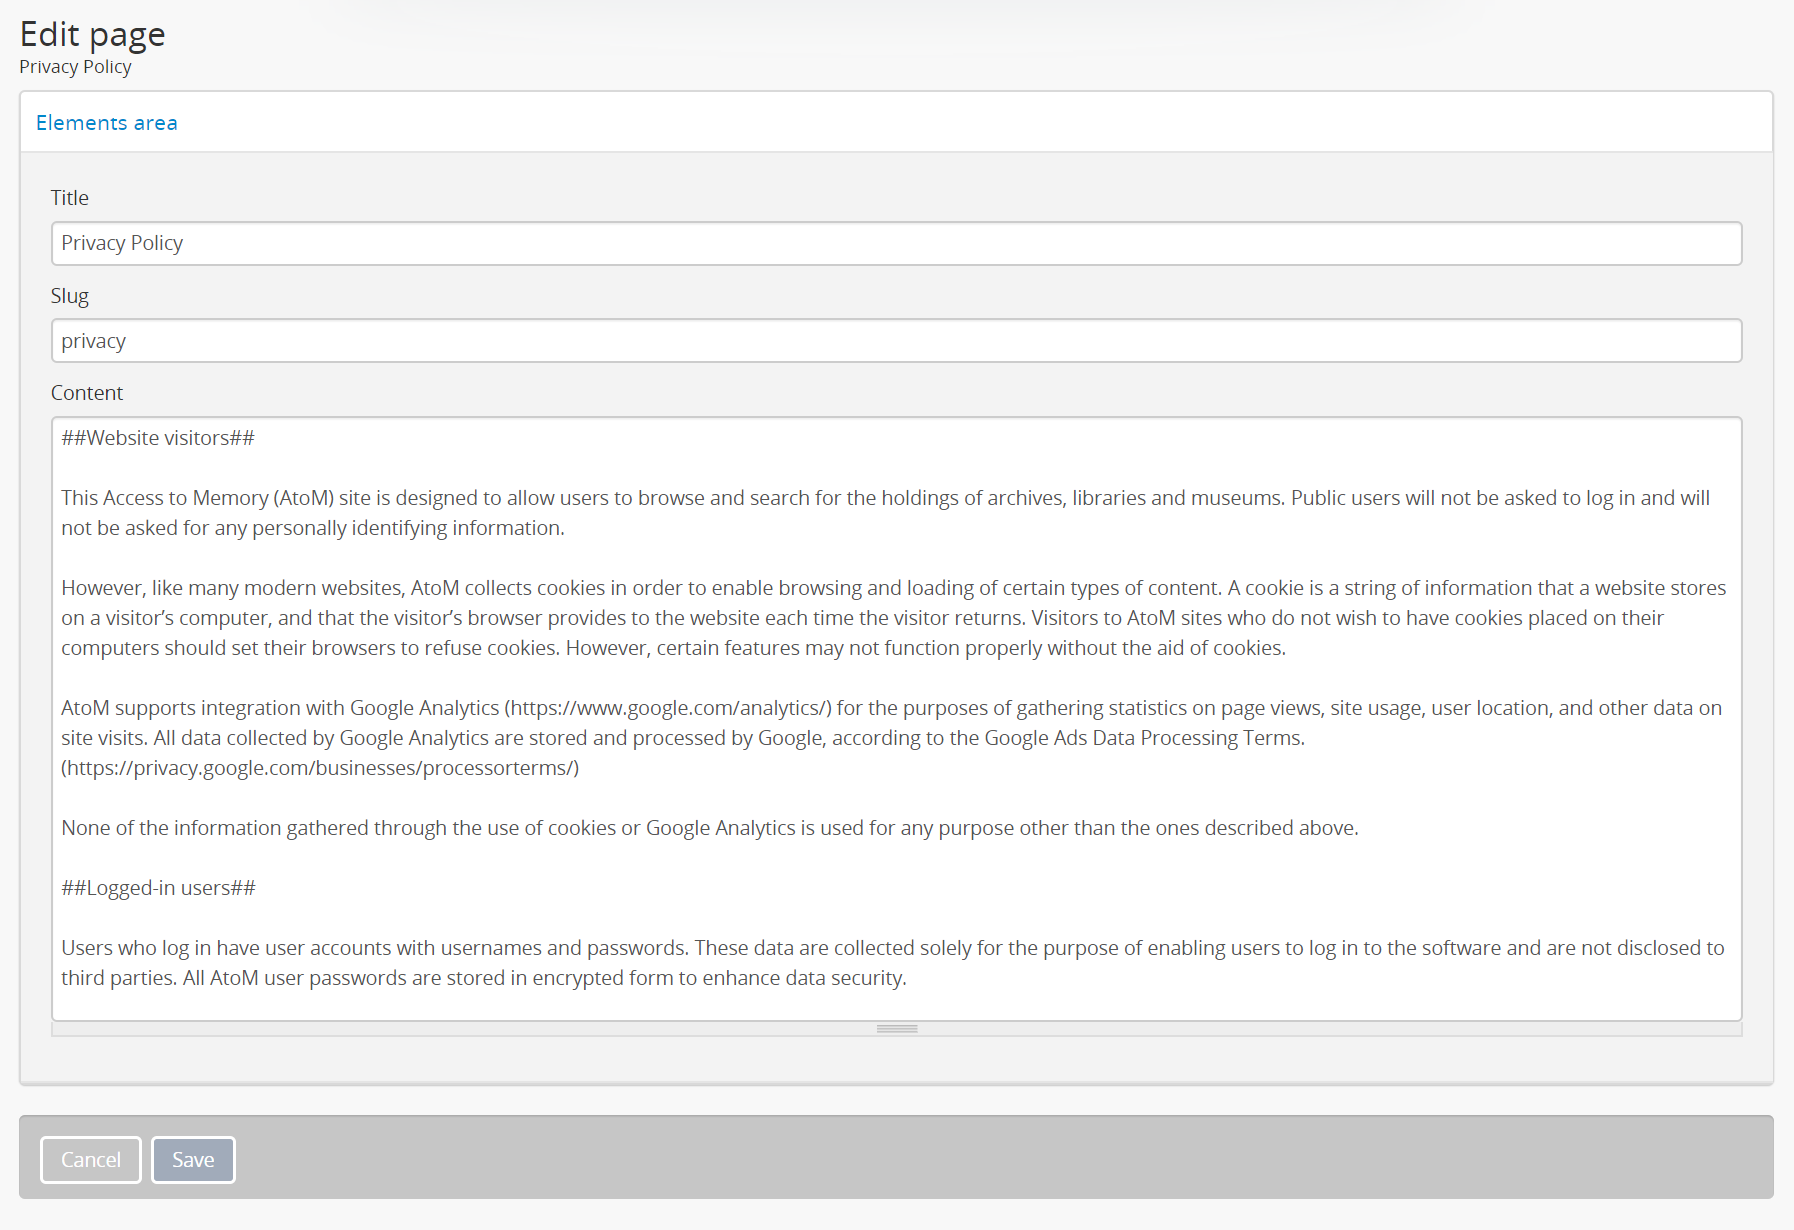
Edit other existing static pages
To edit an existing static page in AtoM:
Navigate to the static page you would like to edit. You can do this by:
- Clicking the Admin menu in the
header bar and selecting “Static pages” from the
drop-down menu. Once you are directed to the “List page” for
static pages, click on the name of the static page you
would like to edit.
- Alternatively, if a link to the static page has been added to the
Quick links menu found in the
main menu of the header bar, you can open this menu and
select the static page you woul like to edit from the drop-down menu.
- Clicking the
Tip
New static pages are not automatically added to the
Quick links menu. This must be done manually by
an administrator via Admin > Menus. For more information,
see:
The three default static pages included in AtoM at installation (Home, About, and Privacy Policy) all have links provided by default in the Quick links menu.
- AtoM will redirect you to the static page. To switch from the main view page to edit mode, click on the edit button in the button block at the bottom of the static page.
- On loading, the edit page will display a “Title” field, a Slug field and a “Content” field.
Important
The “Slug” field is a page title referenced by AtoM code to manage URLs; it cannot be changed for the Home page or the About page. However, it can be edited in any static pages that you add yourself.
The “Privacy Policy” static page is also linked in the default Privacy notification banner text. If you intend to use the Privacy notification and you make edits to the “Privacy Policy” static page slug, you will also need to update the default text included in the notification banner message. See: Privacy notification.
Add and/or revise data as required. Editing the “Title” field of the static page will edit the static page’s title, and will also affect the blue menu links shown in
Manage > Static pages. For example,
if you change “About” to say “Hello!”, the page title in Manage static pages
will also change to “Hello!”, as will the heading on the page.The main body content of the static page can be edited by changing the data in the “Content” section of the edit page.
Tip
Users can use Markdown, and/or HTML and inline CSS code to the “Content” field to format content, add hyperlinks, or further style the page contents. See below for information on how to style static pages. See also: Formatting.
- You can quit the edit process at any time by clicking the “Cancel” button in the button block; any data already entered will not be saved. Note that simply navigating away from the page by any other means, without first clicking “Save” will also result in no edits being saved.
- To save the changes made to the static page, click the Save button located in the button block at the bottom of the page. AtoM will reload the static page in view mode so you can review the results of your edits. Repeat steps 3-6 as needed.
Add a new static page
In AtoM, new static pages can be added at any time by any authenticated (i.e. logged-in) administrator. Similar to both the Home page and the About page, you may wish to add a new static page in order to include permanent, or “timeless” content to your webpage. Static pages may be customized to offers users instructions or help in navigating the site (i.e. a “Help” page), provide contact information (i.e. a “Contact Us” page), or feature website content, categories, and/or contributors.
To add a new static page in AtoM:
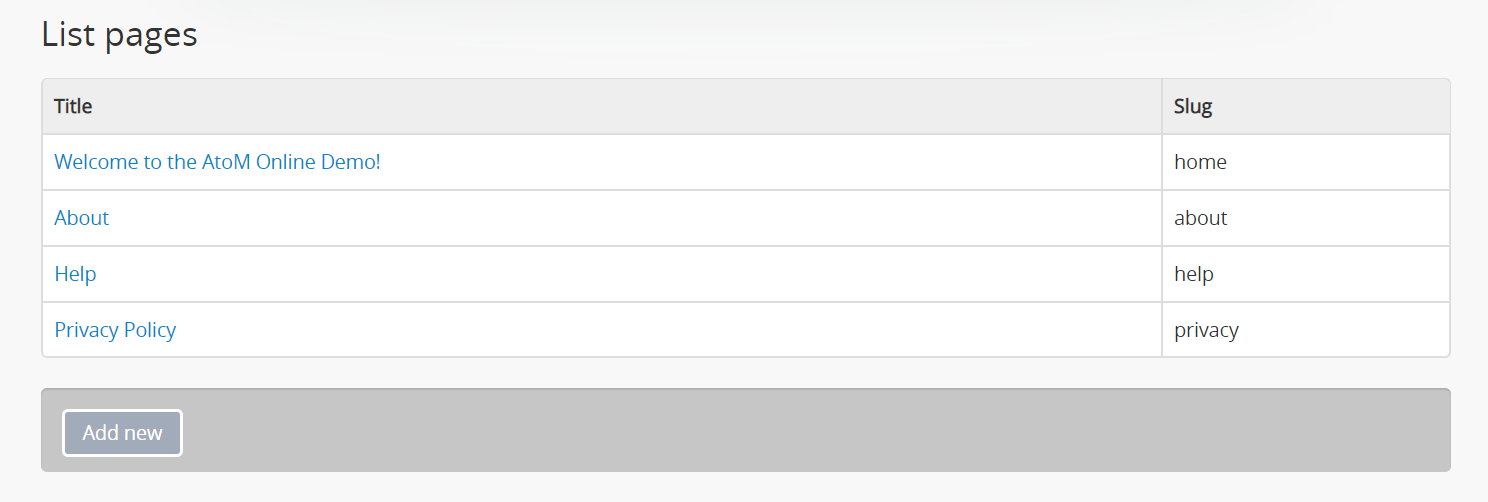
Click the
Admin menu in the
header bar and select “Static pages” from the drop-down menu.You will be directed to a “List pages” page, where all existing static pages will be listed.
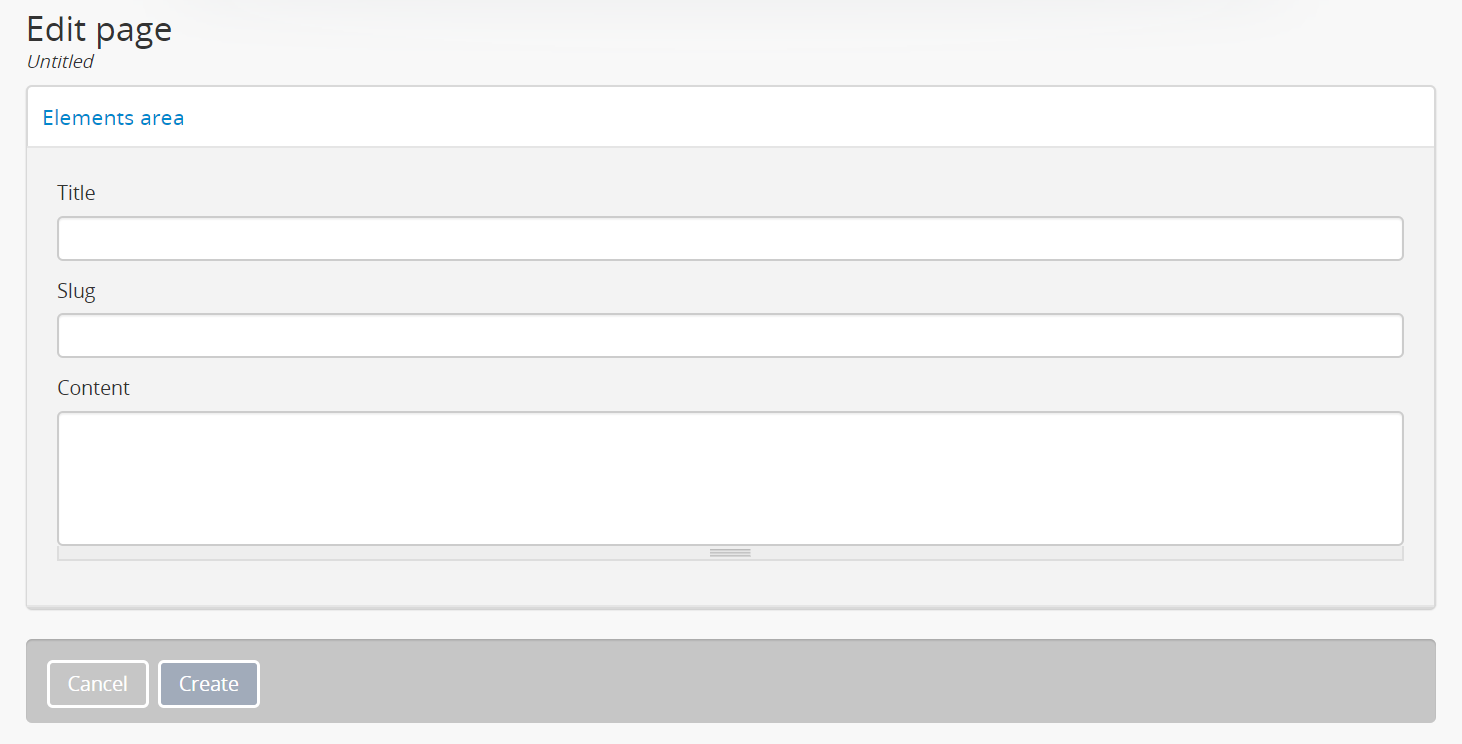
Click on the Add new button in the button block to be directed to the edit page for your new static page.
On loading, the edit page will display blank “Title”, Slug and “Content” fields. Add data as required.
Tip
The slug indicates the word, or sequence of words that will be visible to users in the URL link when they are navigating on a specific static page (e.g.: the slug in the URL www.artefactual.com/help is help). The slug should be indicative of the content of that specific static page.
When creating a new static page, the slug field can either be customized or left blank. If you choose to customize the slug, make the slug all lowercase, keep it short, and avoid accented characters (e.g.:
é,ñ,û) and punctuation (e.g.:!,``;``,...).If you leave the field blank, AtoM will automatically generate a slug based on the “Title” you have indicated for your page (e.g.: If your “Title” is About Us, the slug for that static page will automatically be generated as
about-us). Note that AtoM will automatically replace all accented characters with letters from the English alphabet and punctuation will either be removed or replaced by a dash “-” or percent-encoding (e.g.: If your “Title” is Instructions & More, the slug for that static page will automatically be generated asinstructions%26moreorinstructions-more, unless otherwise indicated). The slug will also appear in the once-blank “Slug” field and can be viewed when switching from the view page to the edit page of that static page.Warning
A slug cannot be duplicated once it has been generated in AtoM. If you duplicate a slug, AtoM will automatically generate a “-2 (or the next subsequent number) at the end of the slug to distinguish it from the other one in the same name (e.g.: Two slugs titled information will result in the second of the two becoming information-2). If you remove an AtoM automatically generated slug from the slug field of a static page you’ve created, AtoM will not re-generate the original slug, regardless of whether or not the “Title” of your page has changed; rather, it will generate a new slug in the form of a series of letters and numbers. This should be avoided, as it creates confusion because it does not accurately indicate the content of that static page. To avoid this, simply enter a custom slug.
The “Content” section is where the main page content of your new static page should be added. You can add Markdown, and/or HTML and inline CSS code to the “Content” field to format content, add hyperlinks, or further style the page contents. See below for information on how to style static pages. See also: Formatting.
You can quit the creation process at any time by clicking the “Cancel” button in the button block; any changes made will not be saved. Note that simply navigating away from the page by any other means, without first clicking “Save” will also result in no new static page being created.
When you are finished creating your new static page, click the “Save” button in the button block.
You will be directed to the view page of the new static page where you can view your changes. The page can be edited again at any time.
Add menu links to a new static page
Once a new static page has been created, a new menu link must also be created in order to allow users to navigate to the new static page. You can do this by either creating a link within one of the default static pages or by clicking Admin > Menus and clicking the Add new button in the button block or by linking the new static page to an existing menu.
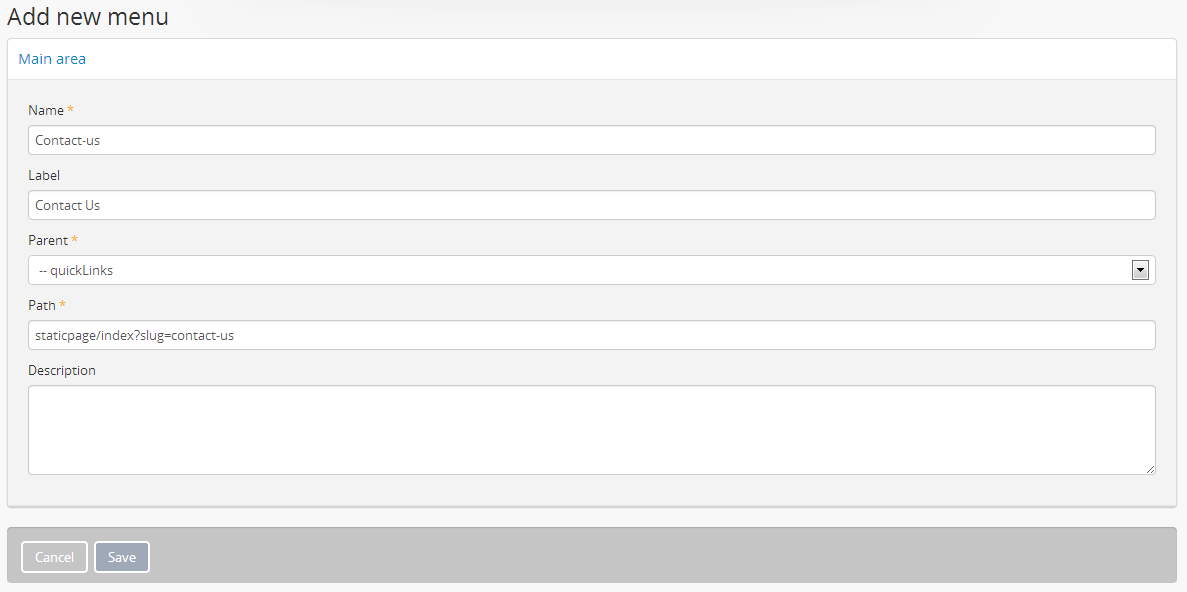
This example shows a newly created “Contact Us” static page that has
been added as a menu under the Quick links
parent menu:
Here is the result of the above:
The information which will be needed when linking a new static page:
- Name: an internal name which is not visible to users.
- Label: how you wish the name of the page to appear in the menu.
- Parent: which menu you wish the page to be linked from.
- Path: in the format
staticpage/index?slug=yourSlug. yourSlug is the slug you either created or had AtoM generate automatically for you when the page was created. - Description: an optional area to describe the purpose of the page.
For more information on managing menus in AtoM, see: Manage Menus.
Add a custom sidebar menu with links to your static pages
If you have certain static pages that you would like to be prominent and readily available to users throughout the application, you can also create a custom Static pages menu. This involves working with both static pages, and the Manage Menus module.
When nodes are added as children to the staticPagesMenu in Admin
> Manage menus, They become visible in the following places:
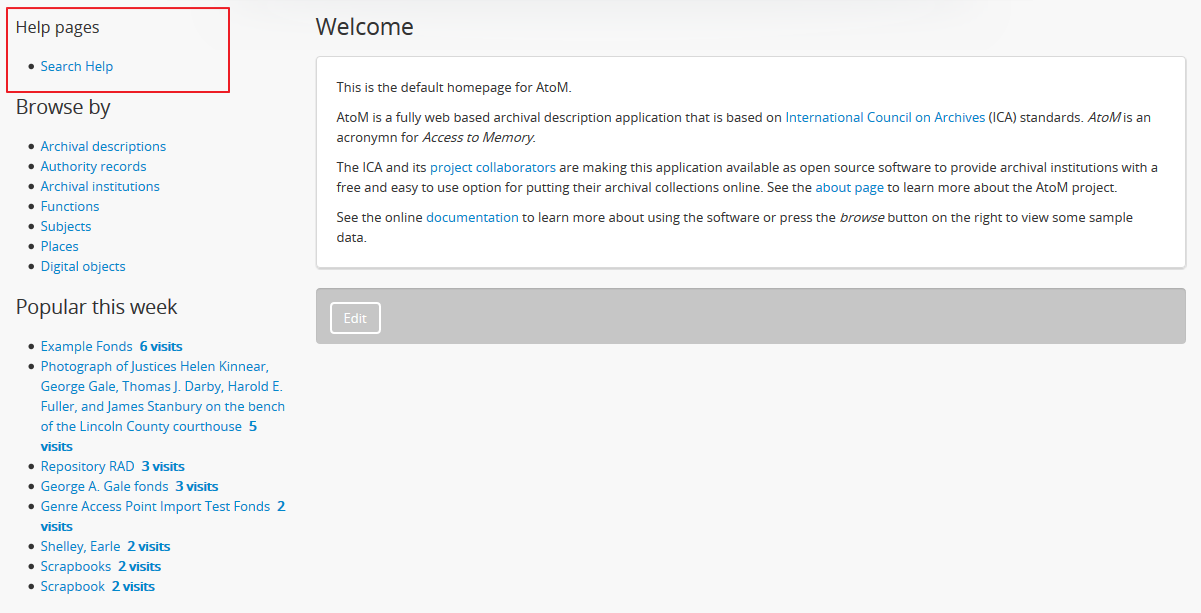
- On the homepage’s left-hand side, above the Browse and Popular this week links
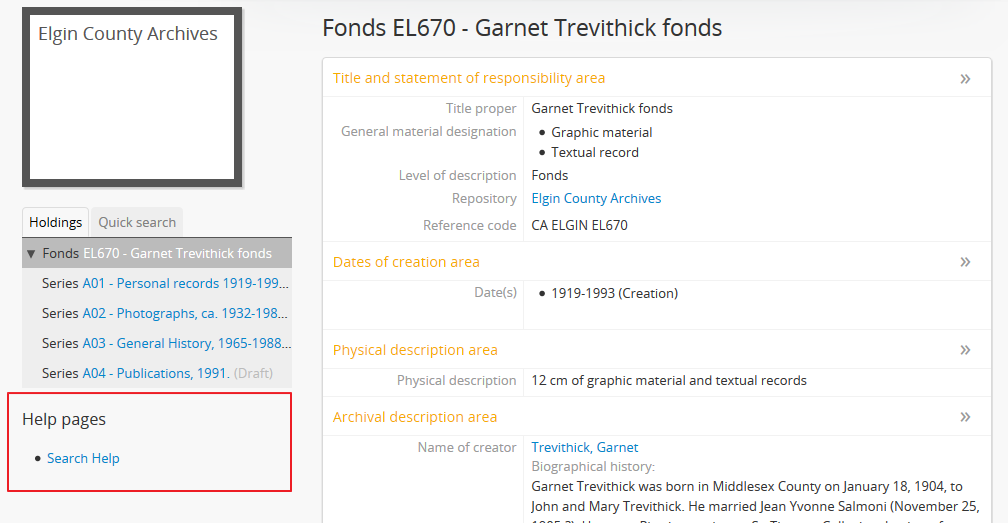
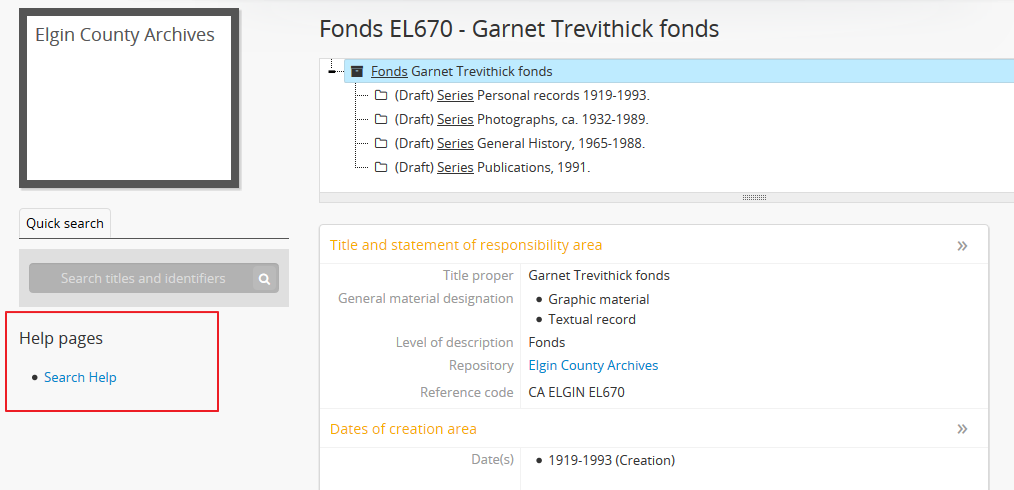
- On all archival description pages, below the treeview (or below the Quick search menu, when the full-width treeview is in use - see: Treeview type for more information)
- As a sidebar menu on the left side of all static pages.
You can also give the new sidebar menu a custom heading. The following instructions will use the example of adding links to help pages, created using the static pages module.
See also
To add a custom sidebar menu wtih links to your static pages:
- Prepare the static pages you would like to use in the menu items. If you haven’t created them yet, see above, Add a new static page for guidance on creating new static pages, and below, Styling static pages for hints on how to use HTML and simple inline-CSS to style them.
- You will need to know the slug you have assigned to each static
page you want to add to the new menu - you can either return to the
edit page of your static page, or navigate to the view page,
and look at the URL to identify the permalink (the unique part of the URL -
for example, on the webpage http://www.example.com/about-us,
about-uswould be the slug. For further information, see Notes on slugs in AtoM). - Navigate to Admin > Menus and scroll down until you see the
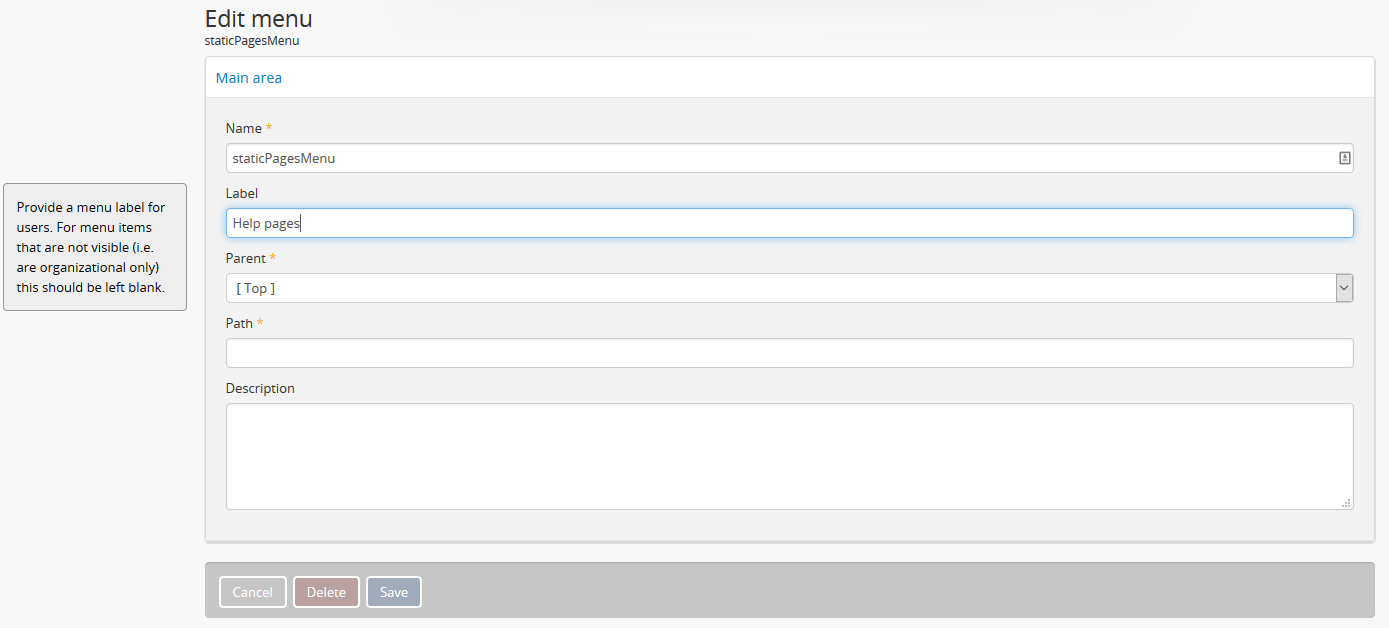
staticPagesMenunode near the bottom. Click on it to enter edit mode.

- You can now edit the “Label” field value, to give your new menu a custom header. In this example, we’ll call our new menu “Help pages.”
- Save the page by clicking the “Save” button in the button block at
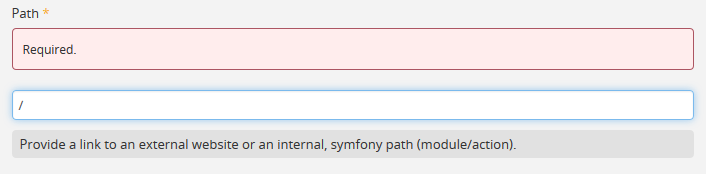
the bottom of the page. Note: you may be prevented from saving the
first time - AtoM will prompt you for a Path value, even though none was
there before. You can simply enter a
/slash character in the field, and then click “Save.”
- AtoM will return you to the Manage menus page. Now we’ll add our static page(s) to this menu. Click the “Add new” button in the button block located at the bottom of the Manage menus page.
- AtoM will open a new edit page for a menu item. For further information on working with menus, see: Manage Menus.
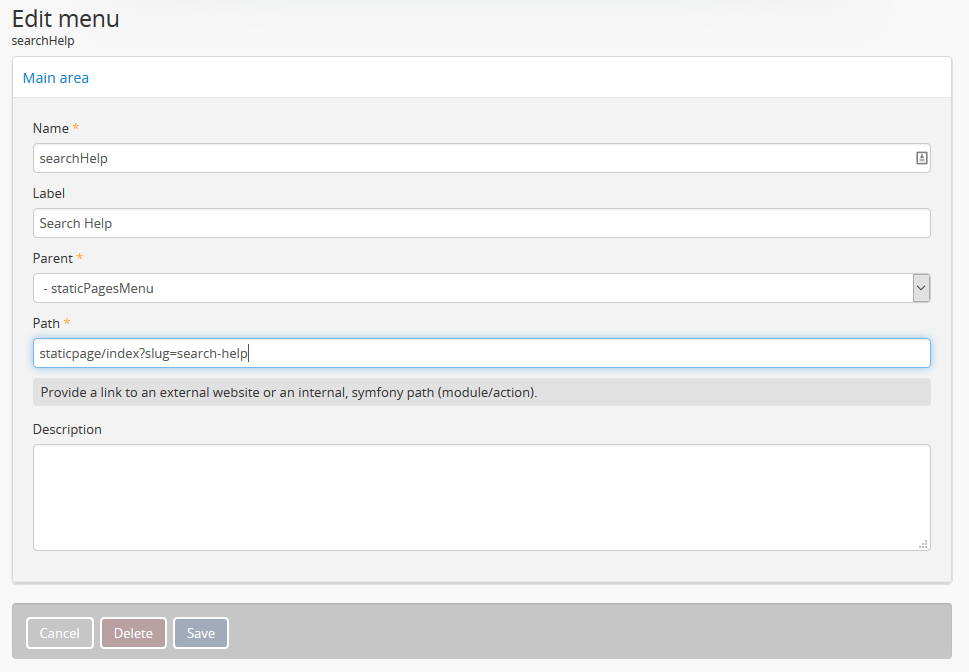
- Fill out the menu edit page with the information about your static page:
- Name: This is an internal name used by AtoM, that will not be seen by
AtoM users. We suggest using
camelCase as part of a naming
convention. In this example, we’ve called our menu node
searchHelp. - Label: This is what public users will see in your sidebar menu. Note that the name does not need to be the same one you’ve given your static page - in our example, we’ve named our static page “Searching in AtoM,” but we’ve decided to call the menu link “Search Help.”
- Parent: For your new menu node to show up in the sidebar menu, you
must choose
-staticPagesMenufrom the drop-down list - Path: This is where we’ll use the slug from your static page.
We could just add the slug directly, but to make the routing more
reliable, add it as follows:
staticpage/index?slug=your-slug-here, whereyour-slug-hereis the slug you gave your static page. - Description This is not visible to public users - you can add a description to remind yourself and other administrators how and why this node was added to the Menus page, if you like.
- Name: This is an internal name used by AtoM, that will not be seen by
AtoM users. We suggest using
camelCase as part of a naming
convention. In this example, we’ve called our menu node
- You can quit the create process at any time, by clicking the “Cancel” button in the button block at the bottom of the page. Note that navigating away from the page without first clicking “Save” will also result in a loss of all your changes.
- When you are satisfied with the information entered, click the “Save” button located in the button block at the bottom of the page. AtoM will redirect you to the Manage menus page.
- You can repeat steps 6-10 as needed, to add other static pages to your new menu.
- You should now see your new sidebar menu on the home page, archival description view pages, and when viewing any other static page. Some examples images are included below.
Important
Some things to remember when working with static pages and new new Static pages sidebar menu:
- Because the presence of the menu affects the normal width of the static pages, you might want to review how your static pages look if you have added a lot of custom styling to them.
- If you create a new static page, it is not automatically added to either the Quick links menu, OR the new Static pages Menu described above - you must add links yourself.
- If you delete a static page that has been added to either of the above
menus, the menu links will not automatically disappear - you must
also manually delete the links from the
staticPagesMenuin the Manage menus page. Otherwise, they will still be visible throughout the application - but they will lead to a broken page! - If you decide you no longer want the Static pages menu to be visible,
simply delete the child page nodes you have added - if the
staticPagesMenunode in Admin > Manage menus has no children, the sidebar will no longer display in the user interface. - For more information on managing menus in AtoM, see: Manage Menus.
Examples of the Static pages menu in use
On the homepage:
On an archival description (sidebar treeview):
On an archival description (full-width treeview):
On annother static page:
Styling static pages
Basic styling of static pages can be achieved in two ways.
The first method is to use AtoM’s Markdown formatting to style content. For more information on formatting content using Markdown, see:
The second method of styling AtoM static page content is by adding HTML and inline CSS code to the static page’s editable area. There are plenty of online tutorials and resources out there for instruction on HTML and inline CSS use, but a few basic examples commonly employed by AtoM users have been included here as an example.
You can use a mix of Markdown and HTML in static pages. Note that HTML content is not supported outside of static pages in AtoM.
See below for instructions on how to use HTML to create and edit:
Tip
Remember, if you enable Markdown formatting in AtoM, you don’t need to write any HTML! For more information, see:
Headers, subtitles, and emphasis
To increase the size of a heading or subtitle, wrap the relevant text in
<h3> </h3> tags, like so:
<h3>For more information, please contact</h3>.
This will produce the following results:

For larger headings, use smaller numbers, such as <h2> or <h1>.
Similarly, for smaller headers, use <h4> or <h5>.
To bold, italicize or underline headers and subtitles, simply wrap the relevant
text in <strong></strong> for bold, <em> </em> for italics, or
<u> </u> for underline. Typing <strong>Artefactual Systems Inc.</strong>
will produce the following results:

Hyperlinks
To create external links on an AtoM static page, wrap the text you would like to
act as a link in a hyperlink <a> </a> tag, and include the web
address to which you would like the link to point, using the href=" "
attribute - the http address would go in the quotations. Remember to close the
element after the text you want to link.
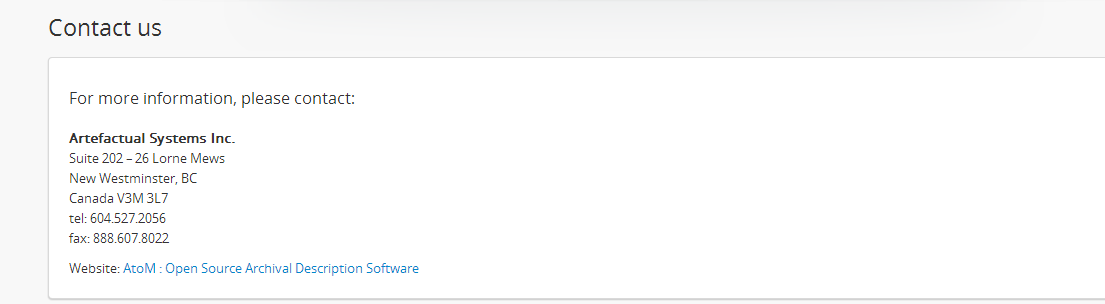
For example, to include a link in the “Contact Us” page, the code would appear as such:
Website: <a href="https://www.accesstomemory.org/en/">AtoM : Open Source
Archival Description Software</a>
The above code would appear like this on the static page:
See also
Images
If you have access to the server on which your AtoM instance is located (i.e.,
if you are hosting it yourself, or can ask the hosting provider to include a file
for you), you can place images in a directory on the host server, and use a
local URL to point to them. Images can then be used via the HTML <img>
image element, where the src=" " attribute points to the
path of the image, similar to how the hyperlinks are used above. For example, if
you wanted an image of email, named “contact-image.jpg” included on your static
“Contact Us” page, the code might look like this:
<img src=".../path/to/contact-image.jpg">
…where /path/to represents the internal URL path to the location of
contact-image.jpg on your host server, or the path to a web-accessible image.
To center the image, you can wrap the <img> image element in a <div>
element, with a text-center" class, like this:
<div class="text-center"><img src=".../path/to/contact-image.jpg"></div>
You can also reuse some of the existing image classes from Bootstrap, to further
style your images. For example, you can round the corners with the img-rounded
class:
<img class="img-rounded" src="../path/to/my-bunny-image.jpg">
Or if you’re using a Bootstrap 5 theme, use the rounded class instead.
<img class="rounded" src="../path/to/my-bunny-image.jpg">
Produces:

Make an image circular using the img-circle bootstrap class:
<img class="img-circle" src="../path/to/my-bunny-image.jpg">
Or if you’re using a Bootstrap 5 theme, use the rounded-circle class instead.
<img class="rounded-circle" src="../path/to/my-bunny-image.jpg">
Produces:

Or give your images a frame, like on our digital object browse page, using the
img-polaroid class:
<img class="img-polaroid" src="../path/to/my-bunny-image.jpg">
Or if you’re using a Bootstrap 5 theme, use the img-thumbnail class instead.
<img class="img-thumbnail" src="../path/to/my-bunny-image.jpg">
Produces:

Tip
Resuing existing Bootstrap CSS classes is a good way to style elements when you have the htmlpurifier setting engaged - see above, Static pages and security configuration for more information.
Boxes and dividers
You can add styled boxes around text by wrapping content in the HTML <div>
element, and then using inline CSS to modify the
appearance of the box. For colors, use the HTML or RGB values for the color you
would like to use, rather than generic names such as “red,” “blue,” etc. - most
browsers support a limited pallette of colors using names such as this, and the
results may be inconsistent across browsers. There are many free HTML color
wheels available that allow you to choose a color and copy its HTML# or RGB
values; for example: http://www.colorpicker.com/
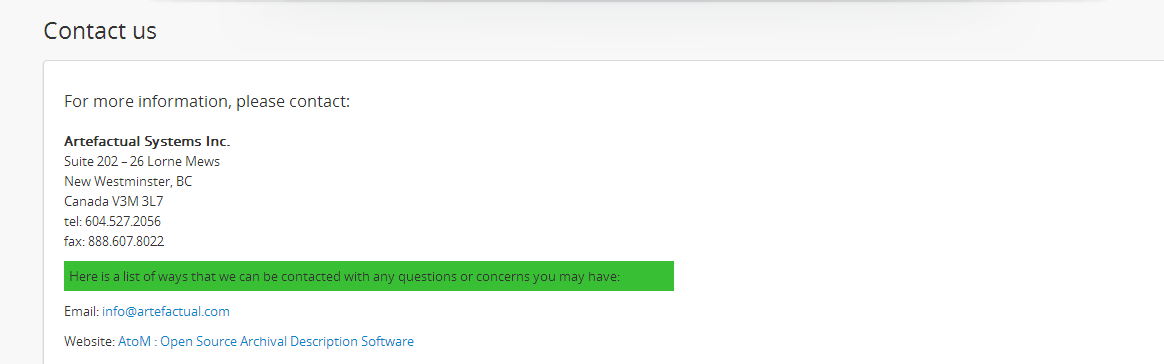
For a small centered box with a green color, you might use code such as this:
<div style="width:600px; margin-left:right; margin-right:right; padding: 5px;
background-color:#39BF34; border:none;">Here is a list of ways that we can be
contacted with any questions or concerns you may have:</div>
This is how the box will appear:
Note
The above example will not work if you have htmlpurifier engaged in AtoM. For more information, see the section above, Static pages and security configuration for more information. The examples below, reusing existing Bootstrap classes, will work even when htmlpurifier is engaged.
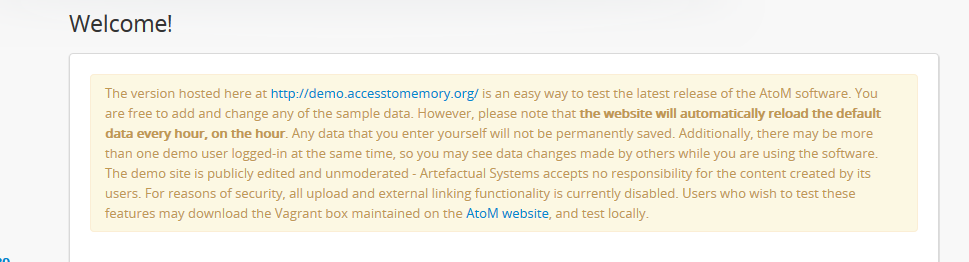
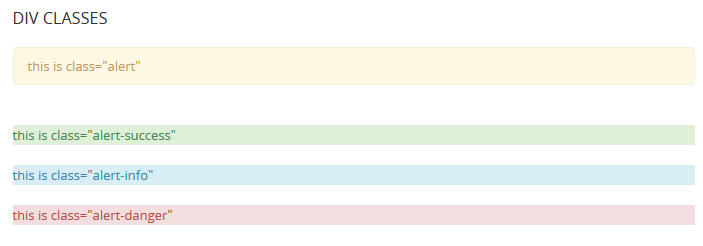
Another example of this is the light yellow box that appears on the AtoM demo’s “Welcome” static page warning users that the data will reset every hour. This yellow box is reusing an existing style class from the Bootstrap CSS framework that AtoM uses - you can make use of existing Bootstrap classes to help with styling, like so:
<div style="alert">Welcome message appears here</div>
And here is the result:
Other Bootstrap alert classes that can be used to style containers include
alert-success, alert-info, and alert-danger:
Note
If you are using a Bootstrap 5 theme, your alert will not have a background
color by default. You can include an alert-primary class or one of the
other alert classes listed above if you wish to apply a background color
and border on your alert.
<div style="alert alert-primary">Welcome message appears here</div>
<div style="alert alert-secondary">Welcome message appears here</div>
<div style="alert alert-info">Welcome message appears here</div>
<div style="alert alert-warning">Welcome message appears here</div>
<div style="alert alert-danger">Welcome message appears here</div>