Rights
As discussed in the section on entity types, Rights records provide rights related restrictions that can be linked to accession records, archival descriptions and digital objects. AtoM Rights metadata elements use PREMIS rights elements. In AtoM restrictions can be based on Copyright(s), License, Statute(s) and Policy. You can also include rights restrictions based on guidelines set by the Donor of the records. Rights are inherited in AtoM, which means that rights added at a higher level (e.g., fonds level) are inherited by the lower levels (e.g., item level). If you add rights to an accession record, all archival descriptions created from that accession will inherit the same rights. If you add rights to an archival description at the fonds or collections level, all lower levels (aka child records) such as the file or item-level will inherit those rights.
Add a new rights record
This section describes how to add a new rights record by using the rights dialog provided through the add/edit template. You can add rights to an existing record, or create a new record and add rights as you proceed. The following instructions will cover both scenarios.
Note
You must be logged in and have the appropriate privileges, such as editors and administrators to be able to add/edit content in AtoM, which includes creating a rights record. See: Log in.
Add rights to an Accession record
IF YOU ARE ADDING RIGHTS TO A NEW ACCESSION RECORD
- Navigate to the main menu located in the header bar, click
the
 “Add” menu and select
accession record from the drop-down menu. AtoM takes you to
a blank edit page for data entry for an accession record.
“Add” menu and select
accession record from the drop-down menu. AtoM takes you to
a blank edit page for data entry for an accession record.
- On loading, the edit page displays the accession record with the first information area open, Basic info.
- You can begin entering information about your new accession. For more information on working with accession records in AtoM, see: Accessions When you are ready to add a related rights record to your new accession, proceed to step 4, below.
IF YOU ARE ADDING RIGHTS TO AN EXISTING ACCESSION RECORD
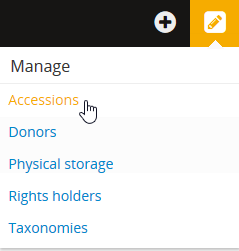
- Navigate to the accession record you want to edit. You can do this via the main menu in the AtoM header bar, by clicking on Manage > Accessions. For more information on navigation in AtoM, see: Access content.
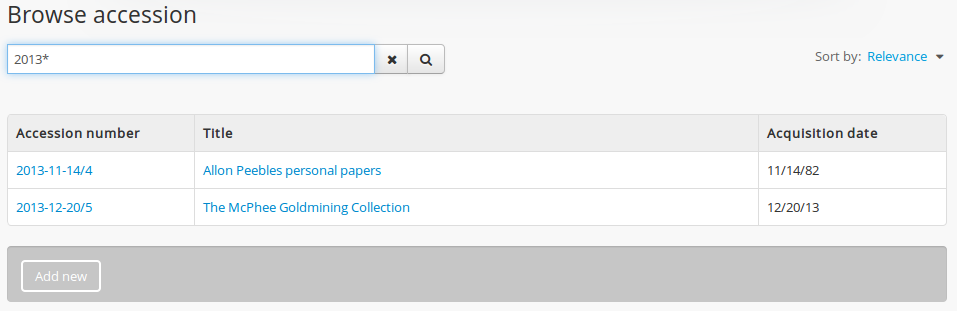
- AtoM will redirect you to the accession record browse page. Select the record you want by clicking on the hyperlink Identifier. You can also search for an accession record with the accession records search box located at the bottom of the browse page. For more information on searching for accession records in AtoM, see: Searching for accession records.
- When you have arrived at the record to which you wish to add rights, Click on the “Edit” button located in the button block located at the bottom of the page to enter edit mode; alternately, you can click on on of the information area headers to open the edit page directly in that section. Proceed to step 4 below.
- To enter Rights information, scroll down the page until you see the information area titled, “Rights area”. If the section is collapsed, click on area header to expand and access the rights record dialogue.
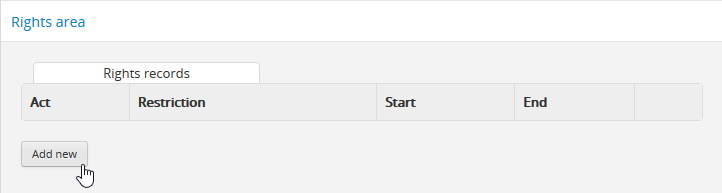
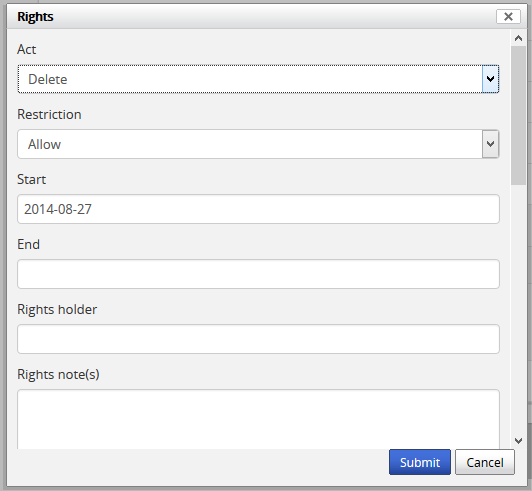
- Click on the “Add new” button and the default rights record dialogue box will pop up.
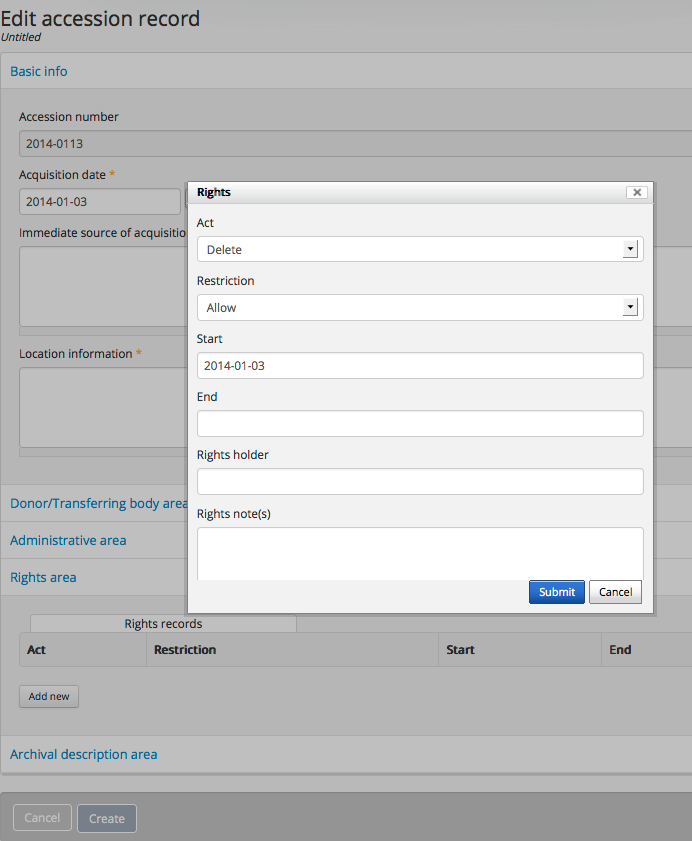
Rights record dialogue box in edit accession record page.
- The “Act” data entry field is a drop-down list. You can select: Delete, Discover, Display, Disseminate, Migrate, Modify, and Replicate.
- The “Restriction” data entry field provides two choices: Allow or Disallow.
- You can add a Rights holder name, or select an existing one using the auto-complete action provided by AtoM.
- You can add a Rights note, describing any additional information about the Rights holder that might not already exist in their Rights holder record.
- The “Basis” data entry field is a drop-down list. You can select: Copyright, License, Statute, Policy, or Donor.
Tip
Depending upon your selection, the AtoM Right record dialogue may provide additonal data entry fields. Be sure you scroll down in the dialogue to see all of the available fields!
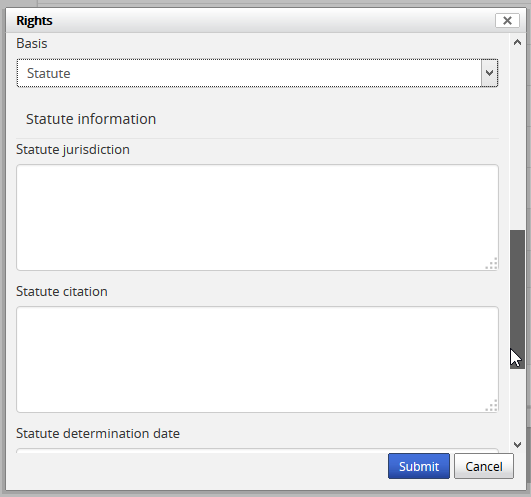
In this example, a user has selected “Statute” as the Rights basis, and more fields have appeared in the rights dialog.
- Once you complete adding information to the rights record, click on the blue Submit button and then click on the blue Create button to save the new accession record. If you have already created the accession record, and you are editing the rights information, you will click on the blue Save button.

Add rights to an Archival description
TO ADD RIGHTS TO A NEW ARCHIVAL DESCRIPTION:
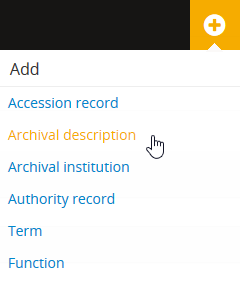
- Navigate to the main menu located in the header bar,
click the “Add” menu and select
archival description from the drop-down menu.
- AtoM takes you to a blank edit page for data entry for an archival description.
- On loading, the edit page displays the archival description with all the information areas, closed. The name of the first information area will vary according to the archival content standard you are using. In the example above, ISAD(G) is shown. You can begin entering information about your archival description. For more information on working with archival descriptions in AtoM, see: Archival Descriptions. When you are ready to add rights to your new archival description, proceed to step 4 below.
TO ADD RIGHTS TO AN EXISTING ARCHIVAL DESCRIPTION:
- First, navigate to the archival description you wish to edit. You can do this by browsing or searching for the archival description - see Access content for more information on navigation in AtoM.
- Switch from view mode to edit mode by clicking the “Edit” button in the button block, or by clicking on one of the information area headings; this takes you to the record’s edit page.

- On loading, the edit page displays the record with all information areas closed; click on an information area to access the fields grouped under it. You can edit any data as required; when you are ready to add a new rights statement to your archival description, proceed to step 4 below.
- To enter Rights information, scroll down the page until you see the information area titled, Rights area, click on it to access the rights record dialogue.
- Click on the “Add new” button and the default rights record dialogue box will pop up.
- The “Act” data entry field is a drop-down list. You can select: Delete, Discover, Display, Disseminate, Migrate, Modify, and Replicate.
- The “Restriction” data entry field provides two choices: Allow or Disallow.
- You can add a new Rights holder name, or select an existing one using the auto-complete action provided by AtoM.
- You can add a Rights note, describing any additional information about the Rights holder that might not already exist in their Rights holder record.
- The “Basis” data entry field is a drop-down list. You can select: Copyright, License, Statute, Policy, or Donor.
Tip
Depending upon your selection, the AtoM Right record dialogue may provide additonal data entry fields. Be sure you scroll down in the dialogue to see all of the available fields!
In this example, a user has selected “Statute” as the Rights basis, and more fields have appeared in the rights dialog.
- Once you complete adding information to the rights record, click on the blue Submit button and then click on the blue Create button to save the new archival description. If you have already created the archival description, and you are editing the rights information, you will click on the blue Save button. Save the archival description as well.
- In the example provided below, you are viewing the completed archival description and can see that a rights record (copyright) has been added.
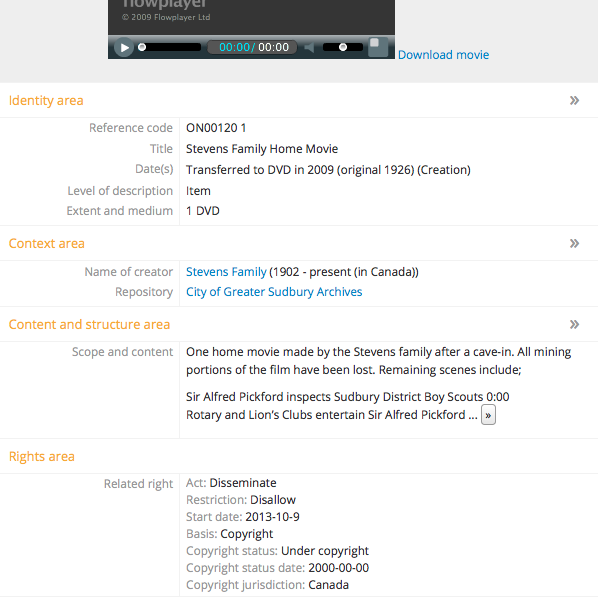
Disseminate rights added to an archival description.
Add rights to a Digital object
- If you have a digital object (e.g., JPEG, PDF, MP3 etc.) associated with an archival description, you can apply Rights information to a single digital object and / or its master, reference copy, and thumbnail versions. For more information on adding digital objects to archival descriptions, see: Upload digital objects.
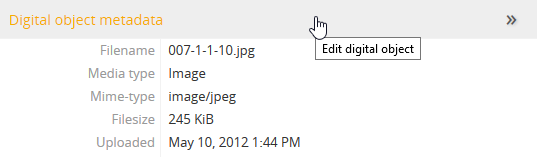
- After you have imported or linked a digital object to an archival description, click on the digital object metadata information area header to edit (note: do not click on the edit button in the button block).
- AtoM will open the digital object edit page and present the Master, Reference and Thumbnail versions of the digital object. Each version has its own Rights records module. To access the rights record for each version, you must click on the “Add new” button and the rights record dialogue box will pop up.
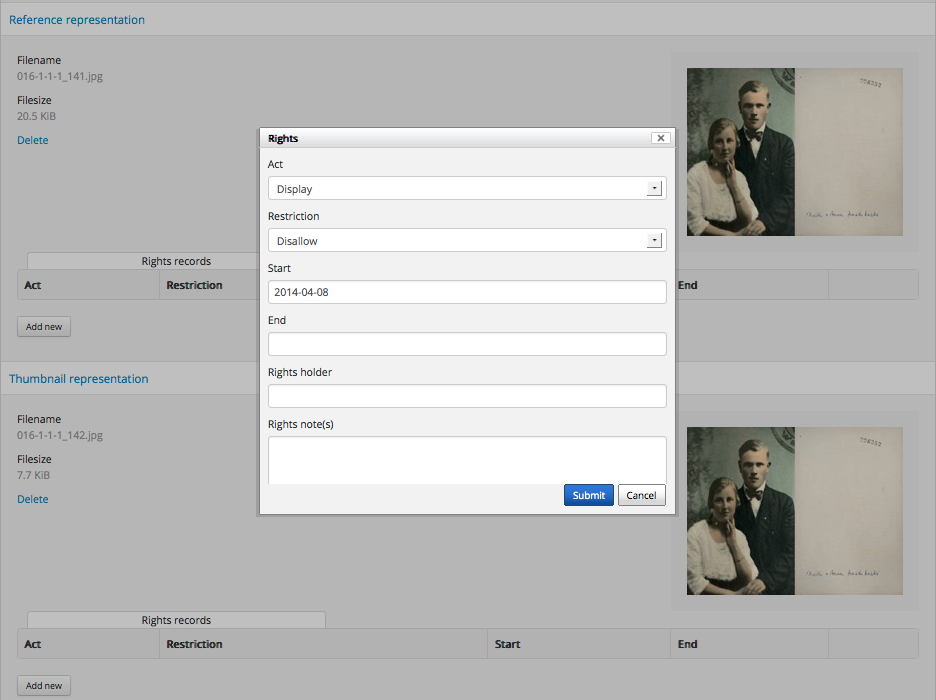
Rights record dialogue box in the Edit digital object page.
- In the example provided above, you are viewing the rights dialogue for the master of a digital image.
- The “Act” data entry field is a drop-down list. You can select: Delete, Discover, Display, Disseminate, Migrate, Modify, and Replicate.
- The “Restriction” data entry field provides two choices: Allow or Disallow.
- You can add a Rights holder name, or select an existing one using the auto-complete action provided by AtoM.
- You can add a Rights note, describing any additional information about the Rights holder that might not already exist in their Rights holder record.
- The “Basis” data entry field is a drop-down list. You can select: Copyright, License, Statute, Policy, or Donor. Depending upon your selection, the AtoM Right record dialogue provides additonal data entry fields.
Tip
Depending upon your selection, the AtoM Right record dialogue may provide additonal data entry fields. Be sure you scroll down in the dialogue to see all of the available fields!
In this example, a user has selected “Statute” as the Rights basis, and more fields have appeared in the rights dialog.
- Once you complete adding information to the rights record, click on the blue Submit button. You will see that a rights record has been added to the reference representation.
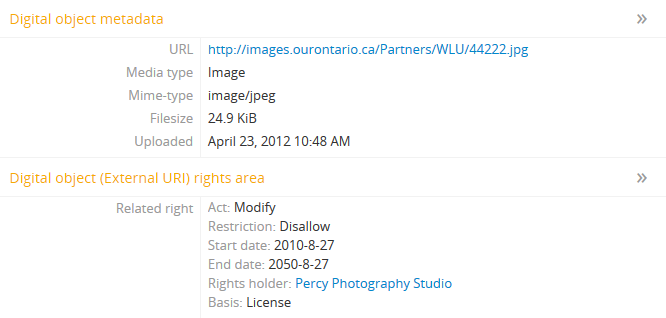
- Click on the save button at the bottom of the page. AtoM will take you to the archival description view page and you can see that a Digital object rights area has been added below the Digital object metadata section.
Manage Rights holders records
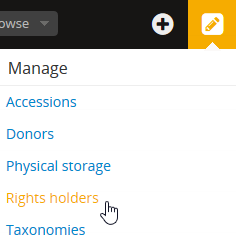
- Users with editor and administrator access permissions can
navigate to the main menu located in the AtoM header bar and
click on the
 Manage menu, then select
Rights holders from the drop-down list. AtoM will take you to a browse page
for Rights holders.
Manage menu, then select
Rights holders from the drop-down list. AtoM will take you to a browse page
for Rights holders.
Tip
For general information on navigation in AtoM, see: Access content. For general information on browse menus in AtoM, see: Browse. See also our section on the Manage menu
An administrator can also customize the elements that appear in the Main menu via Admin > Menus. For more information, see: Manage Menus.
- When you have arrived at the Rights holders records browse page, AtoM provides a dedicated search box for searching existing rights holders in the system. For more information on using the Rights holders dedicated search box, see: Rights holders. The list of rights holders can be browsed by “most recent” or “alphabetic” via the Sort button on the page.
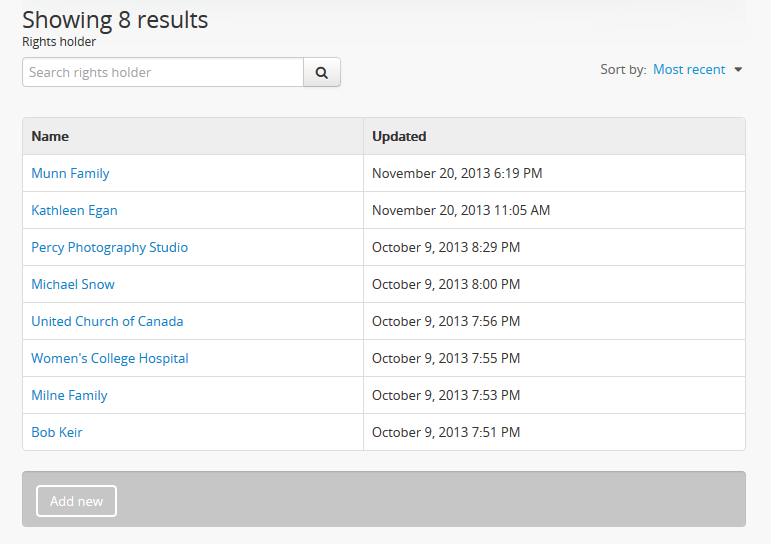
- If you click on the hyper-link name of a rights holder, AtoM takes you to the View rights holder page.
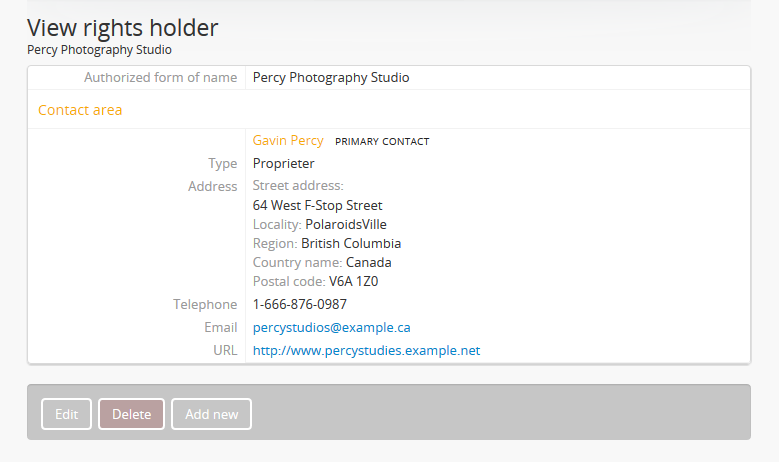
- The View rights holder page lets the authorized user edit and delete the existing rights holder record, or add a new rights holder.
- If you click on the edit button, AtoM takes you to the Edit rights holder template. There are two areas: the Identity area and the Contact area. In the Identity area there is one data entry field, authorized form of name. In the Contact area there is add new button, which allows you to add a new contact person. If you click on the add new button, AtoM opens a contact information dialogue with three tabs, Main, Physical location and Other details. Add as much information into the Related contact information dialogue and click on the Submit button.
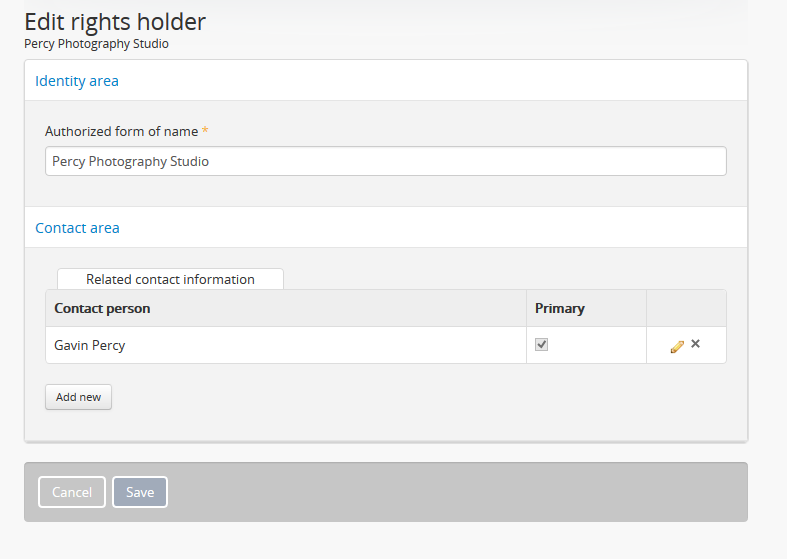
- Remember to click on the Save button at the bottom of the rights holder page to save all the new information you have added to the rights holder record. AtoM will reload the Rights holder record in view mode.

- If you click on the Delete button located at the bottom of the Rights holder record when in view mode, AtoM will ask you to confirm that you want to delete the Rights holder record. Click the “Delete” button to delete, or the “Cancel” button to return to Rights holder record view page. If you click “Delete,” the Rights holder record will be permanently deleted.
