File and item list reports and printing
AtoM offers users the ability to generate lists of files and items associated with an archival unit. Both public users and logged-in users have access to these reports, and can generate new ones on demand.
Reports can be generated in either CSV format, or as HTML - in both cases, files are available to users for download. The HTML files can also be opened in a web browser and used for printing.
Report generation is managed by AtoM’s job scheduler, so it is performed asynchronously in the background. To work, a system administrator must have installed and configured all job scheduler requirements - for more information, see: Asynchronous jobs and worker management.
Once generated, reports are saved in a reports subdirectory of the
downloads directory, until new reports are generated to replace them.
An administrator can also determine whether or not reports should include Retrieval information - that is, any physical storage information associated with the file or item, such as container name, type, and location. For more information on configuring this setting, see: Generate archival description reports as public user.
See also
For more information on linking physical storage information to an archival description, see:
The following will outline how to generate file and item-level reports. Note that for an authenticated (i.e. logged in) administrator, there are other report options (for physical locations and box label CSV creation). For more information on these options, see: Create physical storage location and Box label reports.
See also
There are numerous other options for exploring the lower-level records of an archival unit hierarchy in AtoM. Some of these need to be configured in advance by an Administrator, while others can be accessed immediately. To explore more of these options, see:
Reports are generated based on where in an archival unit’s hierarchy they are triggered. For example, a file-list report generated from the view page of a Series-level archival description will only include files from that series - not from the entire archival unit. If there are no files beneath the selected series, then the option to generate a file-level report will not be shown.
Warning
AtoM’s file and item list reports are hard-coded to use the “File” and “Item” level of description term in the “Levels of description” taxonomy. If you have edited or removed the “File” or “Item” term from the taxonomy, the report may not work!
To generate a file or item report:
Navigate to the parent record description for which you wish to generate a report. For example, if you wish to see all the items in a particular series, then navigate to the view page of that series - but if you wish to see an item-level report for all items in the top-level fonds, then navigate to the view page of the fonds.
You can navigate to the parent description either by searching or browsing - for more information on navigation in AtoM, see: Access content.
In the right-hand context menu, in the “Explore” section, find the
 Reports hyperlink, and click on it. AtoM will redirect you to
the Reports page.
Reports hyperlink, and click on it. AtoM will redirect you to
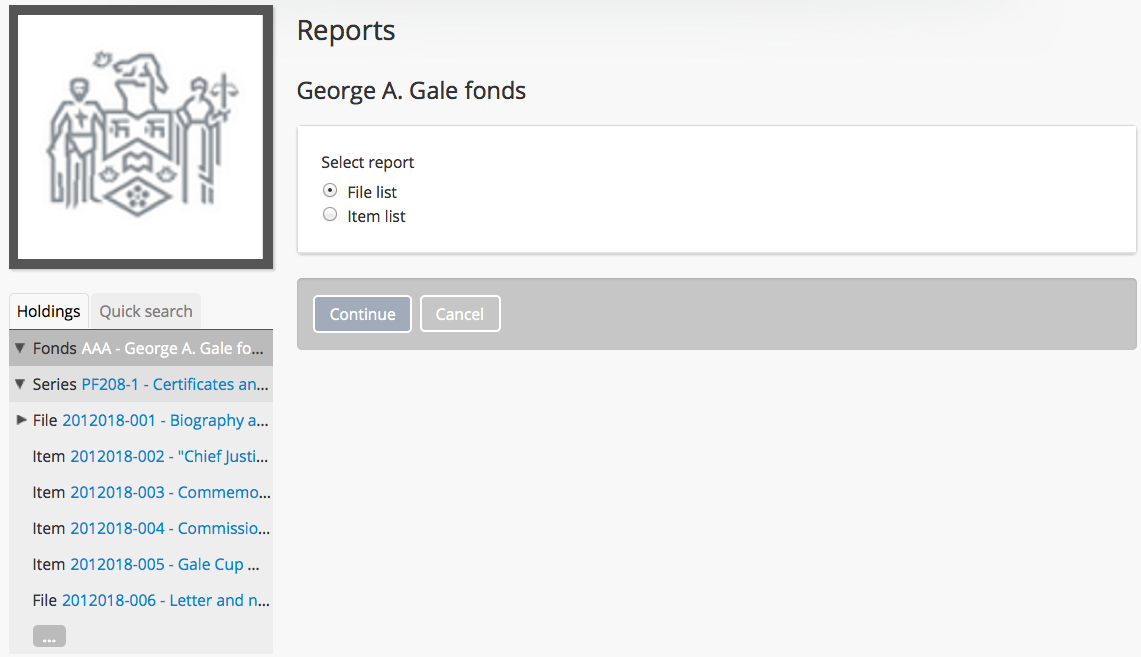
the Reports page.The Reports page is loaded for public users:
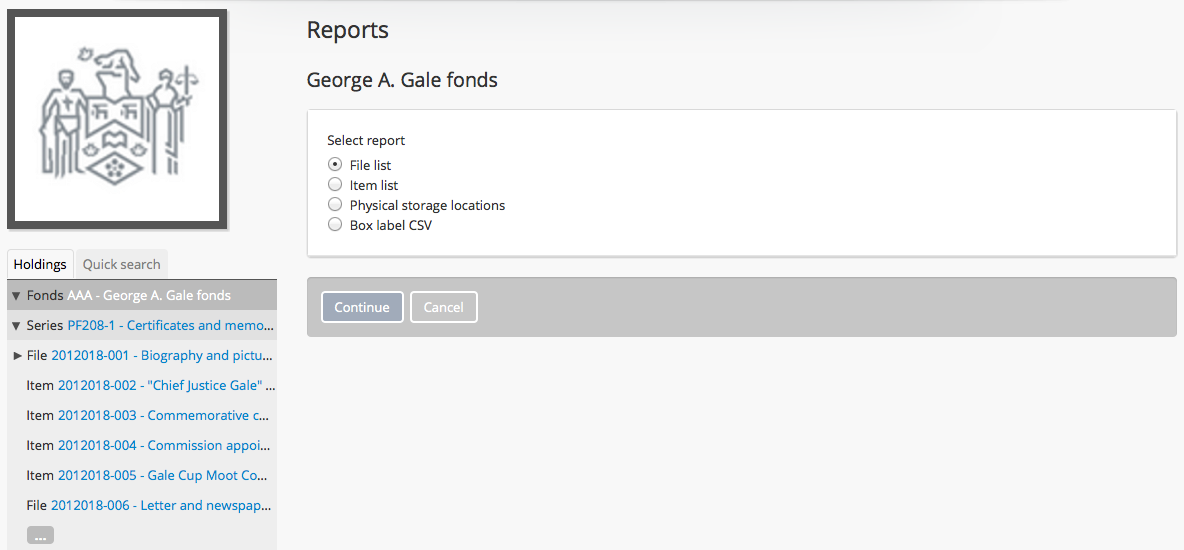
- Alternatively, if you are logged-in as an administrator, AtoM will load the page with additional report options: physical storage locations and box label CSV. For more information on these options, see:
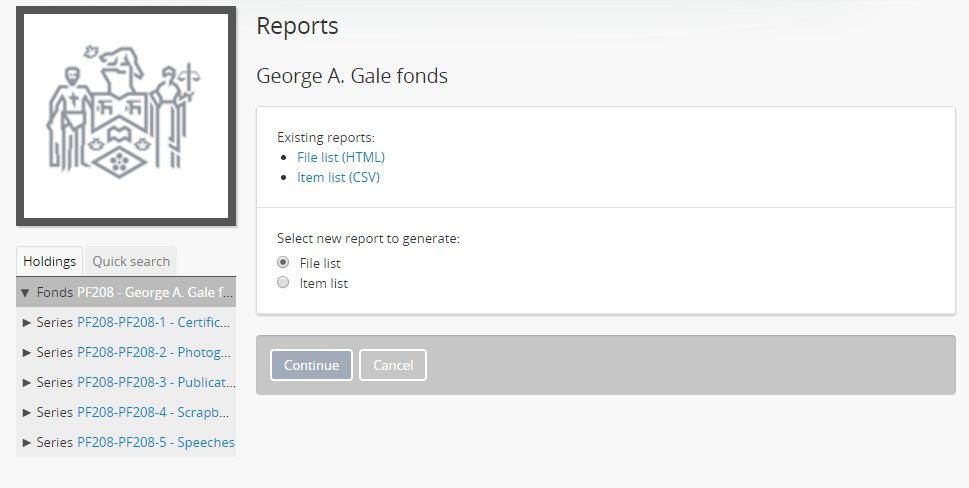
- If there are existing reports that have already been generated, they will be listed above the report generation options. The type of report (file or item list), and the format of the report (CSV or HTML) will be included. To download one of the existing reports, simply click on it.
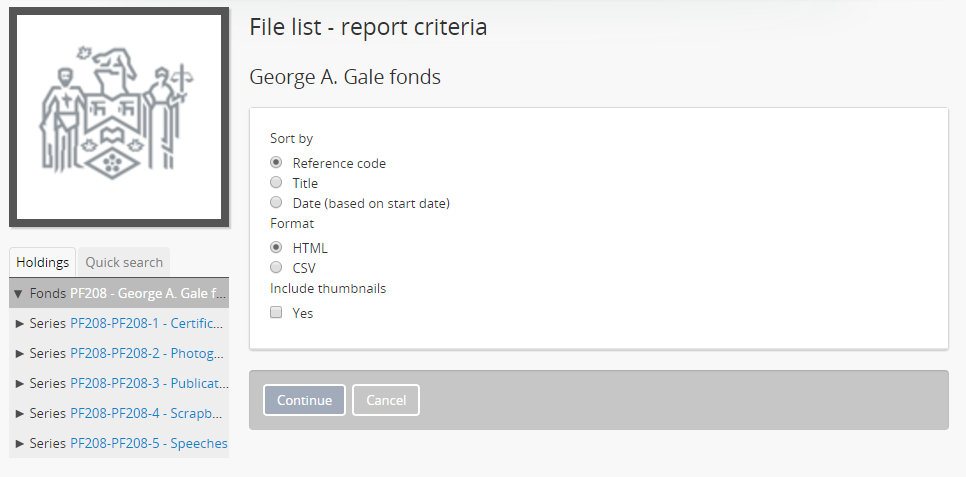
- If you prefer to generate a new report, ensure that the radio button is set to your preferred report type - “File list” or “Item list.” Click on the Continue button, and AtoM presents a report criteria page for the public user, which provides the following sort options: reference code, title and date (based on start date).
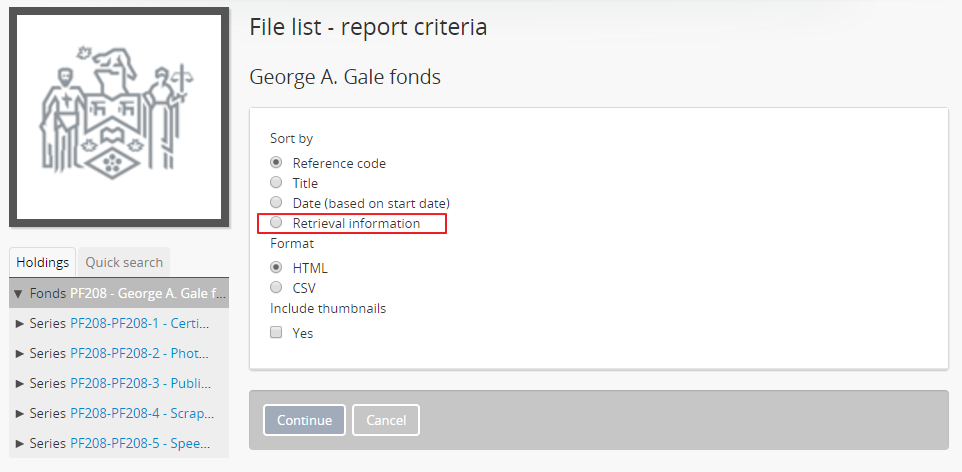
- If you are logged-in, an additional sort option is presented - sort by Retrieval information (i.e. physical storage information).
Important
There is a setting in  Admin > Settings > Global that determines
whether or not Retrieval information - i.e. physical storage
container name, type, and location information - is included in the
reports. For more information, see: Generate archival description reports as public user.
Admin > Settings > Global that determines
whether or not Retrieval information - i.e. physical storage
container name, type, and location information - is included in the
reports. For more information, see: Generate archival description reports as public user.
If the report is set to generate as a public user (i.e. setting is set to “Yes”, so that physical storage information is excluded), then sorting by Retrieval information won’t do anything! Be aware of this as you configure your report options.
Choose your preference for sorting the list by clicking on the appropriate radio button. This determines which column in the report will be used to order the contents of the list generated.
Select your preferred format: available options are CSV or HTML. The CSV option can be viewed as raw data in a text editor, or as structured data in a spreadsheet application such as LibreOffice Calc or Microsoft Excel. The HTML version can also be looked at in a text editor, or as a print layout by opening it with your web browser.
Finally, if there are digital objects associated with the files or items, you can choose to include a thumbnail column in the report produced - note: this option only works with the HTML report.
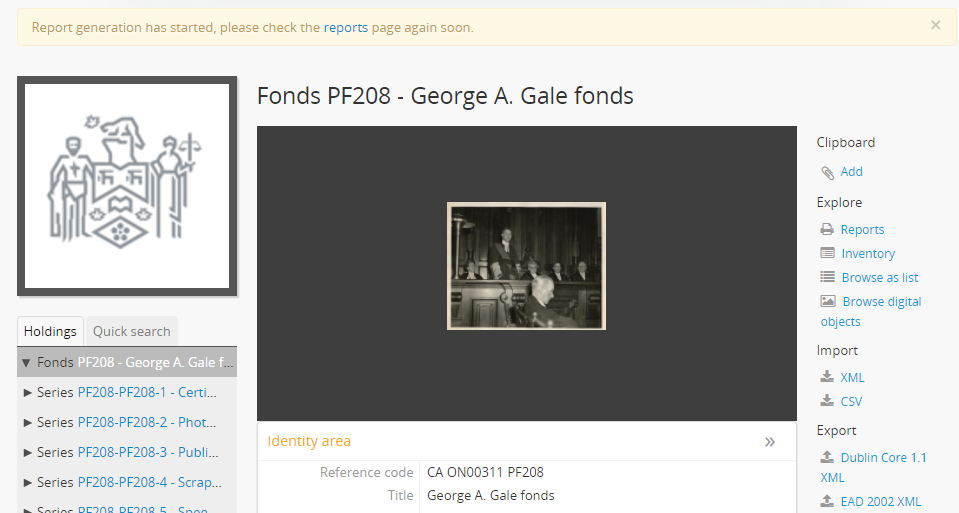
When you are finished configuring the report, click the Continue button in the button block at the bottom of the page.
Once submitted, AtoM will reload the page and return you to the view page for the related archival description. A notification will appear at the top of the page, letting you know that report generation has started.
To check on the status and retrieve your report when it is ready, you can either click on the
Reports button in the right-hand
context menu again, or you can use the link to the reports page
provided in the notification. When completed, your reports will appear in
the “Existing reports” section of the Reports page, as shown in Step 5.
Tip
Logged in users can always check on the status of any job by navigating to the Manage > Jobs page. For more information, see: Manage jobs.
For HTML reports, clicking them will open them immediately in your web browser. You can use the “Back” button to return to the reports page, and if you wish to save a local copy, Right-click anywhere on the page and use the “Save as” option in your browser to save a local copy.
For CSV reports, clicking them will trigger a download. You will need a local application to view the file - we recommend a spreadsheet application such as LibreOffice Calc.
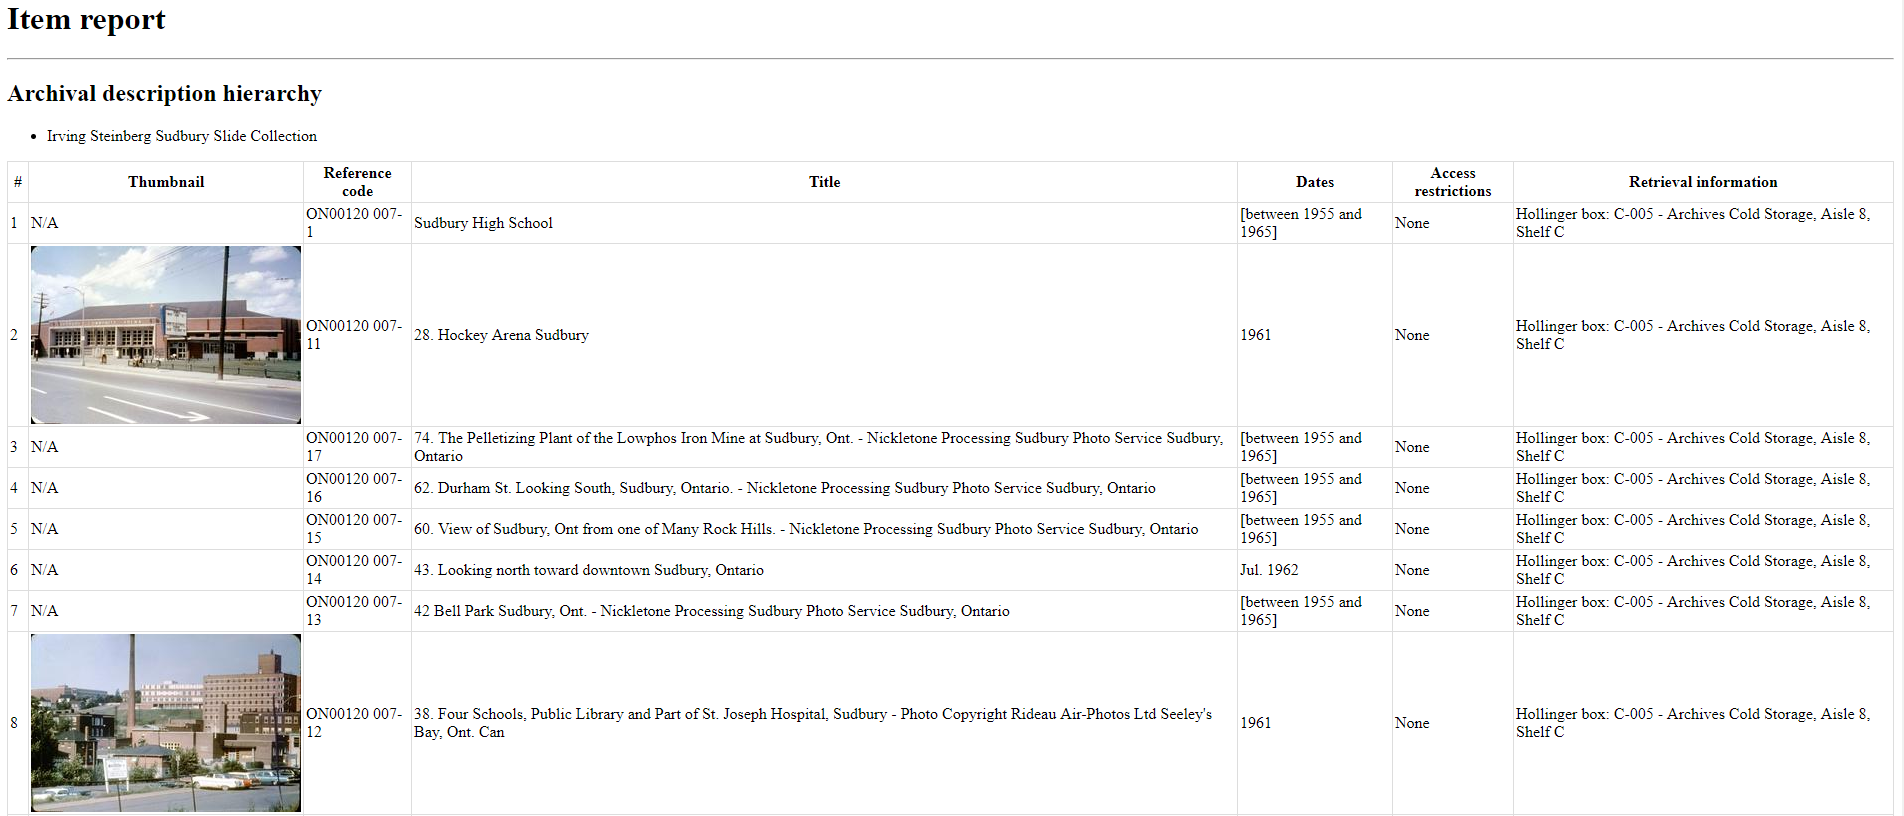
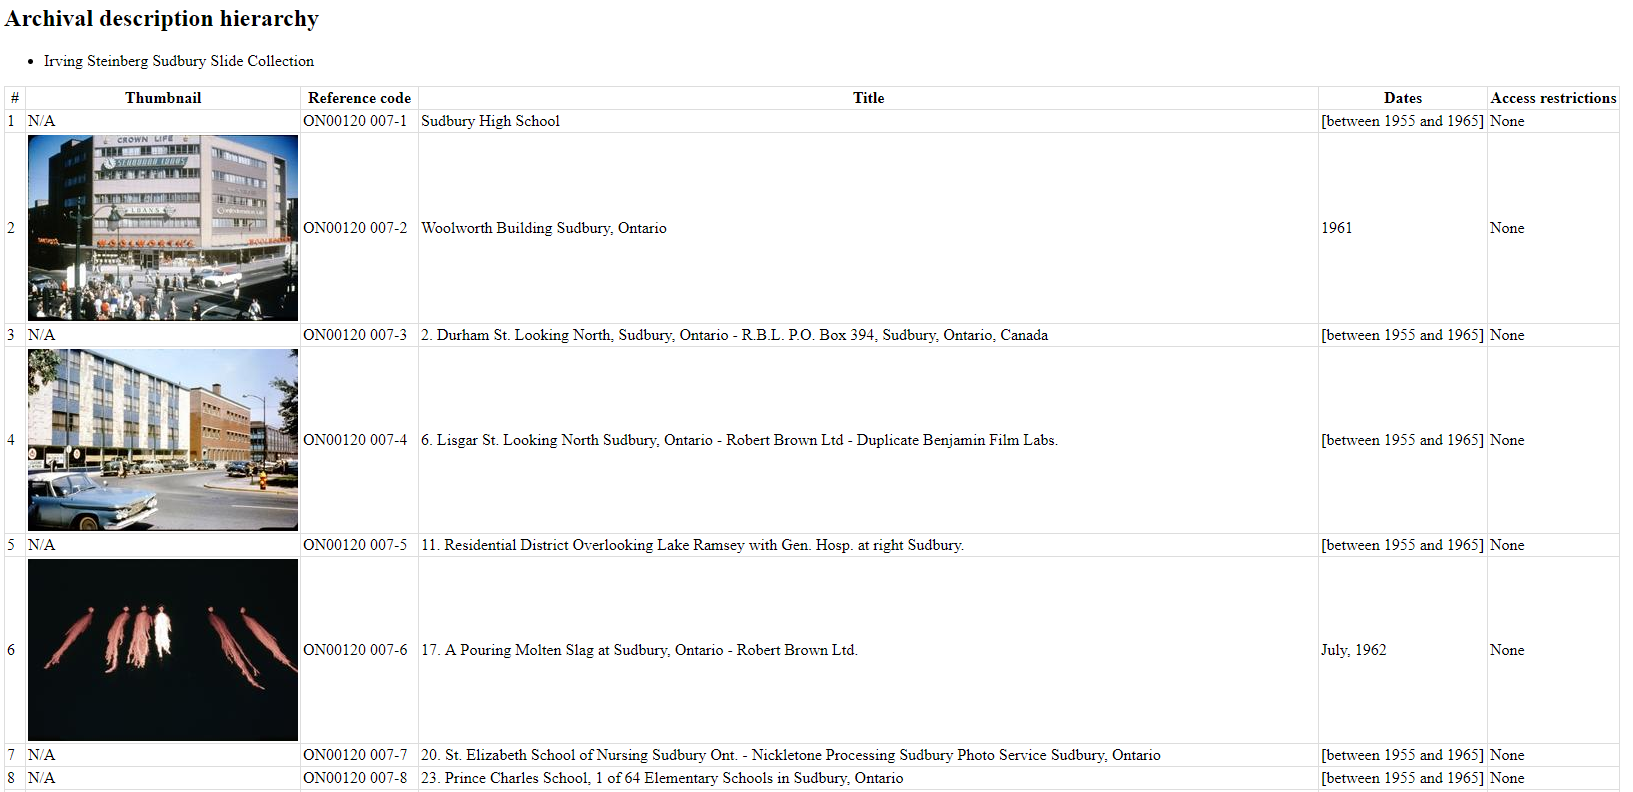
The example below shows a item list report generated as HTML, with thumbnails, with the Generate archival description reports as public user Admin setting set to “Yes” (so retrieval information is excluded), and sorted by reference code:
Now here is the same item list report, but with the Generate archival description reports as public user Admin setting set to “No” (so retrieval information is included this time), and sorted by Retrieval information. Notice the addtional column to the right, called “Retrieval information,” that includes physical storage information: