Donor records
The SAA Glossary defines a donor as “An individual or organization who gives property or money to another without reciprocal compensation,” adding that in many instances, “individuals who donate collections are not the provenance of the collection.” This implies that a donor is not nessarily the creator of the materials being donated to a repository - rather, they are the last legal custodian of the records before they are passed to a repository for long-term preservation.
In AtoM, donor records can be used more generically than the SAA Glossary defintion - they can be used to manage records of all individuals who supply records and other materials to a repository, whether freely or with the expectation of compensation. Donor records are a way to maintain a record of the provenance of accessions, so that donors can be contacted in the future if necessary. Donor records can be created independently; more often they are added while creating an accession record via the donor dialog that is available in the accession record edit template.
Below are instructions for using the Donors module in AtoM to:
- Add a new donor record
- Edit an existing donor record
- Link a donor record to an accession
- Delete a donor record
See also
Add a new donor record
In AtoM, there are currently 2 ways to add a new Donor record:
Tip
Want a quicker way to add a new donor? AtoM menus are customizable; you can add a link to Donors in the main menu under Add > Donor. To do so, you will require an administrator account - navigate to Admin > Menus, and click the “Add new” button at the bottom of the page. Add the following information to each field in the menu template:
- Name: addDonor
- Label: Donor
- Parent: –add
- Path: donor/add
A link to a new Donor record edit template will now appear in the main menu under Add > Donor. For more information on working with menus in AtoM, see: Manage menus.
Using the donor dialog in the accessions template
- Begin creating a new accession record, or navigate to an existing accession record and enter edit mode. Please see the Accession records page for more information on creating a new accession or editing an existing accession record.
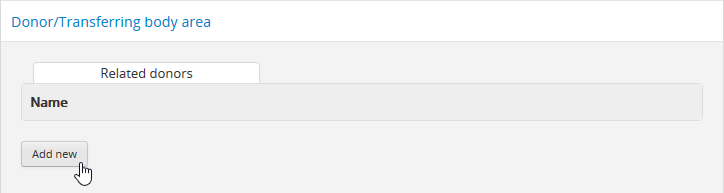
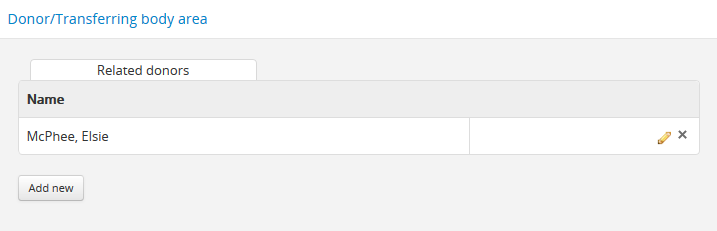
- In the accession record edit page, Navigate to the “Donor/Trasferring body” information area and click the “Add new” button.
- A dialog will pop up and you can enter the names and contact information for related donors using the donor dialog. The dialog allows you to include the donor name and give an alternative contact person. Enter data as required.
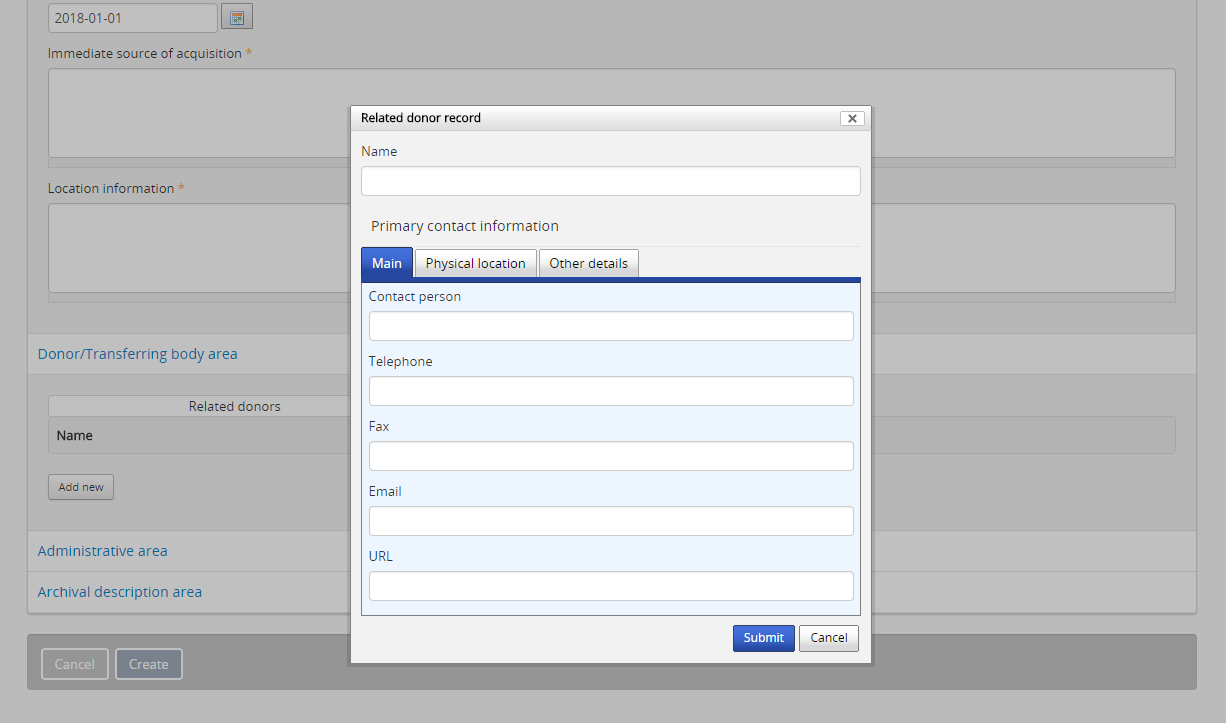
Fields in the donor dialog are organized into 3 tabs - Main, Physical location, and Other details. Be sure to click on each tab and complete the related fields in the dialog as needed. Fields available in the donor dialog include:
- Name - an autcomplete field where you can link to an existing donor record or enter a new name to create a new donor record.
- Main tab:
- Contact person
- Telephone
- Fax
- URL
- Physical location tab:
- Street address
- Region/province
- Country
- Postal code
- City
- Latitude
- Longitude
- Other details tab:
- Contact type
- Note
When new information is entered into the donor dialog, a new Donor record is created. Alternatively, if you have selected an existing donor using the autcomplete values in the Name field, you can edit the existing contact information.
Once you have completed entering the donor information, click on the “Submit” button to save and return to the accession record edit template.

- You can add multiple donors to a single accession record by repeating steps 2-4 if desired. If you need to edit the donor information, click the pencil icon next to the donor name in the “Donor/Transferring body area” of the accession record’s edit page; the donor dialog will re-open and you can make changes. Clicking the “X” icon next to a donor name in the “Donor/Transferring body area” will remove the Donor from the accession record.
- Continue adding and/or editing data in the accession record as needed. When you are finished, click the “Create” (if you are creating a new accession record) or “Save” (if editing an existing accession record) button in the button block of the accession record to complete adding the new donor.

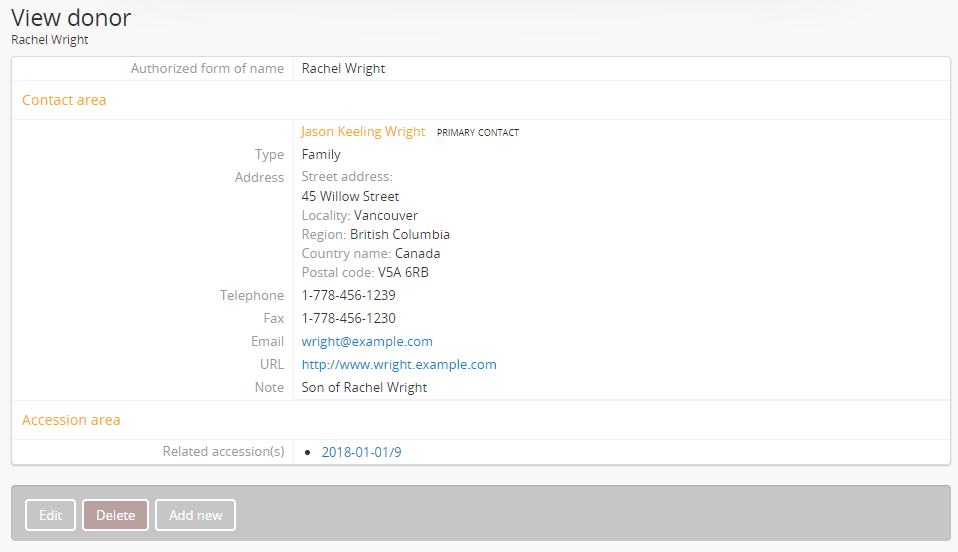
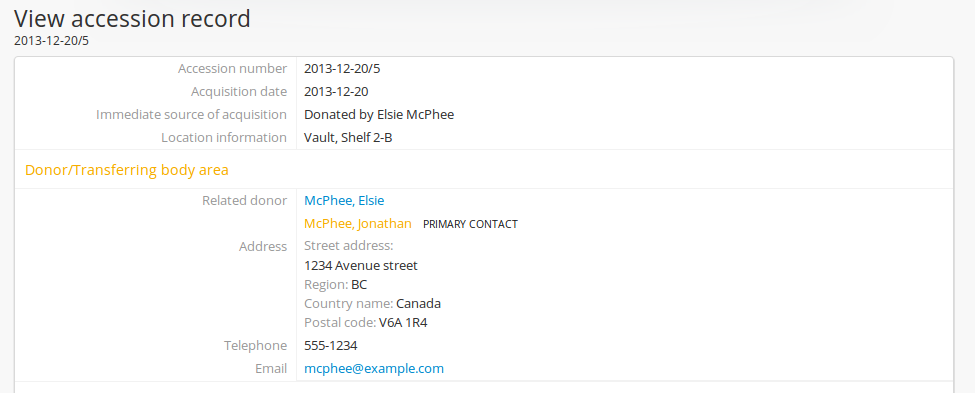
- AtoM will exit edit mode and take you to the accession record view page. The related Donor’s name will appear as a hyperlink in the “Donor/Transferring body” information area of the accession record. You can click the hyperlink to navigate to the related Donor record. Alternately, you can view all donor records via the main menu by navigating to Manage > Donors.
From another donor record
Depending upon your workflow, you might want to add donors to AtoM during the accession process or you might want to add donors to AtoM as a separate process. The first approach (above) is the easiest and most logical. This second approach requires you to create the donor and then add the donor to the accession record - this approach also requires that you have donors existing in the database, otherwise you cannot browse the list and “add a new” donor.
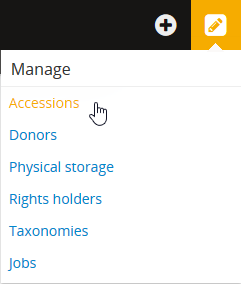
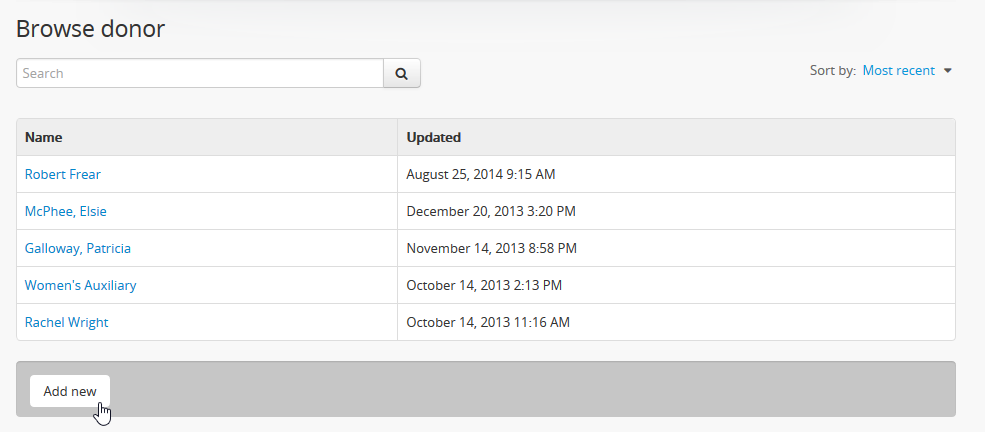
- In the main menu (located in AtoM’s header bar), navigate to Manage > Donors.
- AtoM takes you to a Browse menu listing all Donor records. Click on the hyperlink of an existing Donor name.
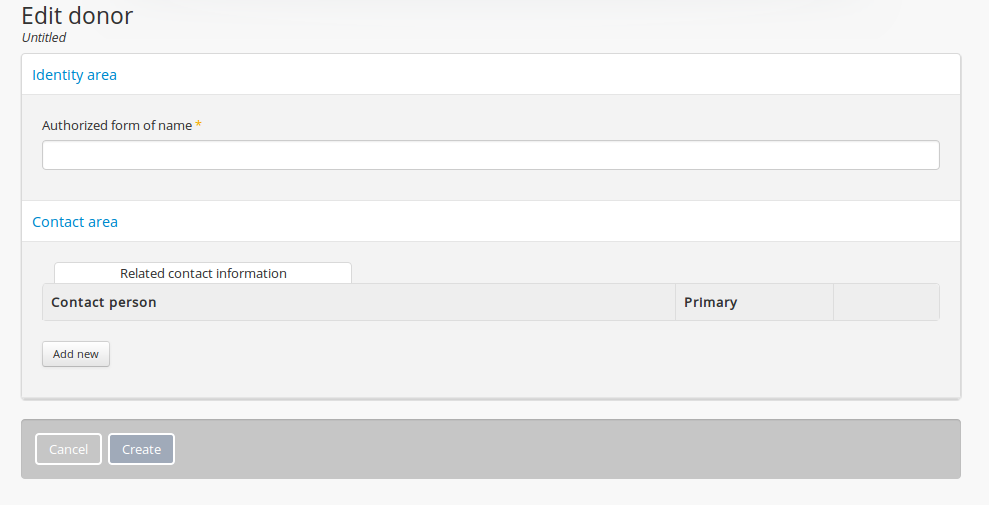
- AtoM takes you to the Donor record view page. At the bottom of the record, click on the “Add new” button in the button block.

- AtoM will redirect you to a blank Donor record in edit mode. Enter the new donor name and select “Add new” under the contact area to enter contact information about your new donor. Click “Submit” to close the contact information dialog and return to the donor record. When you are finished adding data, click on the Create button in the button block to save the new Donor record.
- If you want to link the new Donor record to an accession record, see below, Link a donor record to an accession.
Edit an existing donor record
- Using the main menu located in the AtoM header bar, navigate to Manage > Donors.
- AtoM takes you to a Browse menu listing all Donor records. With a long list (multiple pages) of donors, you can type the donor name into the dedicated search box, to locate a name quickly and avoid scrolling through numerous pages. You can also sort the list of Donors alphabetically, or by most recently updated.
- When you have located the Donor record you wish to edit in the Browse page, click on the hyperlinked Donor name.
- AtoM takes you to the Donor record view page. Click the “Edit” button in the button block located at the bottom of the record.
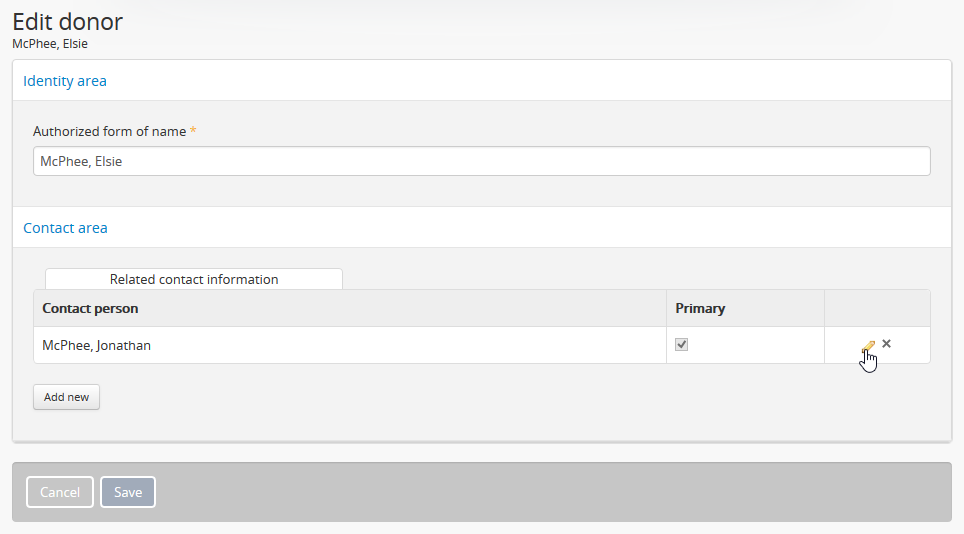
- AtoM will open the Donor record in edit mode. Add/revise data as required. You can edit existing information in the Contact information area by clicking on the pencil icon - AtoM will open the contact dialog. *Note that there are three tabs in the Contact dialog for data entry - make changes or additions as required. To close the Contact dialog and save your changes, click the “Submit” button. Note that your changes will not be saved until you save the Donor record.
- When you have made all necessary changes, click “Save” in the button block.

- After saving the Donor record, AtoM takes you to the Donor record view page where you can review your changes.
Tip
If your Donor record is linked to an accession record, you can also arrive at a Donor record for editing by navigating to the related accession record and clicking on the Donor name in the “Donor/Transferring body” information area - AtoM will redirect you to the related Donor record. Follow steps 4-7 above. For more information on locating accession records see: Edit an existing accession record and Access content.
Link a donor record to an accession
Donor records created independently of accessions can be linked to an accession at a later date; a single donor can also be related to multiple accessions, and multiple donors can be related to a single accession. At this time, however, this linking cannot be done from the Donor record - instead, you will have to create the link from the accession record that you would like to associate with the donor. To do so:
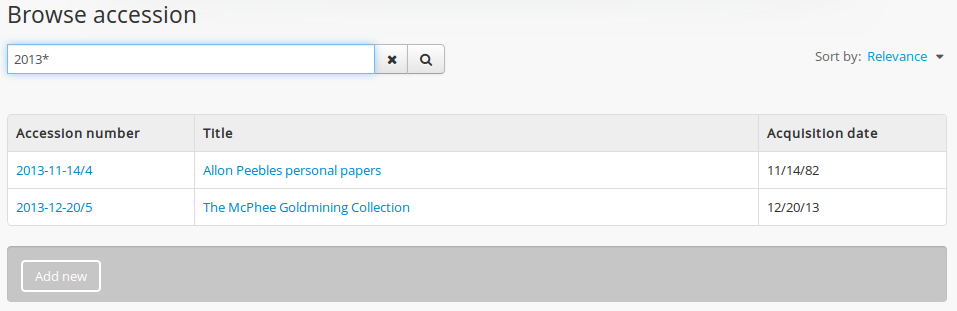
- Navigate to the accession record you want to link to a donor record. You can do this via the main menu in the AtoM header bar, by clicking on Manage > Accessions. For more information on navigation in AtoM, see: Access content
- AtoM will redirect you to the accession record browse page. Select the record you want by clicking on the hyperlink Identifier. You can also search for an accession record with the accession records search box located at the top of the browse page. For more information on searching for accession records in AtoM, see: Searching for accession records
- Once you have selected an accession record, you will be redirected to the selected record’s view page. To enter edit mode, you can either click the “Edit” button in the button block at the bottom of the view page, or click on any of the information area headings in the accession record. The accession record will reload in edit mode.

- On loading, the edit page displays the record with all information areas closed; click on an information area to access the fields grouped under it.
- In the accession record edit page, Navigate to the “Donor/Trasferring body” information area and click the “Add new” button.
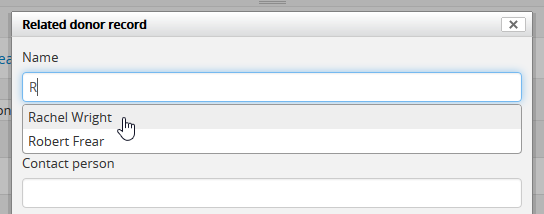
- The donor dialog will appear. Place your cursor in the “Name” field of the donor dialog, and begin typing the name of the related donor. The name field is an auto-complete - as you type, matching results will load in a drop-down menu below the field. When you see the donor name you would like to link, click on it to select it.
Important
This method makes use of an auto-complete field to find the related donor record as you begin to type its name/title. Be sure to pick the record from the drop-down when it appears - if you type the full name and press enter, a new donor record will be generated instead of a link being created to an existing one!
- If the related Donor record already has the correct contact information, you do not need to add it to the remaining fields in the donor dialog - it will appear in the related fields when you select the Donor name from the autocomplete field for the related Name. Alternatively, if you need to make edits to the existing contact information, you can do so now. When you’re ready, click “Submit”in the donor dialog.
- To create links to multiple donor records, you can repeat this process as needed. When you are done editing the record, save the accession record by scrolling down and pressing “Save” in the button block.
- AtoM will reload the accession record in view mode - the related Donor’s name will now appear as a hyperlink in the “Donor/Transferring body” information area of the accession record. Clicking on the hyperlink donor name will take you to the related donor.
Delete a donor record
- Navigate to the Donor record you would like to delete. You can do this by using the main menu located in the AtoM header bar and navigating to Manage > Donors and then selecting Donor record from the browse list (or searching for it with the dedicated search bar for Donor records provided on the Browse page). Alternately, if your donor record is linked to an accession record, you can navigate to the related accession record and use the hyperlinked Donor name to redirect AtoM to the desired Donor record.
Tip
For more information on locating Donor records, see above, Edit an existing donor record. For information on locating accession records, see: Edit an existing accession record. For general information on navigation in AtoM, see: Access content
- When you have arrived at the Donor record’s view page, click on the Delete button located in the button block located at the bottom of the record.
- AtoM will ask you to confirm that you want to delete the Donor record. Click the “Delete” button to delete, or the “Cancel” button to return to the Donor record view page. If you click “Delete,” the Donor record will be permanently deleted.
