Getting Started
This section describes how to start using AtoM once it has been installed. It provides a quick orientation to the home page, how to log in and log out, the various user roles in the system, the main page types a user will encounter, and how to switch languages.
JUMP TO:
Home page
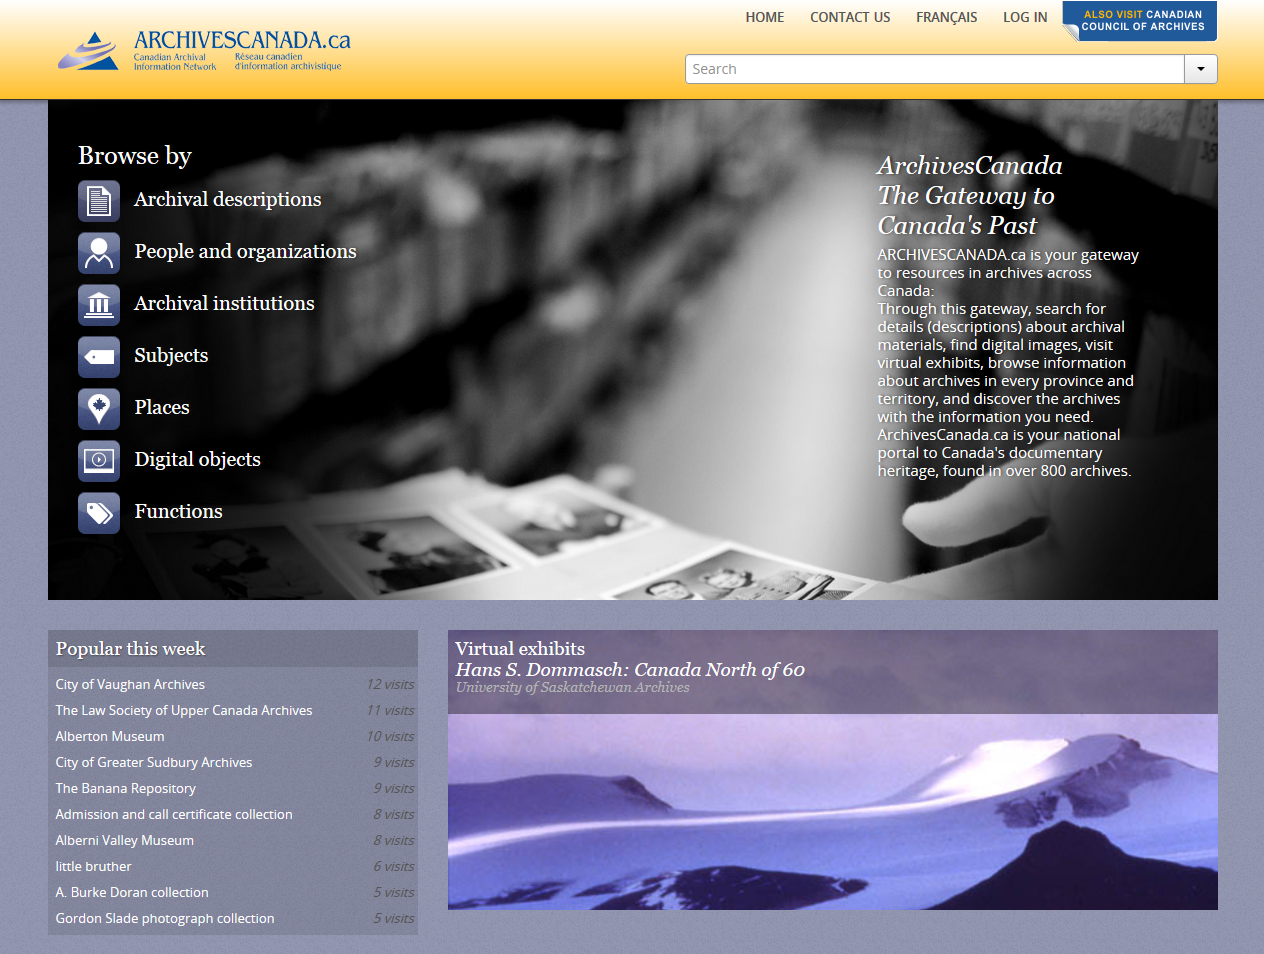
An example of a customized home page: the ArchivesCanada theme in AtoM, prepared for the Canadian Council on Archives as Canada’s new national archival portal.
The home page is the first thing that a user will see when opening the AtoM application. Administrators can customize this to be a landing page, and from here, users can search, browse, log in as authenticated users (gaining access to the main menu), change the language of the application interface, and more.
By default, the home page includes:
- An editable static page area - users with sufficient access privileges can customize the home page by adding and editing content (including, if desired, raw HTML and inline CSS) through the user interface - for more information, see: Manage static pages.
- A browse menu that will take users to a browse page for some of the core entity types, including archival descriptions, authority records (listed by default as “People & organizations”), archival institutions, subjects, places, and digital objects (i.e., a dedicated browse page for archival descriptions with linked digital objects). For more information on the browse menu, see: Browse menu.
- A “Popular this week” listing of the most visited (i.e. most number of page views) resources in the past week. See Popular this week listing below for more information.
Tip
A developer can customize the look and feel of the AtoM home page by editing the CSS files associated with it. This can be done to match institutional theming, include images and other content. For more information, see in the Administrator’s Manual: Theming.
Like all pages in AtoM the home page also includes the AtoM
header bar, providing access to a search box,
browse menu, log-in button,
 language menu, and
  quick links menu. For more information on using the
header bar in AtoM, see: The AtoM Header Bar.
quick links menu. For more information on using the
header bar in AtoM, see: The AtoM Header Bar.
USING THE HOME PAGE IN AtoM:
- Open your web browser and enter the URL of the web server hosting your AtoM application. This takes you to your application’s home page.
- On opening, AtoM displays the home page in the configured default
language. In the language menu (top
right-hand corner of your page, the globe icon in the header bar),
a user can change the display language. For choosing languages, see
Choose language.
- On opening, AtoM provides view-only access, so that any user can immediately begin searching or browsing the contents of the application, using the search box or browse menu, both located in the header bar. Any user can also use the advanced search link. For searching and browsing, see Access content.
- The home page provides a welcome message that can be customized by the administrator. For customizing the welcome message, see Manage static pages.
- The home page also provides users with an additional browse menu and a list of the most popular recently visited records in the application.
- Once a user logs in via the log-in button in the right-hand corner of the header bar, more options will become available in the main menu, depending on the user’s edit permissions, which are set by an administrator.
- To add or edit content, you must have a user account and log in.
- For logging in, see log in.
- For adding and editing, see Add/edit content.
Popular this week listing
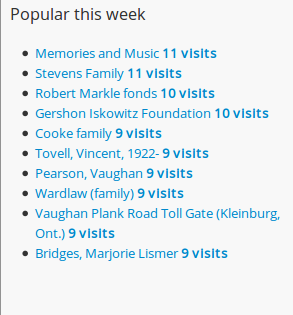
The “Popular this week” listing, found on the left-hand side of the AtoM homepage, includes a list of links to the 10 most visited resources available to public users in the last 7 days. Resources listed in the “Popular this week” menu include: archival descriptions, authority records, and archival institutions.
There is no specific week-based start date to the aggregation of these statistics - they are calculated based on the last 7 days of activity. Similarly, the statistics are calculated only on a count of page views - meaning that a single user returning to a resource twice in the same visit will be counted as 2 views.
Currently there is no way to configure the Popular this week settings. Administrators who are interested in more granular analytics information are encouraged to use a third-party analytics tool - for more information, see: Web analytics in the Administrator’s Manual.
 Log in
To add or edit content and access the main menu in AtoM, you need to log in:
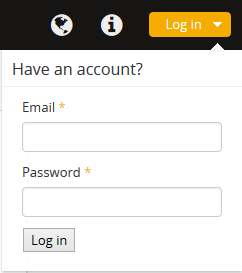
The log-in button in AtoM, when clicked by a user
- Click the log in link in the header bar, located in the upper right- hand corner of the page. A drop-down menu will appear with two fields for an email, and a password.
- Enter your email address
- Enter your password
- Click the “log in” button in the drop-down
AtoM re-loads the home page, now customized to your user role. The main menu is now visible. Your username will appear where the log in button was, giving you access to your user profile.
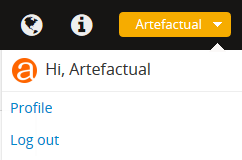
After logging in, an option to view and edit your user profile is available in the log-in button drop-down
To log out, click on your username in the user menu (top right-hand corner). A drop-down menu will appear, with a link to your user profile, and the option to log out. When the profile option is selected, a user can update their own user name, email, and password - see below, Change password. When the log out option is selected, AtoM returns you to the home page (view-only access).
Note
AtoM automatically logs you out after thirty minutes of inactivity. To resume editing, you will have to log back in
User roles
User roles define levels of access to functions in AtoM, ranging from view- only access to full administration rights. Your user account in AtoM is tied to one of five user roles, each representing a different level of access to the system. User roles are defined by groups that an administrator can add and edit - see Manage user accounts and user groups and Edit permissions.
Researcher
A researcher is any public user who is not logged in (sometimes called an unauthenticated user) and therefore has view-only access to the application. A researcher can search and browse descriptions (published archival descriptions, authority records, archival institutions)
See also
Contributor
By default a contributor can search, browse, create, edit/update, view draft and export descriptions. The contributor cannot change the publication status of an information object. A contributor can access the reference and master digital object.
See also
Editor
By default an editor can search, browse, create, edit/update, view draft, delete and export descriptions and edit controlled vocabulary terms. An editor can also change the publication status of an information object. An editor can access the reference and master digital object. An editor is also the only user group besides the administrator who can access the accessions module.
See also
Translator
A translator can search and browse published descriptions and can translate user interface elements and database content.
A translator should be able to view draft descriptions, but not edit them.
See also
Administrator
An administrator can import, export, create, read, update, publish and delete any record in the system, can customize application to institution specific requirements, and can manage user accounts and profiles.
Administrators can also create new user roles , set granular permissions for that role, and then assign or unassign users from the new role. For more information on creating a new user role, see Add a new group.
See also
Page types
This section describes the main page types users of AtoM will encounter. The main page types are:
See also
Home page
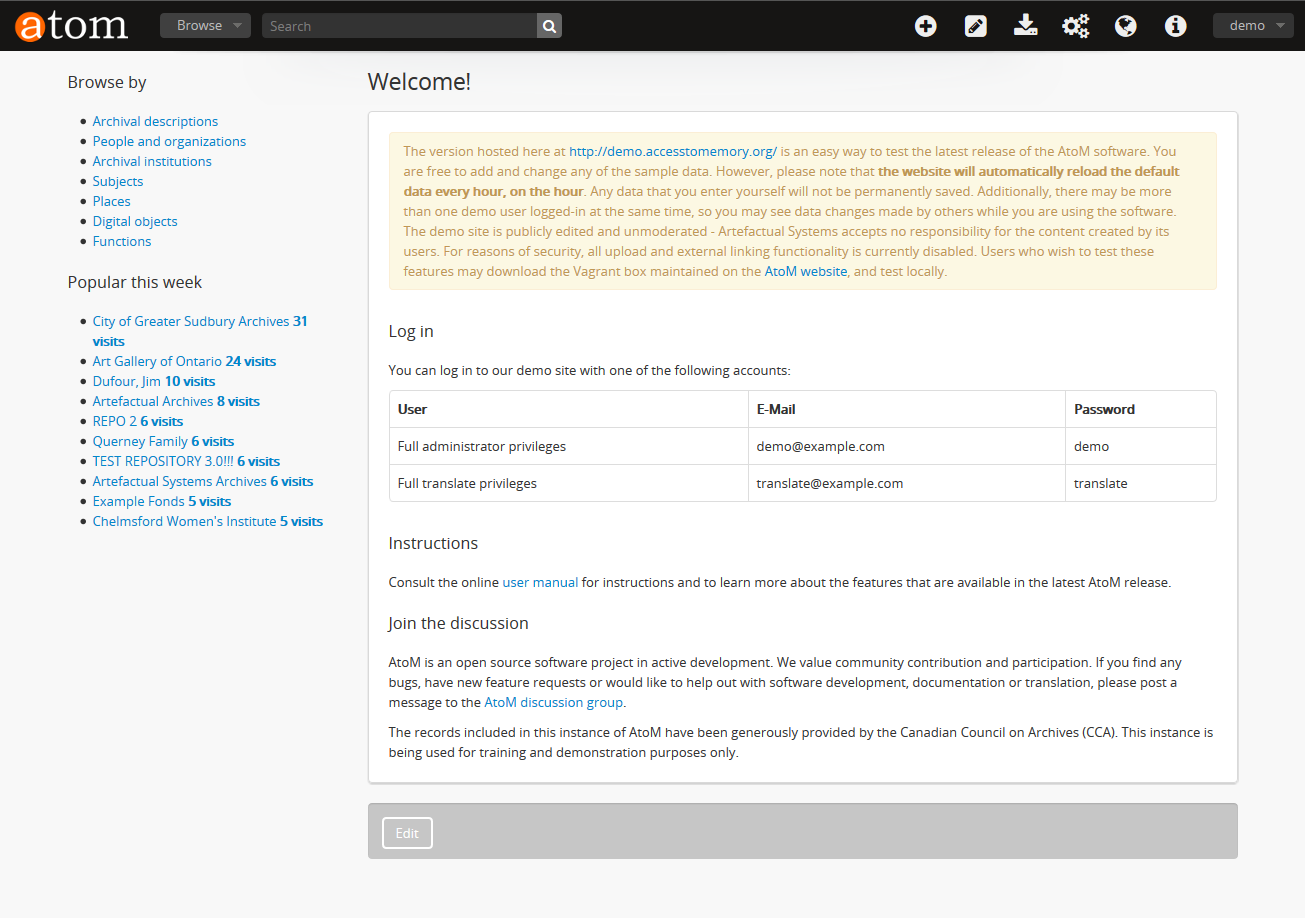
An example of the AtoM online demo home page as it appears to a logged-in administrator
The home page is the first page the user sees when opening the application. It provides basic information about the application, and links and buttons for user actions (search, browse, log in, log out, get help, switch language). When the user logs in, the main menu becomes visible in the header bar.
The home page is accessible from any other page by clicking the site logo in the header bar.
For further information on the features of the home page, see the Home page section above.
View
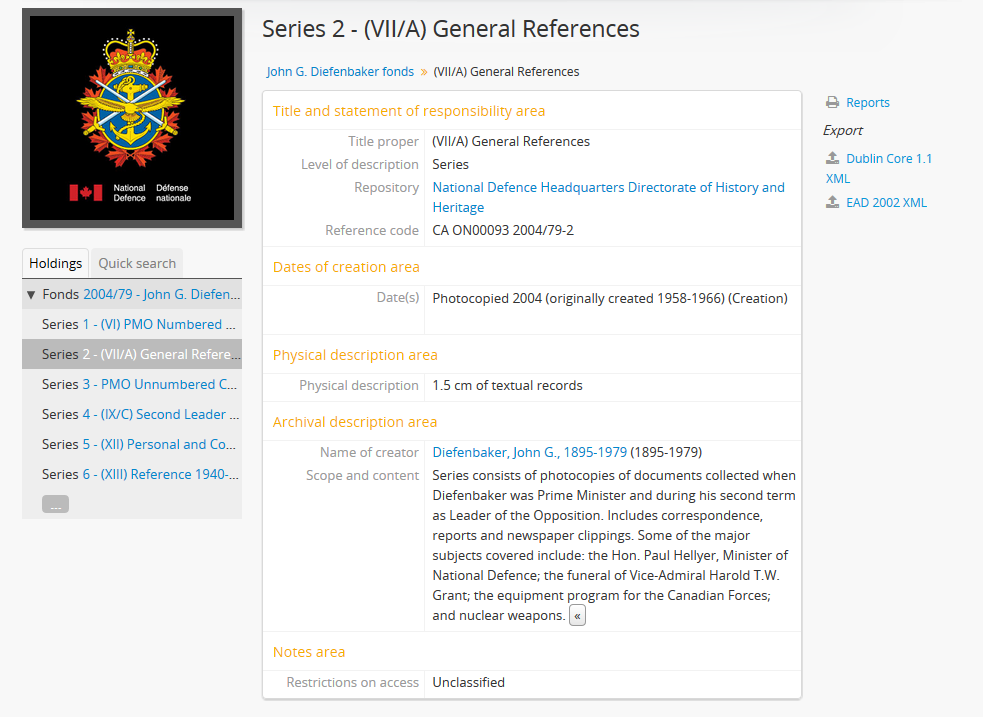
An example of a view page for an archival description
A view page displays an individual record in full in view mode, showing only those fields that contain data. Logged in users can toggle between edit mode and view mode by clicking the area header of an information area, and can also use the button block to edit or add to the record (i.e. to upload digital objects, add physical storage, etc).
View pages also include ellipses in text boxes that have a large number of
characters (e.g., scope and content, Administrative/biographical history,
Related units of description, etc.). The ellipses, represented in AtoM as 3
dots (…) followed by a  “expand” button, allow the User to expand
the text box to read the entire body of text. The collapsed position provides
a concise and tidy look to the record so users don’t have to scroll down to
understand what they are viewing.
“expand” button, allow the User to expand
the text box to read the entire body of text. The collapsed position provides
a concise and tidy look to the record so users don’t have to scroll down to
understand what they are viewing.
Edit

An example of an edit page for an authority record
- Displays an individual record in edit mode for data entry.
- Shows all fields, including the administration area.
- Groups fields by collapsible information areas - fields can be hidden or displayed by section.
- Provides button block that contains buttons for saving or canceling changes.
- Accessible to contributors, editors, and administrators; not accessible to researchers (for more information on these types of users, see User roles)
Edit digital object
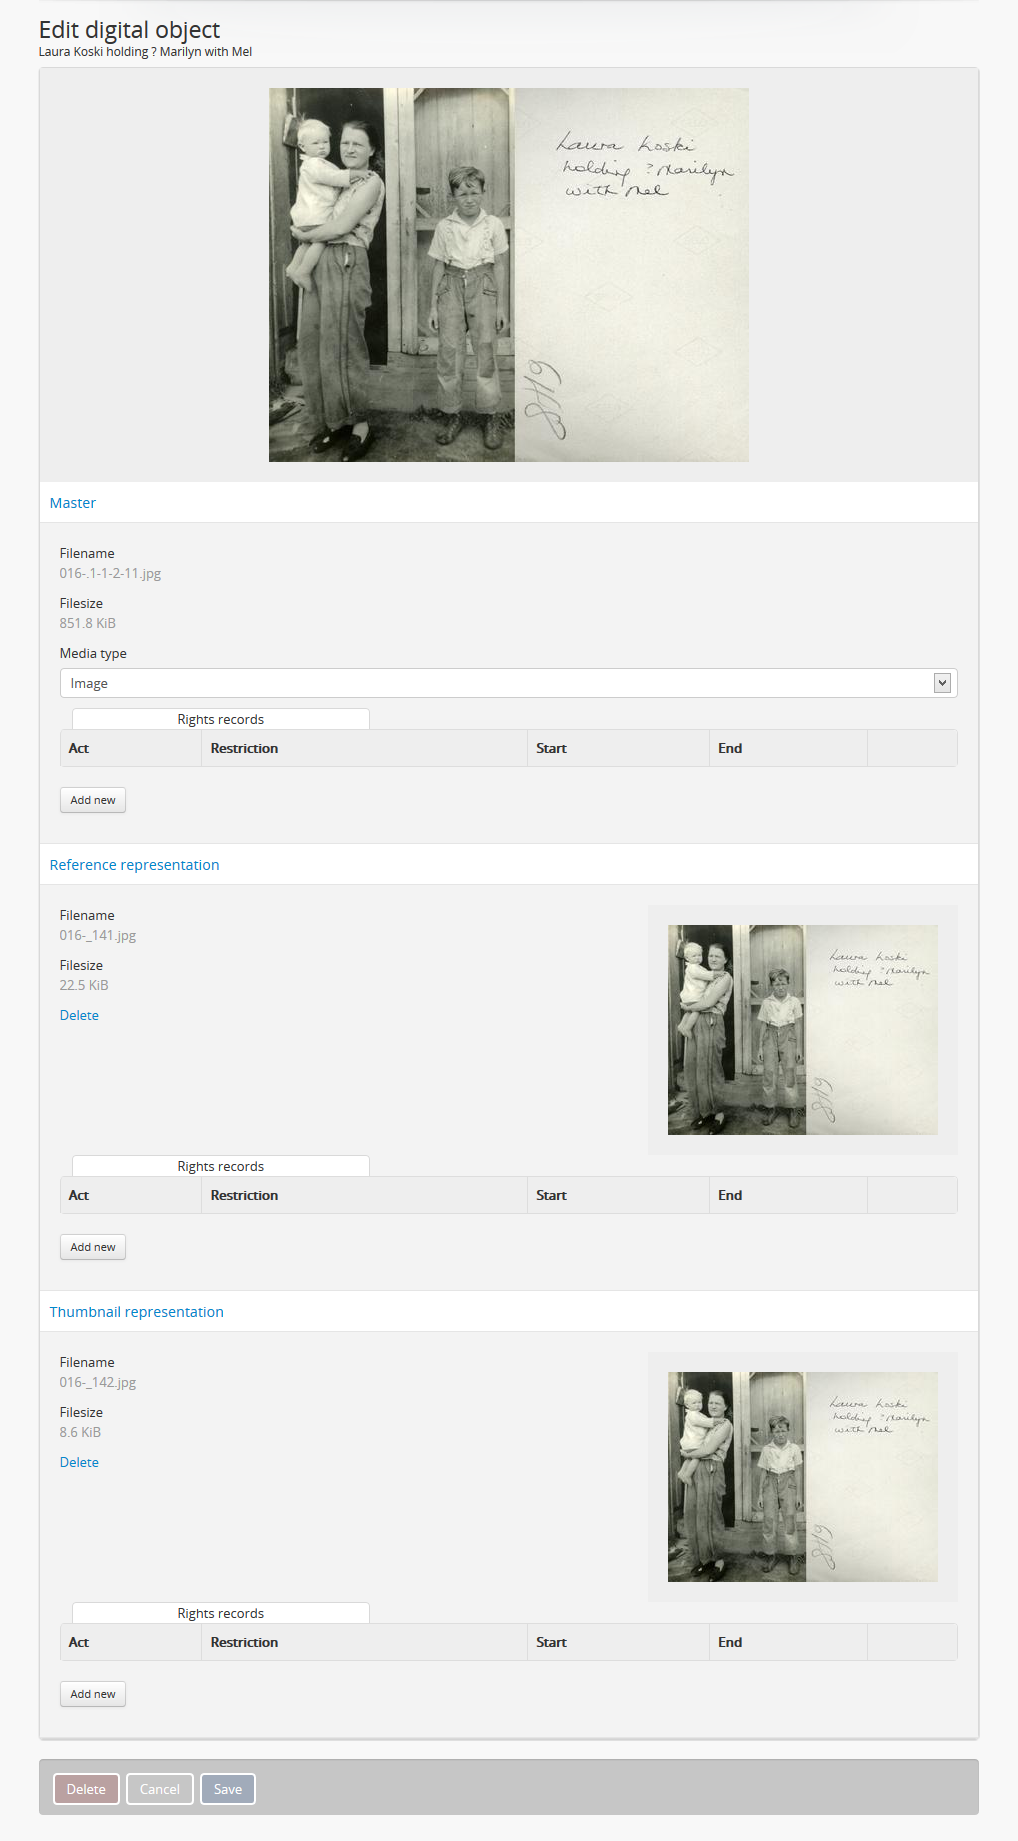
An example of the edit page for a digital object. Access this page throught the “More” button in the button block of the related description.
The Edit digital object page allows the authorized (i.e. logged in) User with edit privileges to control the rights applied to the master digital object, the reference display copy, and the thumbnail representation (copy used within the database for search results, image gallery, carousel etc.), as well as upload a new reference display copy or thumbnail associated with a master digital object.
See also
Search results

An example of an archival description search results page, limited to only show results with digital objects.
A search results page displays set of records that match search criteria, based on a user’s query entered into the search box or the advanced search menu. Users can click on the title of a record listed in the search results page to open the record in view mode. For more information on search in AtoM, see: Search.
Browse results
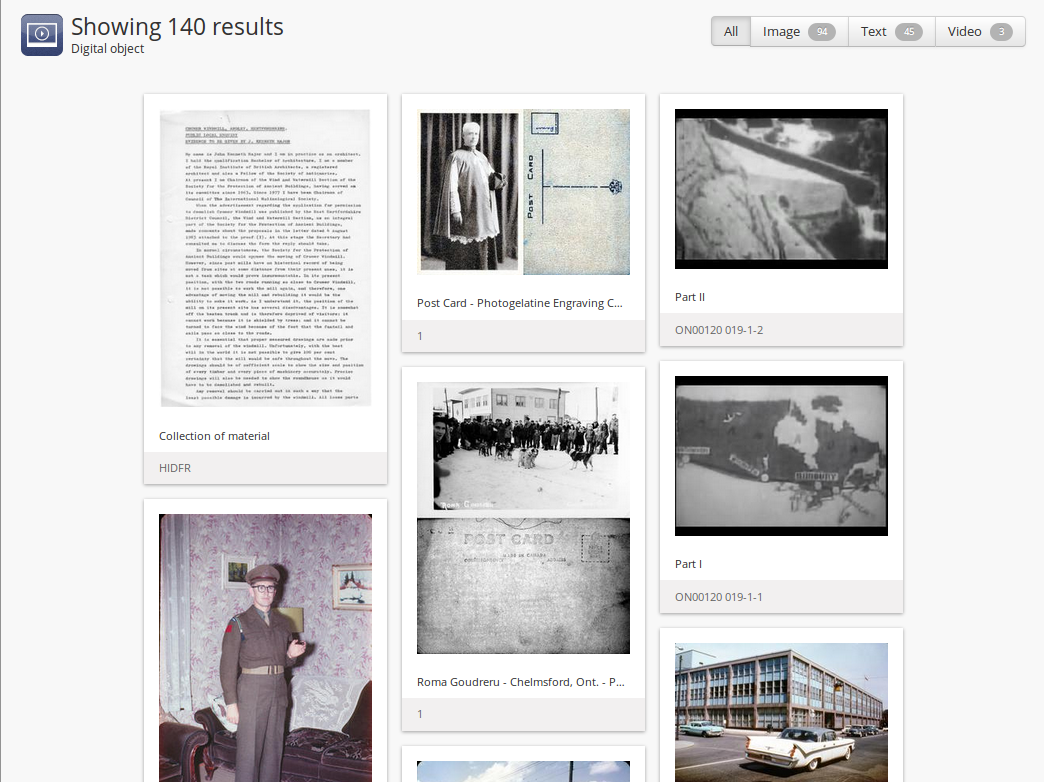
An example of the browse page for digital objects.
Browse results show lists of descriptions retrieved by clicking on an item in the browse menu. By default when the application is installed, results for archival descriptions, authority records, archival institutions and functions are sorted by most recently updated for authenticated (i.e. logged in) users, and alphabetically for non- logged in users such as researchers; however, a drop-down menu at the top-right of the browse results allows a user to change the sort order. Additionally, an administrator can change the default sort order for both types of users via the Settings menu (see: Settings). Users can also browse by subject, place, and digital object type. For more information on browsing in AtoM, see: browse.
Error
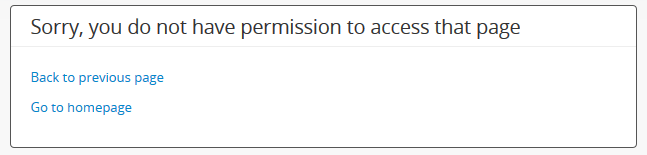
An error message displays when AtoM is unable to execute an action. The following are typical types of error messages:
- Page not found: usually implies a broken link; report to system administrator and to AtoM support team.

- No access permission: your user account does not give you access privileges to the requested page.
- No translation permission: you do not have translator access in the current language, or to the specific description
- System error (500 internal server error): indicates a fairly major system-wide problem, or problem with data corruption; report to administrator.

- Blank page: indicates a fairly major system-wide problem, or problem with data corruption; report to administrator and to AtoM support team.
Choose language
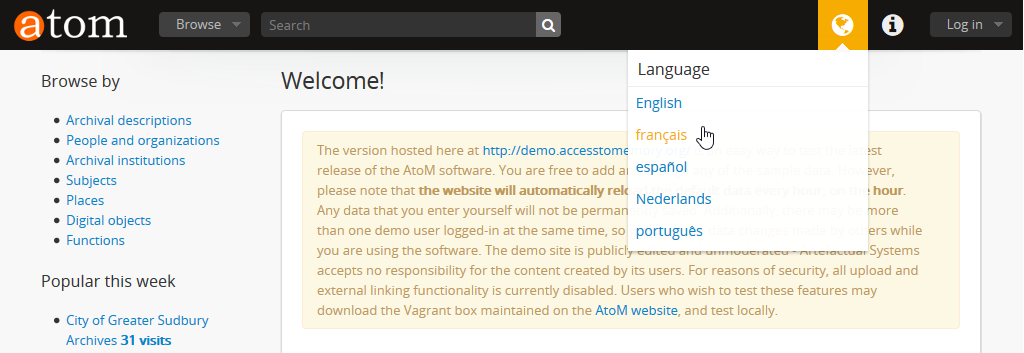
Any user can change the current language to one of AtoM’s
supported languages by clicking on a language in
the Language menu, located in the AtoM
header bar. AtoM switches the user interface to the preferred
language, and:
- if a translation of the database content into the preferred language exists, AtoM switches to the translation;
- if no translated version exists, AtoM displays the description in its original source version.
Note
See Add/remove languages for information on how an administrator can remove or restore languages in the language menu, and Translate for how to translate content and user interface elements in AtoM.
For more information on the language menu, see: Language menu
Change password
Users can change their own passwords. If a user forgets their password, the system administrator must reset it (see Manage user accounts and user groups).
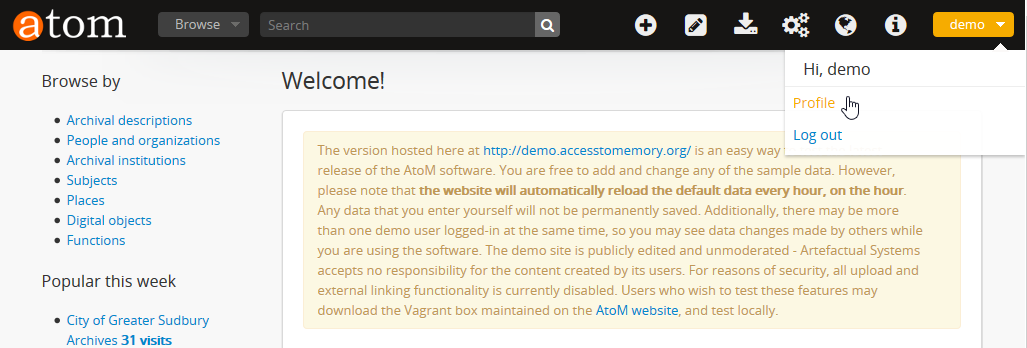
- Click your username in the header bar, at the upper right-hand corner of the page
- A drop-down menu will appear with the option to log out, or navigate to your user profile - click on “Profile”
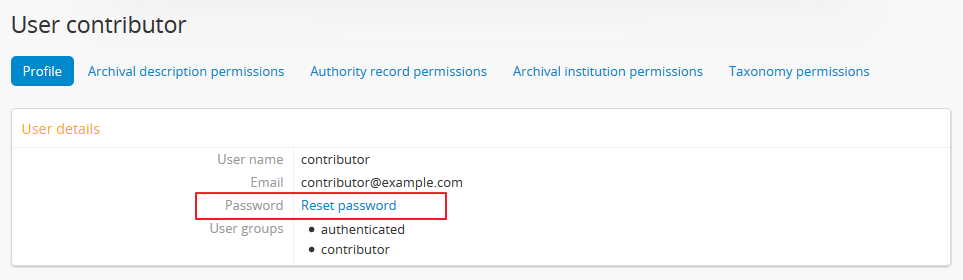
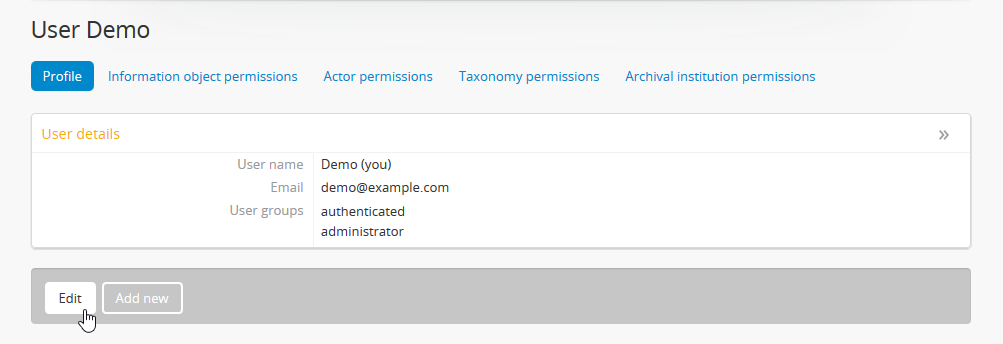
- You will be redirected to your user profile view page. To change your password, click the “Change password” button in the center of the page.
Tip
If you are an administrator, you will have full access to edit your user profile. To change your password or edit other account details, click the “Edit” button in the button block at the bottom of the page.
- Enter your new password under “New password” and enter it again under “Confirm password”. The green bar on the right will offer you an indication of your password strength - use a mixture of upper and lower case letters, numbers, and special characters (e.g. ! $ % & # etc) to create a stronger password.
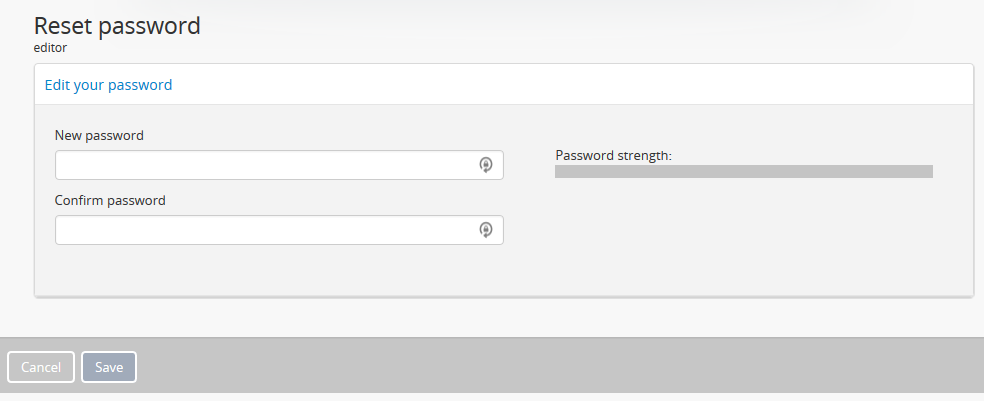
- If the two passwords entered in “Change password” and “Confirm password” do not match, AtoM will indicate so below the “Confirm password” field. If you try to save the page with with mismatched password entries, AtoM will clear both fields, and reload the page with an error message. You can now re-enter your password - make sure it’s the same in both fields!

- When you have updated your password, click the “Save” button in the button block at the bottom of the profile edit page.
Your password has now been updated. You will be redirected to the profile view page, and the new password will be in effect next time you log in to the application.