Export XML
AtoM provides an export functionality that can be used to export archival descriptions and authority records as XML data.
The following file types can be exported:
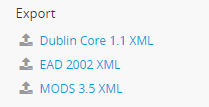
- EAD 2002 XML (hierarchical archival descriptions)
- Dublin Core XML, MODS XML (individual archival descriptions)
- EAC-CPF XML (authority records)
In addition to individually exporting records from the view page of the associated record, users can also export multiple records at once by first adding them to the clipboard and then using the export options available there. Each export option will be explained below.
Jump to:
- EAD export from an archival description view page
- Dublin Core XML export from an archival description view page
- MODS XML export from an archival description view page
- EAC-CPF XML export from an authority record view page
- Export multiple XML files using the Clipboard
See also
EAD export from an archival description view page
All users can export EAD 2002 XML from the view page of an archival description, via the export links available in the right-hand context menu. For more information on the context menu and archival descriptions, see Context menu.
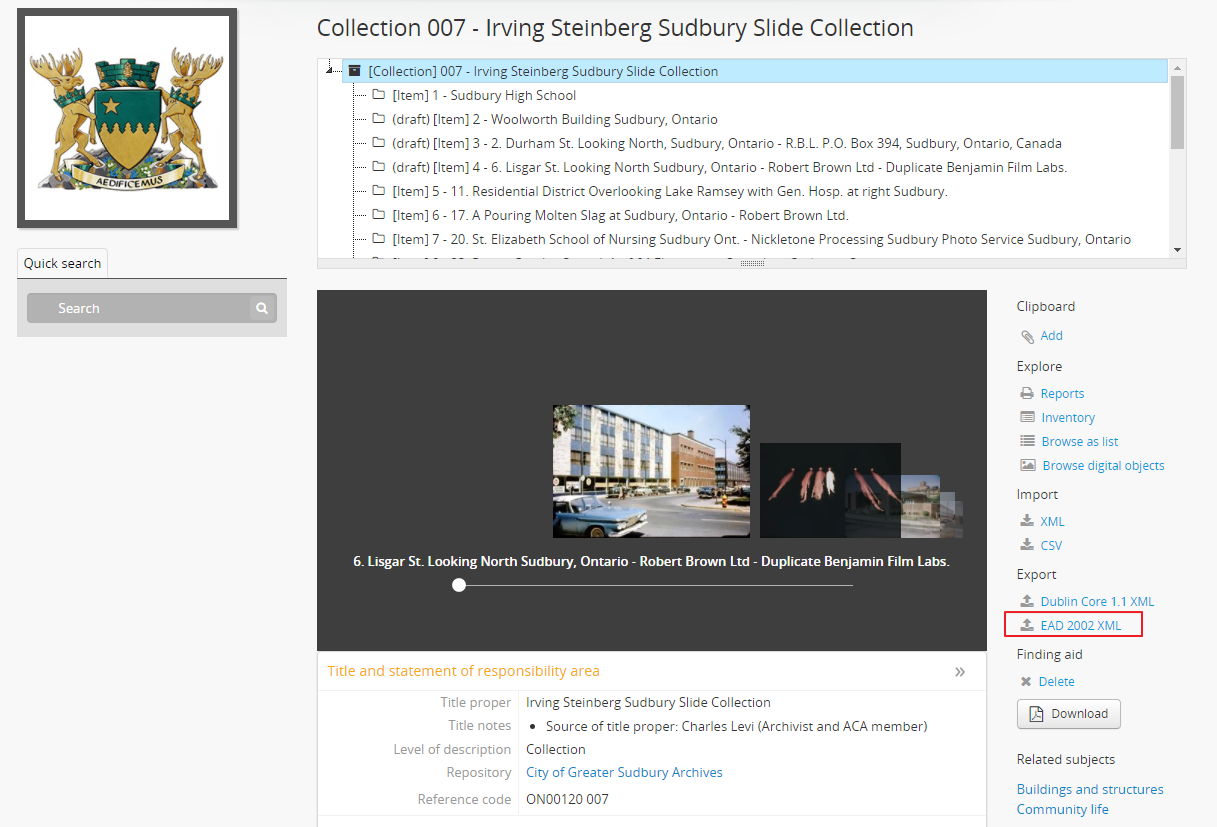
In the archival description view page, select EAD 2002 XML under Export. This will export the current archival description plus all its child records.
By default, the export is created on-request via the web browser. However, for large hierarchies, this can lead to timeout issues in the browser before the full EAD 2002 XML file can be generated.
Tip
An administrator does have the option of turning on a setting that will generate the XML for archival descriptions in advance on save, so that large files can be served up without needing to be generated on the fly. There is also a command-line task that will allow a system administator to generate cached XML for all existing descriptions.
Note that pre-generated, cached XML files never contain draft descriptions.
For more information, see:
Public users will not see draft descriptions in the EAD XML provided. For authenticated (i.e. logged in) users, all descriptions will be included in the EAD 2002 XML export from the description view page, regardless of publication status.
Additionally, if an administrator has used the visible elements to hide the display of physical storage data, then this information will also be excluded from public EAD 2002 XML exports.
Important
The Inherit reference code (information object) setting also determines how the
<unitid> element in the EAD XML is populated. If the inheritance is
turned on, then AtoM will populate all descendant records in the EAD XML
with the full inherited reference code. If inheritance is turned off, AtoM
will only add the identifier for that record in the <unitid> on export.
This allows users exporting to a different source system that does not have
a reference code inheritance setting to maintain a full reference code at
all levels in the target system. However, if you are exporting from one
AtoM instance to another (for example, from a local institution to a
portal site), you might want to consider how this will impact your record
display in the target system - if you have reference code inheritance
turned on when you export, and the target AtoM instance also has the
setting turned on, you may end up with duplication in the display!
To export EAD 2002 XML from an archival description view page
- Navigate to the archival unit you wish to export. You can do this by browsing or searching for the archival description - see Access content for more information on navigation in AtoM.
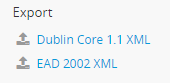
- On the view page of the top-level archival description for the hierarchy you wish to export, locate the Export links in the right-hand context menu.
- Click the export option for “EAD 2002 XML”.
- AtoM will reload the page, and present you with the EAD 2002 XML data. To save the data locally, right-click on the page and use the “Save as” option in your web browser.
Tip
We have noticed that in some cases the Safari browser will only save as HTML. Try using Firefox, IE, or Chrome to “Save page as” XML.
- To exit the XML export file, click on your browser’s back button.
Dublin Core XML export from an archival description view page
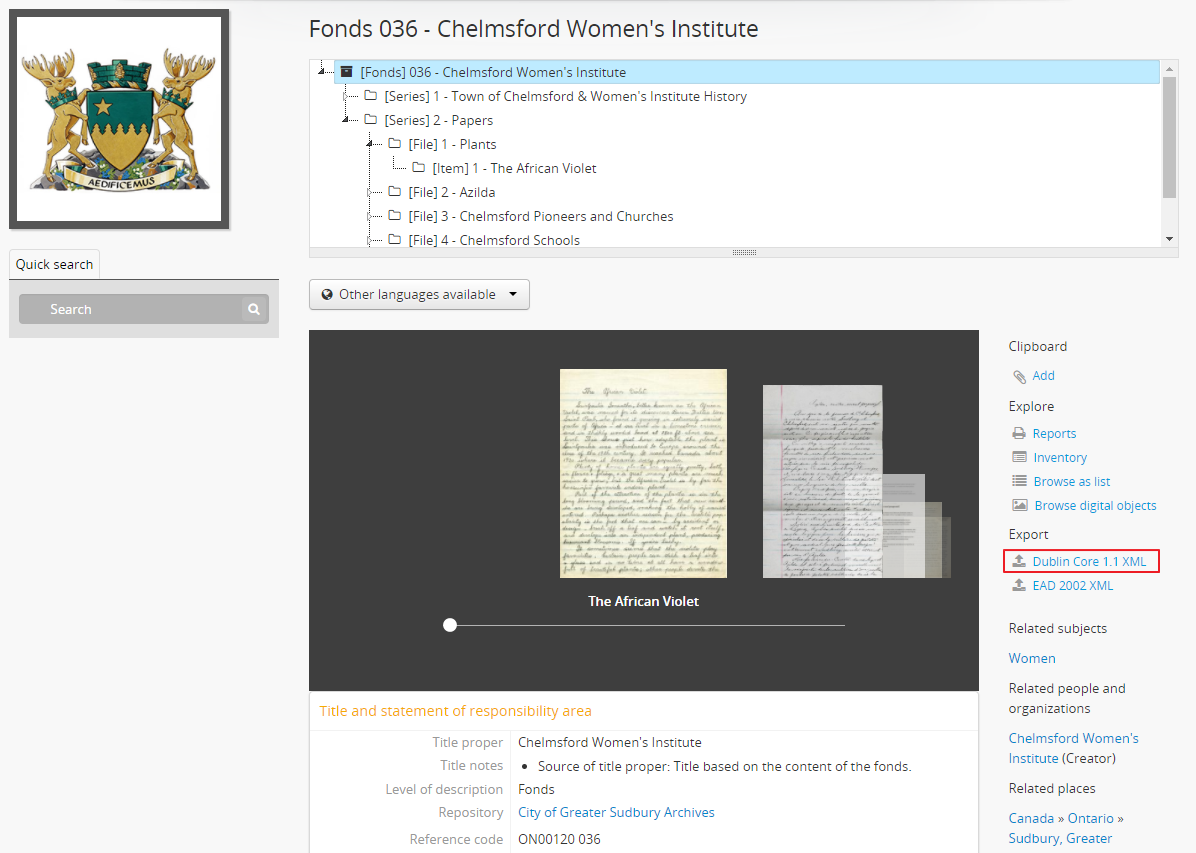
In addition to supporting EAD 2002 XML exports from the view page of an archival description, AtoM can also export individual records in DC XML format.
In the archival description view page, select Dublin Core 1.1 XML under Export. This will export the current archival description as DC XML.
Important
The DC XML export is not hierarchical - that is, child records and lower descendants (such as series and items beneath a collection) will not be included in the DC XML export of a top-level description. To capture the full hierarchy of an archival unit, we recommend using the EAD 2002 XML export. See above for more information.
By default, the export is created on-request via the web browser.
Tip
An administrator does have the option of turning on a setting that will generate the XML for archival descriptions in advance on save, so that large files can be served up without needing to be generated on the fly. There is also a command-line task that will allow a system administator to generate cached XML for all existing descriptions.
Note that pre-generated, cached XML files never contain draft descriptions.
For more information, see:
To export DC XML from an archival description view page
- Navigate to the archival unit you wish to export. You can do this by browsing or searching for the archival description - see Access content for more information on navigation in AtoM.
- On the view page of the top-level archival description for the hierarchy you wish to export, locate the Export links in the right-hand context menu.
- Click the export option for “Dublin Core 1.1 XML”.
- AtoM will reload the page, and present you with the DC XML data. To save the data locally, right-click on the page and use the “Save as” option in your web browser.
Tip
We have noticed that in some cases the Safari browser will only save as HTML. Try using Firefox, IE, or Chrome to “Save page as” XML.
- To exit the XML export file, click on your browser’s back button.
MODS XML export from an archival description view page
If the administrator has set the default archival description template to MODS, then a MODS XML button will also appear in the right-hand context menu as an export option. For more information on changing the display template, see:
Tip
Don’t want to change the display standard to get the MODS export? You can
temporarily change the view of the record by appending ;mods to the URL
and pressing enter. AtoM will reload the page, displaying the archival
description using the MODS template, and the MODS export option should be
visible.
In the archival description view page, in the right-hand context menu, select MODS 3.5 XML under Export. This will export the current archival description.
Important
The MODS XML export is not hierarchical - that is, child records and lower descendants (such as series and items beneath a collection) will not be included in the DC XML export of a top-level description. The titles and identifiers of immediate parent and child records will be included, but URLs to these resources are not, nor is further descriptive metadata.
To capture the full hierarchy of an archival unit, we recommend using the EAD 2002 XML export. See above for more information.
EAC-CPF XML export from an authority record view page
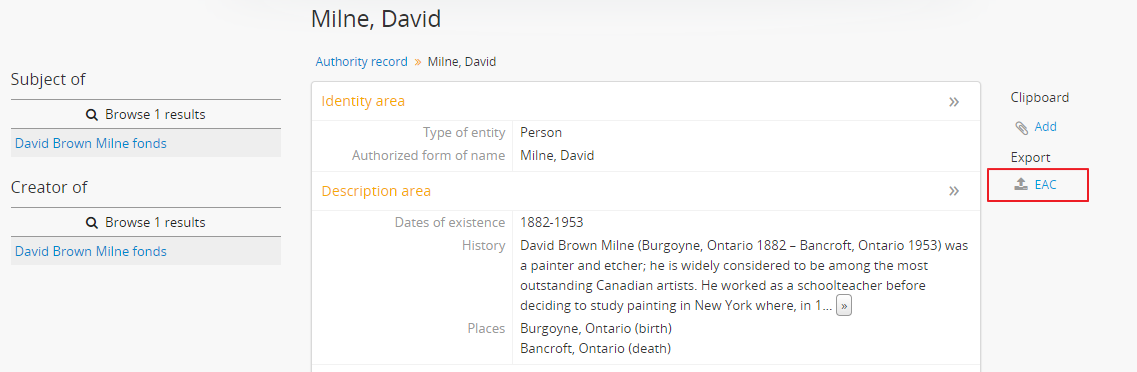
Metadata about actors - represented in AtoM via an authority record - can be exported as EAC-CPF XML. For more information on working with authority records, see: Authority records. All users (both public and logged in) can export EAC-CPF XML data from the right-hand context menu of an authority record’s view page.
To export EAC-CPF XML from an authority record:
- Navigate to the authority record you wish to export. You can do this by browsing or searching for the authority record - see Access content for more information on navigation in AtoM.
- On the view page of the authority record you wish to export, locate the Export links in the right-hand context menu.
- Click the export option for “EAC”.
- AtoM will reload the page, and present you with the EAC-CPF XML data. To save the data locally, right-click on the page and use the “Save as” option in your web browser.
Tip
We have noticed that in some cases the Safari browser will only save as HTML. Try using Firefox, IE, or Chrome to “Save page as” XML.
- To exit the XML export file, click on your browser’s back button.
Export multiple XML files using the Clipboard
AtoM includes a clipboard that allows users to “pin” results to it for review or further action. For more information, see: Clipboard.
Any user can generate XML exports of Clipboard results, where the format is supported. The XML exports, after they are generated generated, are made available for download from the Jobs page. For public users who do not have access to the Jobs page, a notification will be displayed with a direct link to the download when the export is ready.
Currently users can export the following entity types from the clipboard in XML format:
Note
You can also perform CSV imports from the clipboard. For more information, see: Export Clipboard results in CSV format.
See also
When downloaded, the XML files will be compressed in a ZIP archive - there are many free utilities (likely there is one already included on your computer) that will allow you to “unzip” a ZIP file.
To generate and download XML exports of clipboard results:
- You should first ensure that you have the results you would like to export already pinned to the Clipboard. For more information on using AtoM’s Clipboard module, see: Clipboard.
- Navigate to the Clipboard page. You can get there via the
 Clipboard menu in the AtoM header bar - open the
menu, and select “Go to Clipboard”.
Clipboard menu in the AtoM header bar - open the
menu, and select “Go to Clipboard”. - AtoM will redirect you to the Clipboard page. Above the Clipboard results, there is a drop-down menu that will allow you to change the entity type of the records being displayed. When you arrive, by default archival description results will be shown, but you can use this menu to change the display to see other results. Make sure the record type you want to export is currently being displayed on the clipboard.
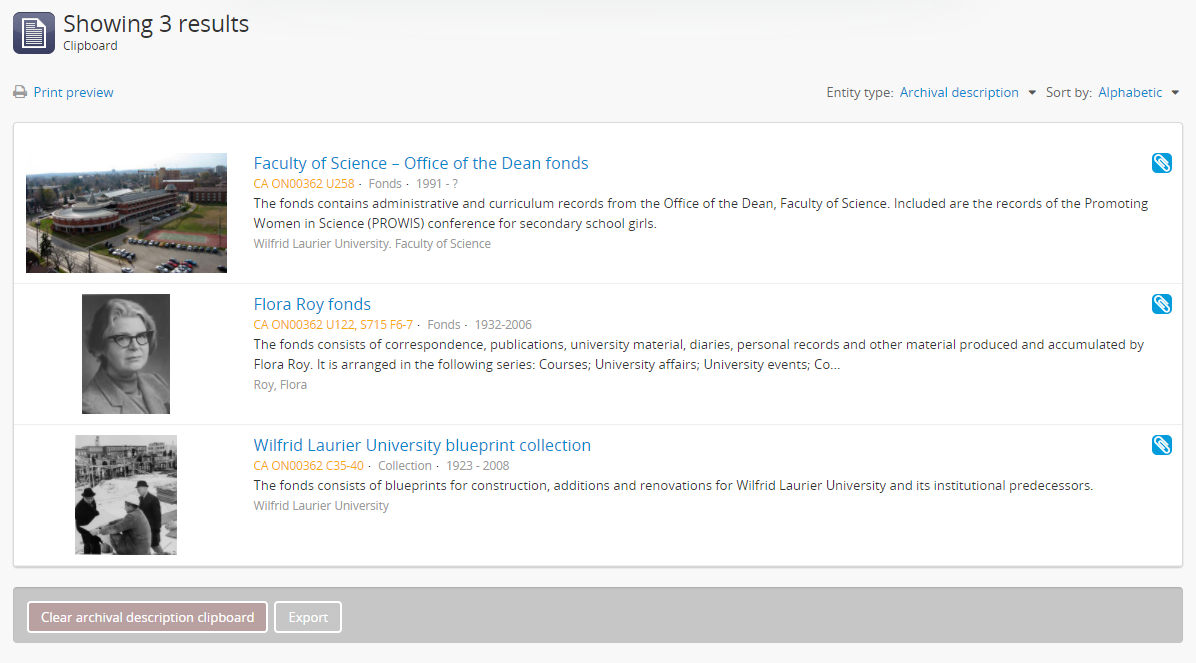
- Click on the “Export” link in the button block at the bottom of the page.

AtoM will redirect you to a page where you can configure your export. Make sure the Format drop-down menu is set to “XML”.
An archival description XML export will include additional configuration options. Public users can select whether only the current description should be exported or all descendants (i.e. lower-level records). If you want to include lower levels of description as well, click the checkbox marked “Include descendants”. Currently the only type of XML export supported on the Clipboard is EAD 2002 XML.
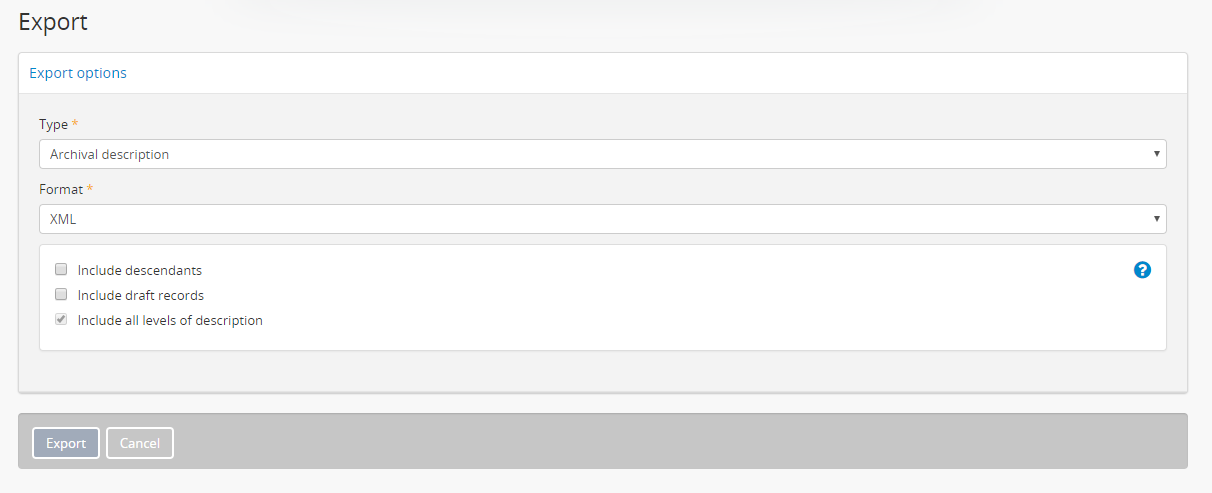
Once checked, the checkbox to “Include all levels of description” will become available, and will be automatically checked. If you want all lower-level records to be included in the export, then leave this box checked. However, if desired, you can uncheck this box and select only the levels of description you want included in the export. To do so, first uncheck the box labelled “Include all levels of description.”
AtoM will then display a list of all levels of description from the Levels of description taxonomy. You can use your Control (Mac users: Command) and Shift keys to multi-select the levels you want included in the export.
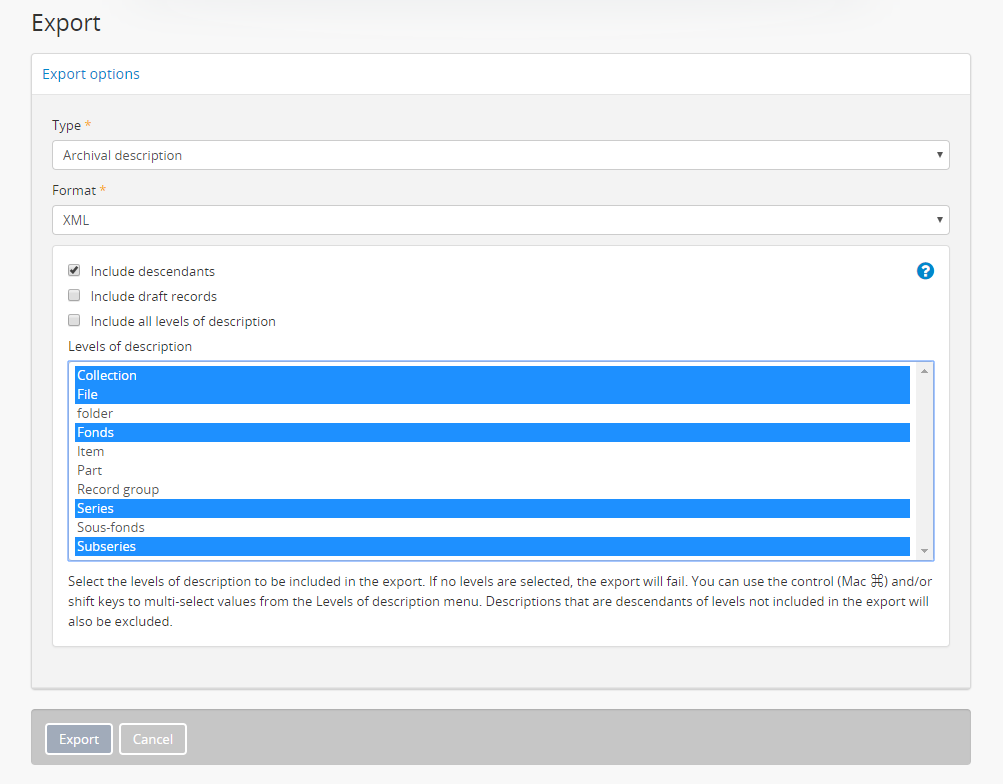
Finally, authenticated (i.e. logged in) users will also have the option to include draft records in the export. To include drafts, make sure that the “Include drafts” checkbox is selected.
Important
If you are selecting only certain levels of description for export, then descriptions that are descendants of levels not included in the export will also be excluded!
For example, let’s say you want to export a collection that has a child series, and the series has several child item-level descriptions. If you do not include “series” as a level of description, then the child items will also not be included in the exported EAD 2002 XML.
Once you have configured your export options, click the “Export” button in the button block at the bottom of the page.
The XML export of the clipboard results will be generated by the job scheduler. After clicking the “Export” button, AtoM will reload the page with a notification about the job at the top.
For authenticated users, this will include a link to the Jobs page, where you can review the status of the export job, and download the ZIP file containing your CSV export when it is complete. Click on the link in the notification to go to the Jobs page.

For public users, first a notification that the job has been initiated will be displayed, with a link that will refresh the page to see if there are updates. Users can use the X icon on the right of the notification to remove it. You can now navigate elsewhere in the application - another notification will be provided when the export is complete and ready for download.

Once the export job has completed, AtoM will display another notification that includes a download link the next time the page is refreshed. Click the Download link to download the export.

For public users, the download notification will remain visible as you navigate around AtoM until you click the “X” to remove the notifcation.
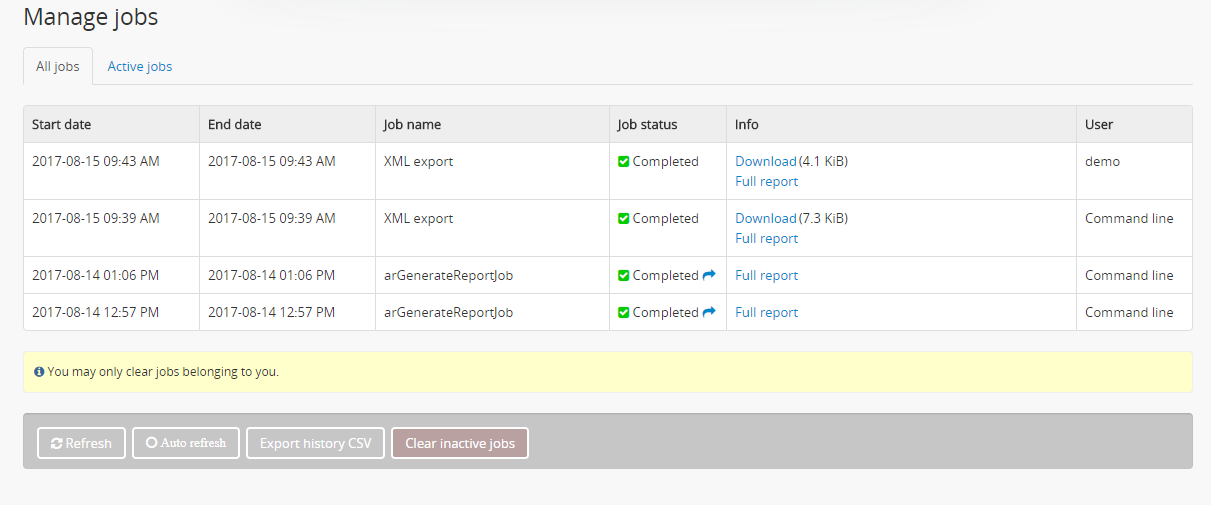
On the jobs page, authenticated users will find information about the export job, including a download link when the task is done. Check the “Job status” column - if it says “Completed,” then the job has successfully finished and you can now download your ZIP file of the XML exports. If it says “Running,”then the task is still being executed - try refreshing the page in a moment for an updated status. If the Job status column says “Error,” then the XML export has failed for some reason - talk to your system administrator for assistance. See the Manage jobs page for more information.
When the job is complete, click on the Download link in the “Info” column, and the XML files, compressed in a ZIP file, will be downloaded to your computer.